BATTLE SPEEDLITE 420 EX : PART DEUX
Right. So in Last weeks BATTLE SPEEDLITE 420EX I lucked into a victory. Basically after taking apart, and half reassembling a broken flash.. I put the flash on my camera, and it still wouldn’t fire. I rotated the head of the flash around a bit, heard a noise, and suddenly the wonderful whine of the capacitor charging up. Because the flash was partially taken apart, I went back to my workshop, and finished up with the assembly.
I was disappointed when, on returning with my “new” reassembled flash… it would not work.
BATTLE PART DEUX BEGINS!
Part 1: “Well, what next.”
I’m not sure why the flash doesn’t work. I don’t clearly remember if I did hear a “crunch” before the flash fired. I am cast adrift in an ocean of “what the fuck do i do now”.
Ok – lets take stock.
- Power is getting to parts of the flash. For example, when I power the flash up, this happens:VIDEO
- I no longer hear the whine of the Capacitor inside charging up.
I guess I could trace the power inside the device, and see if it is making it to the capacitor!
Part 2: Strip it down
Because I don’t really know where to start “tracing the power inside the device” ( I just sort of made that shit up ), but I DO know how to take screws out of things… So why not do that!
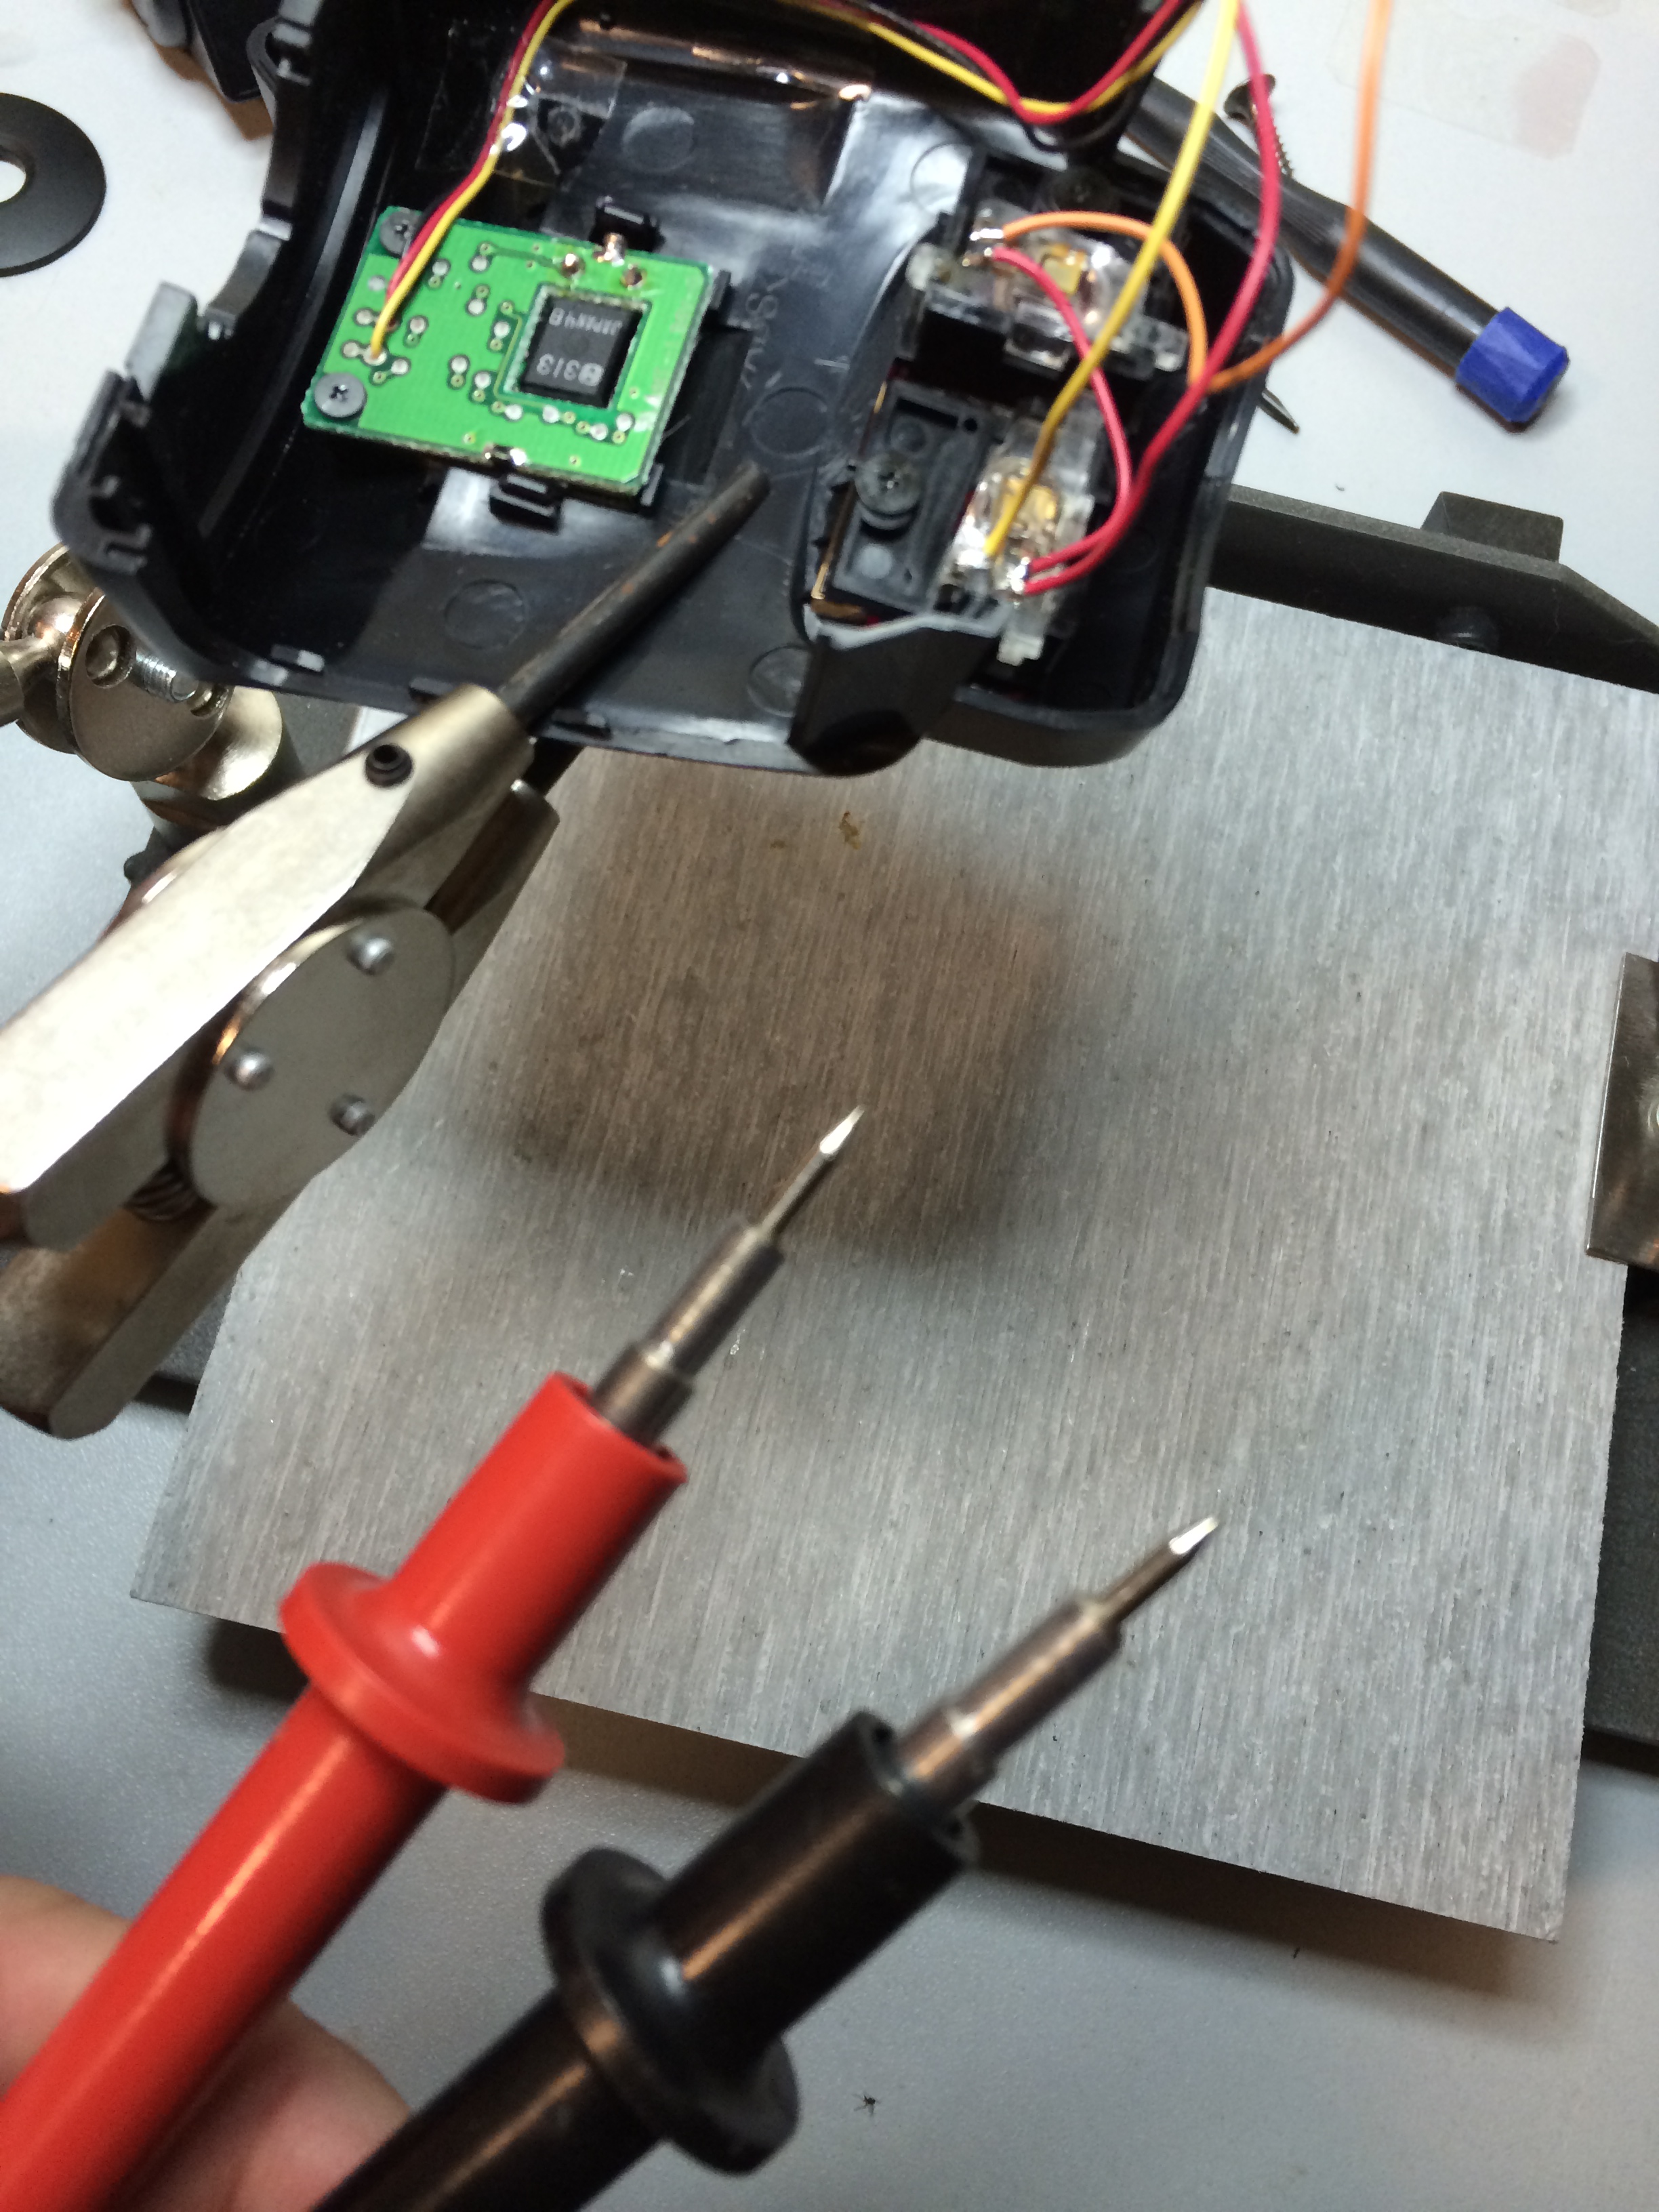
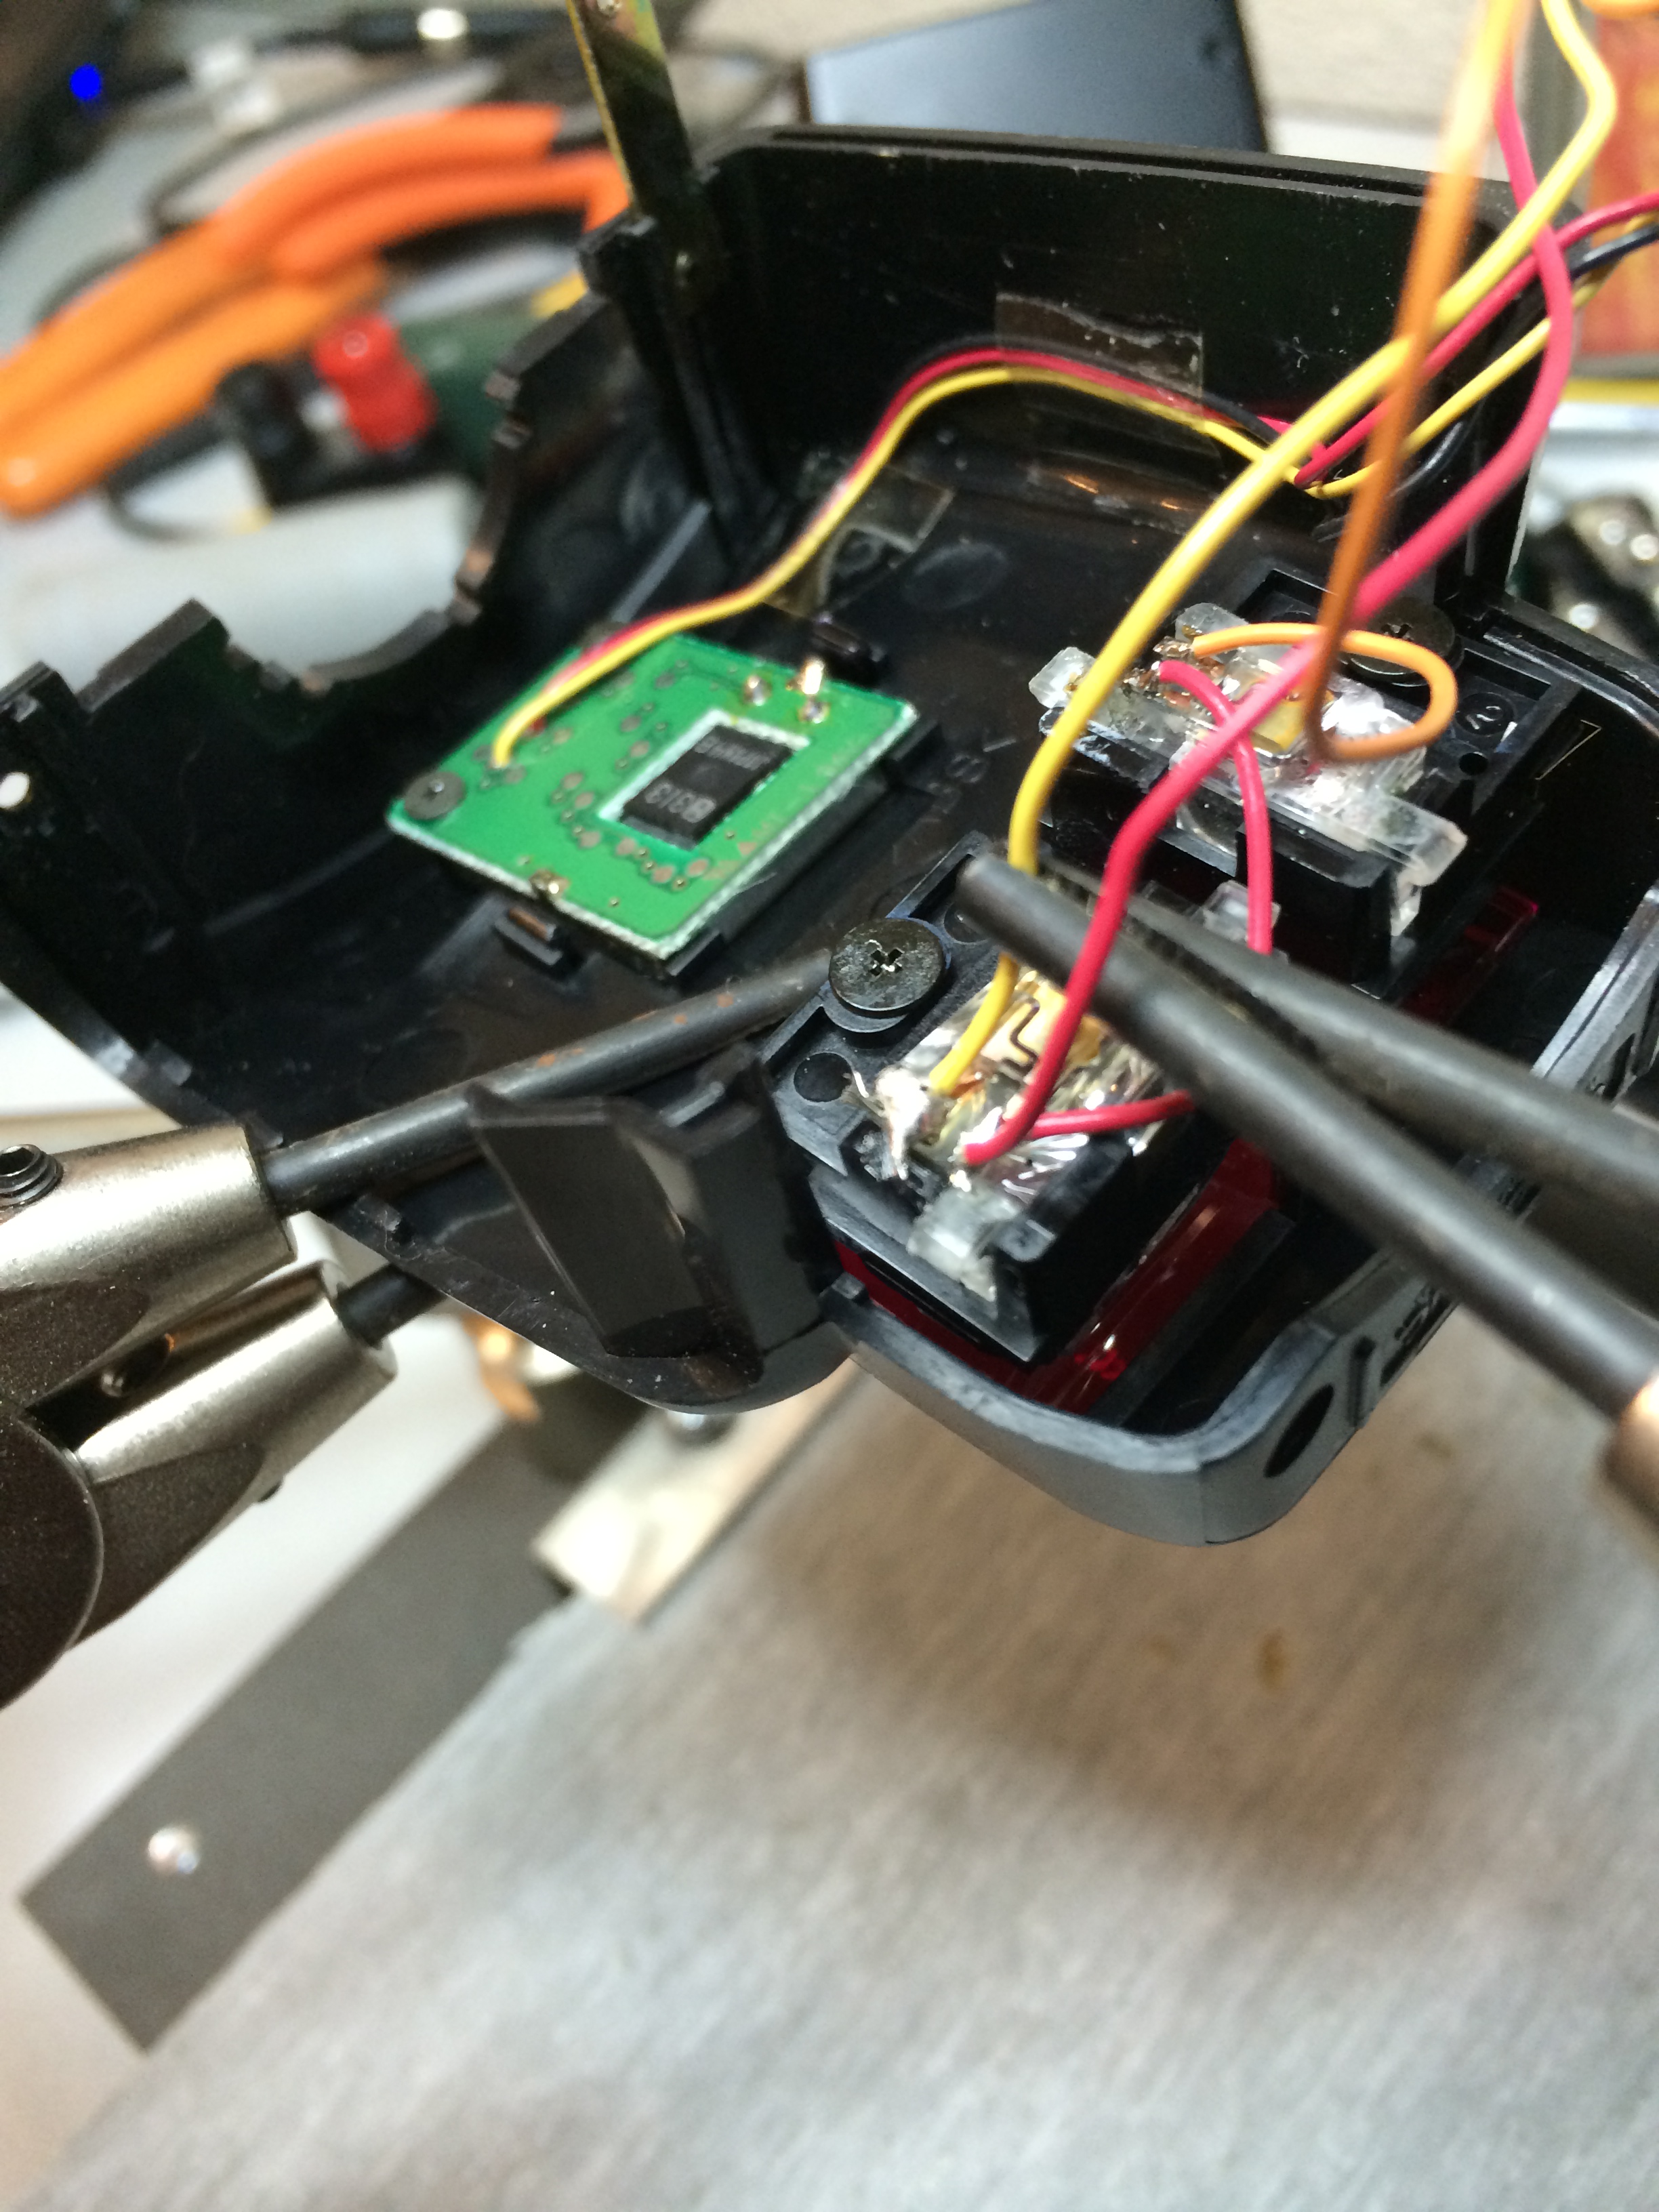
I pull out the screws I know and end up with something that looks like this:
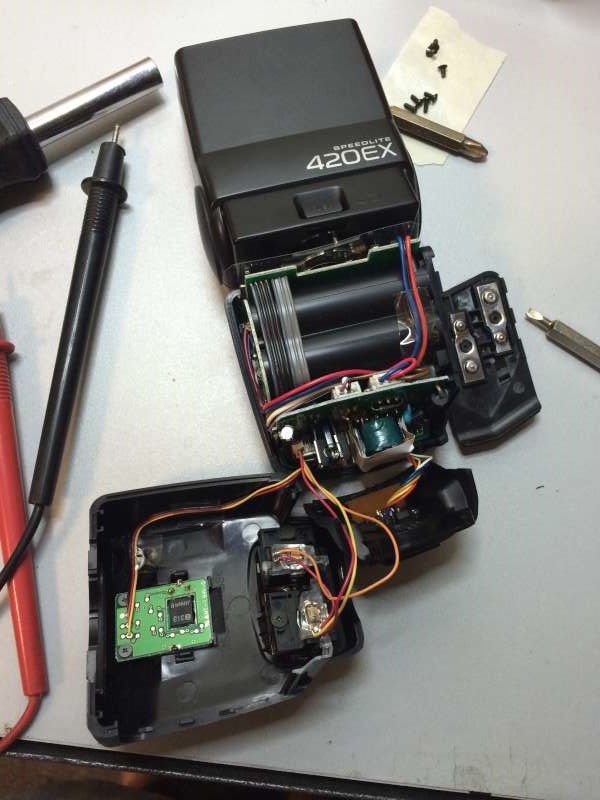
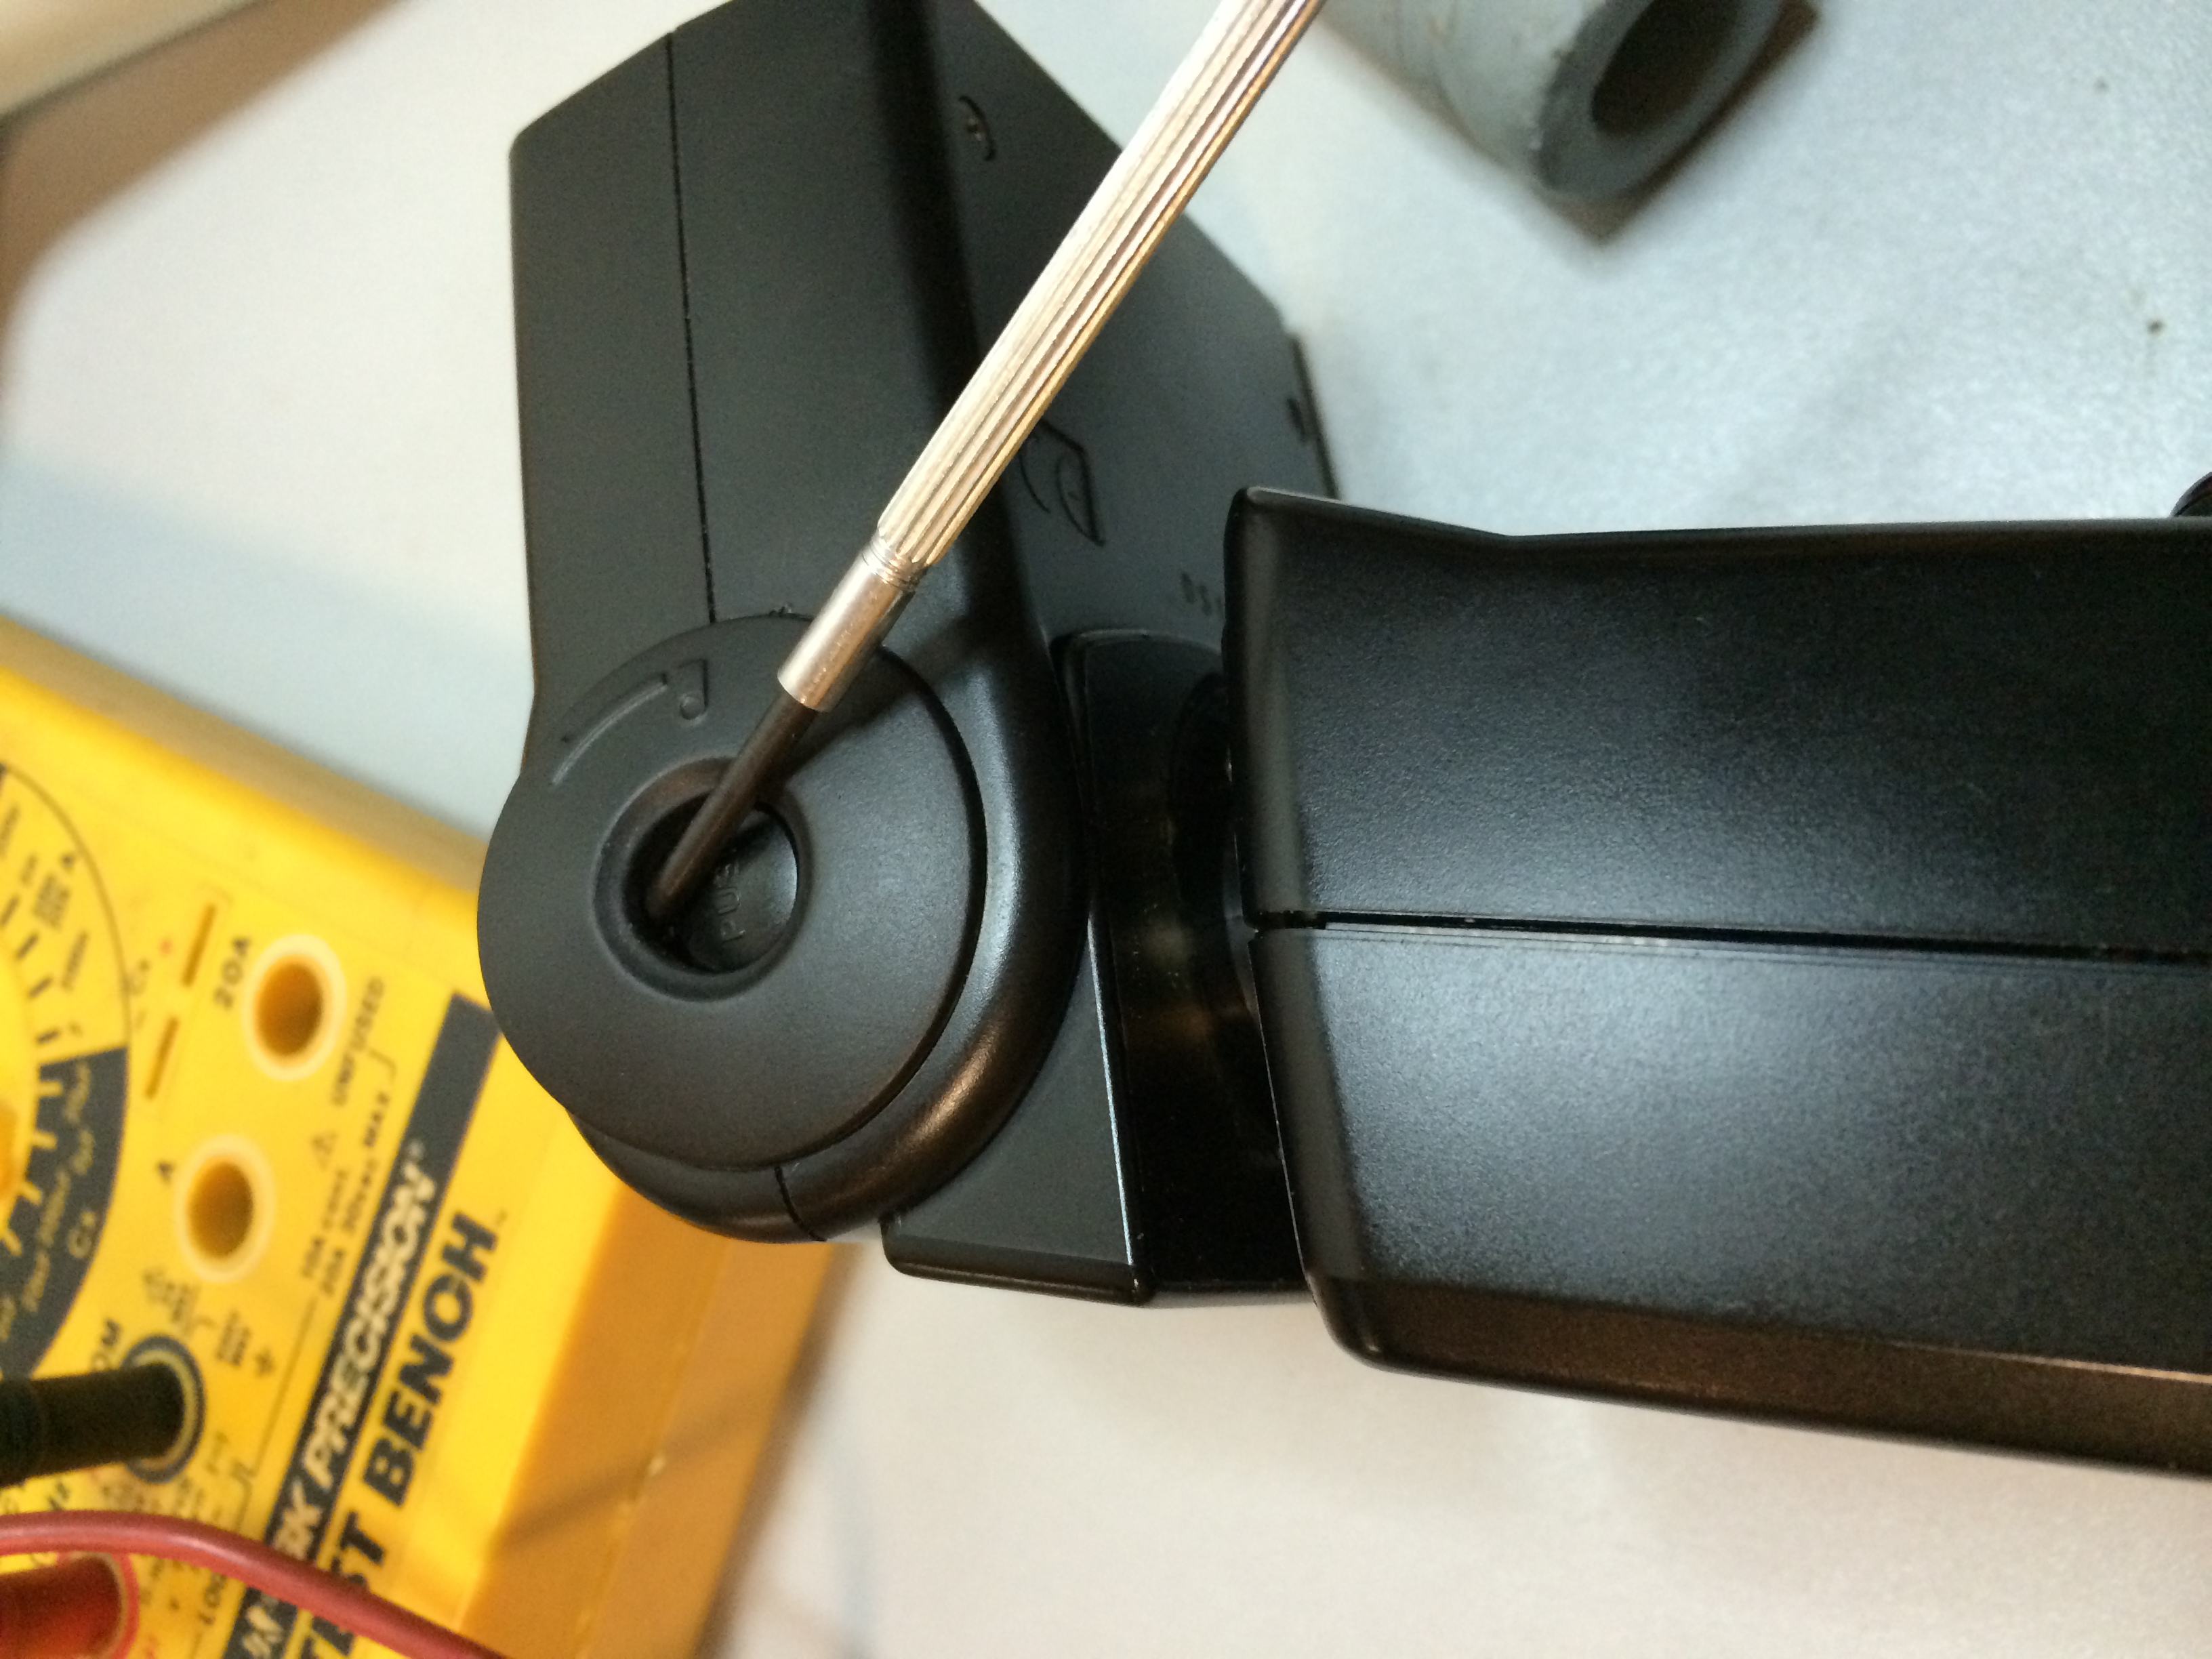
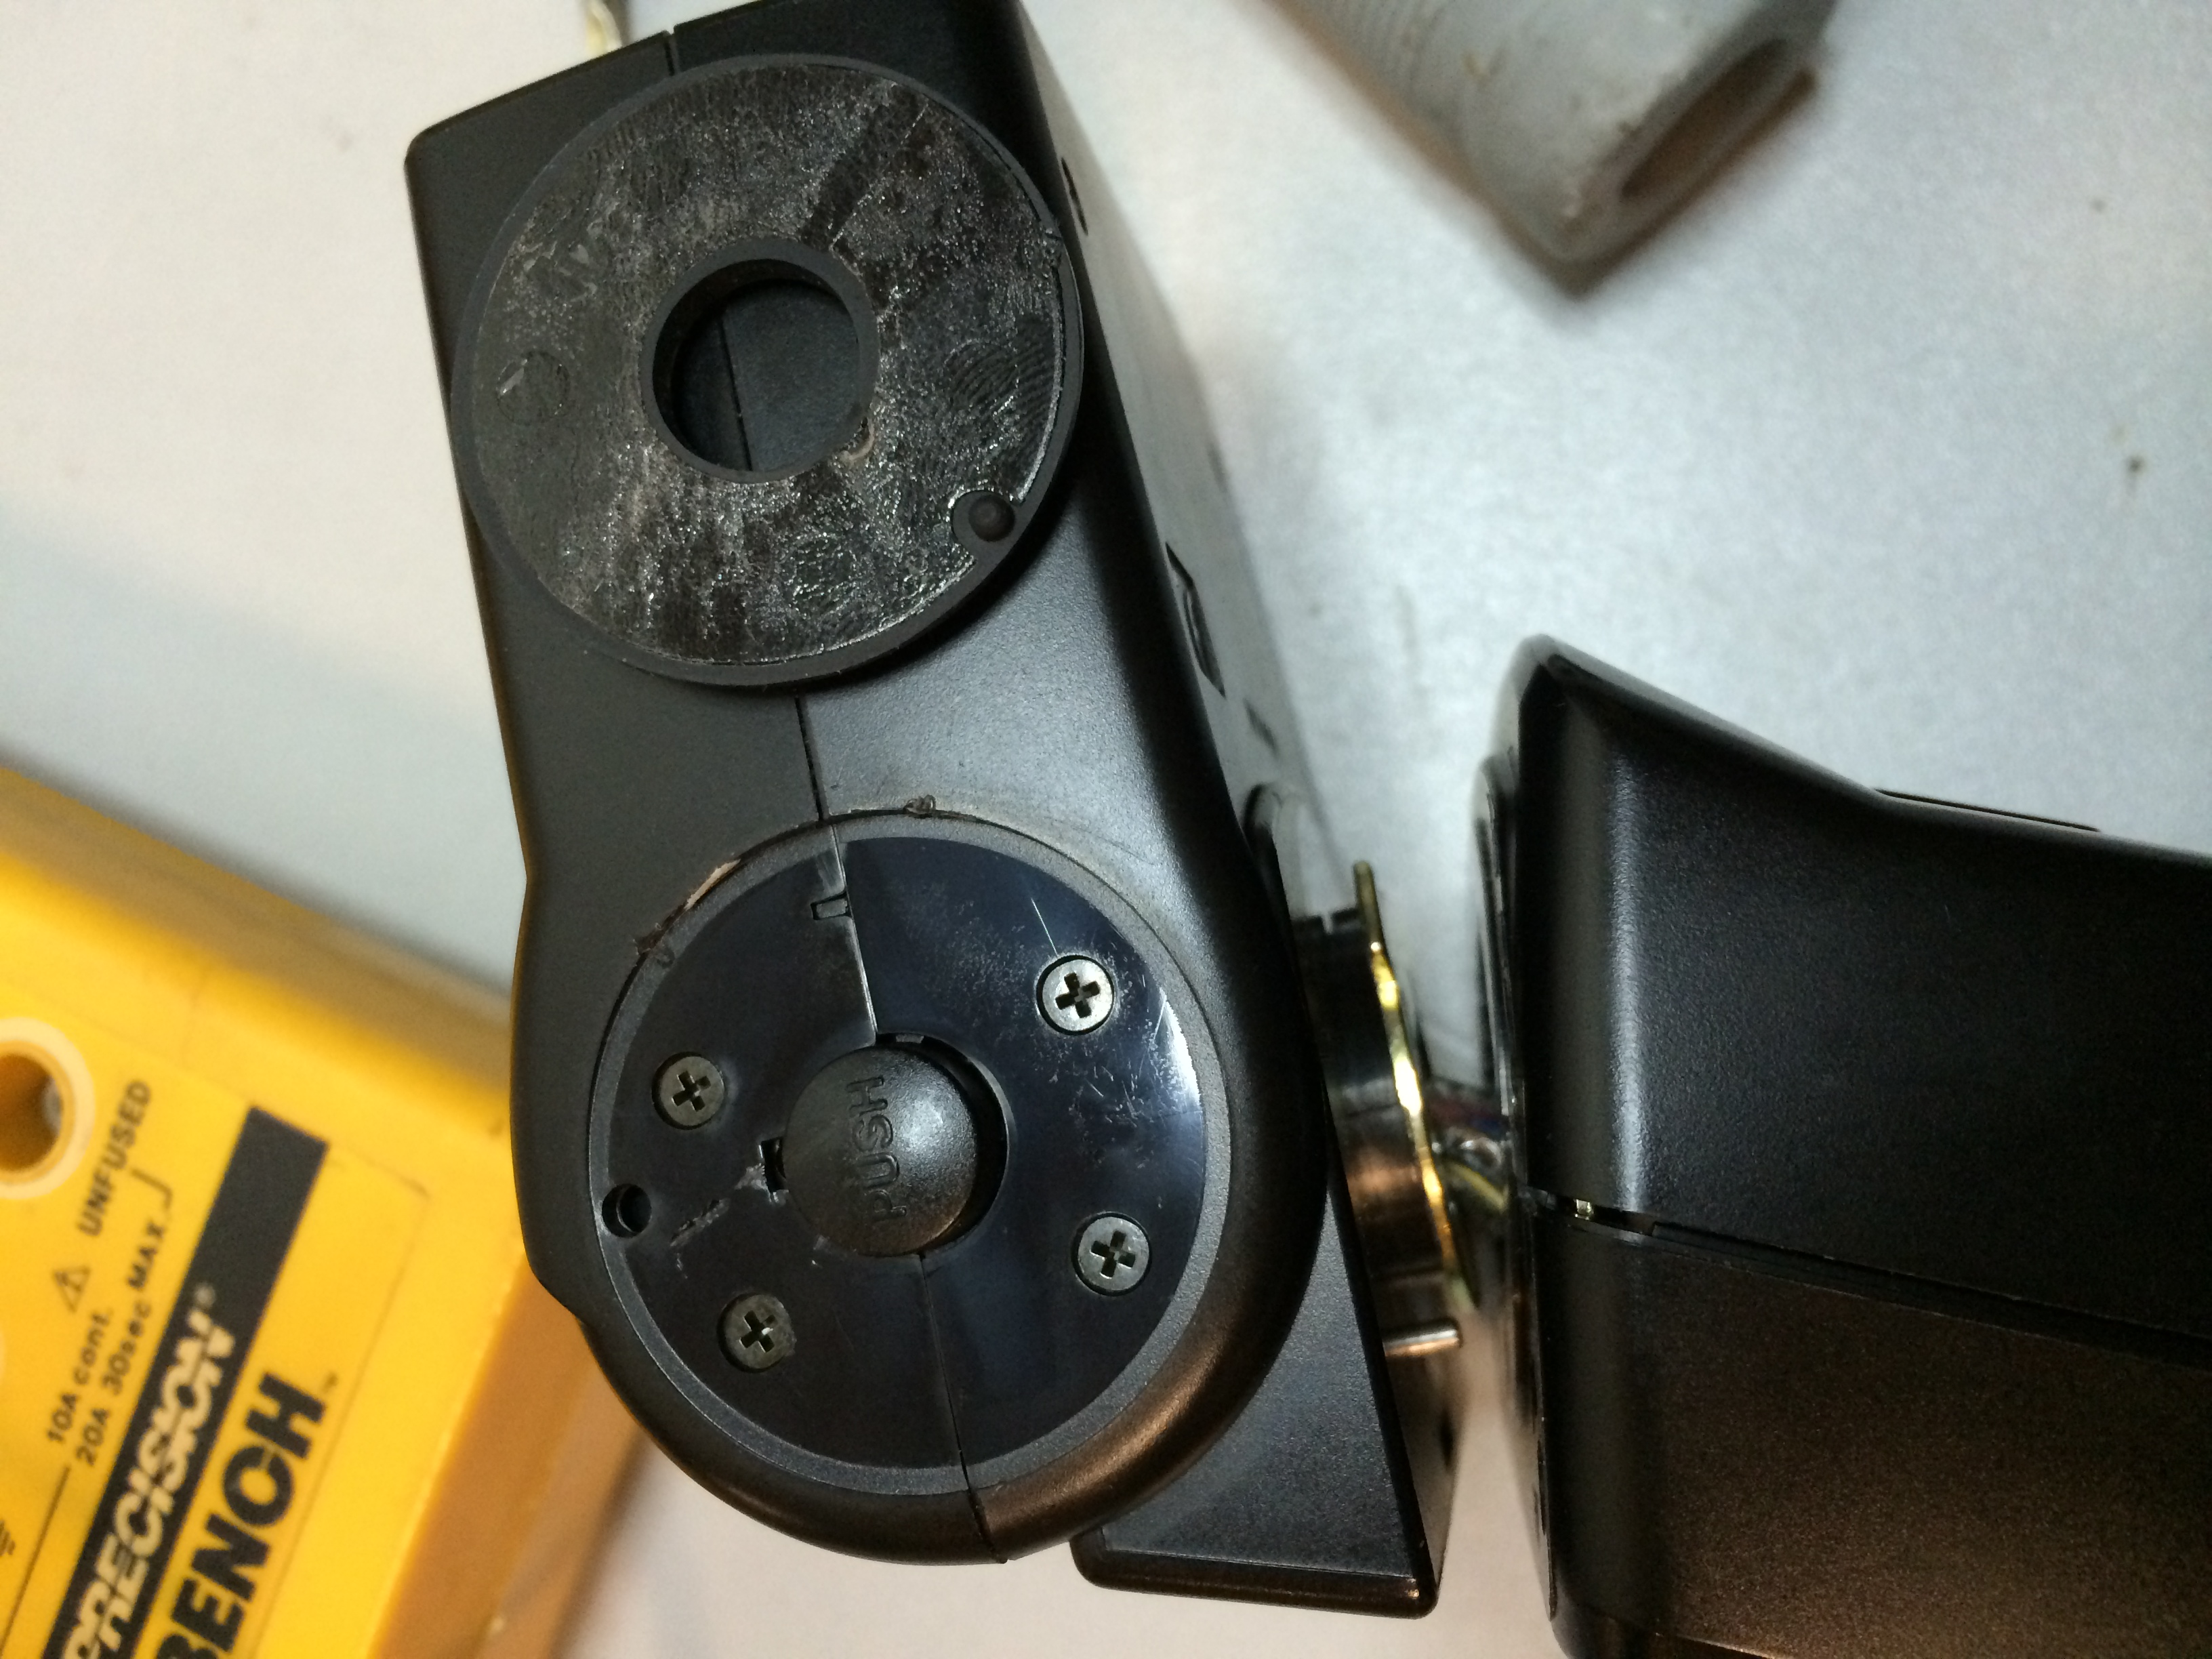
Now, as you might have read from last time, messing around with a photography capacitor is a great way to get shocked. something like 300+V could be sitting in that thing. The instructions want me to pull off the rubber caps on the side of the Speedlite Flash Head, and this will let me access enough of the cap to safely discharge it. They are a pain to get off, and are actually glued on. I used a screwdriver to dig under the edge, scratching the shit out of everything, but finally getting a good enough grip to peel it off.
Part 3: Defrazzle the Frozzle
There are a number of ways to drain a capacitor. Apparently some people like to bridge the poles with a screwdriver. This makes sparks and I guess sometimes gouges pits out of metal. While, this sounds fun and all, it isn’t really an option. I can barely get to the poles. I have to put together this fuckery, which I attach to a resistor. It isn’t the right resistor to be using – this is 50w 8Ohm, and is used as a dummy load for audio amplifiers. But whatever, I’m in a hurry. And I’m pretty confident I’m not going to see much voltage going to the cap ( since It isn’t even charging up to begin with ) .
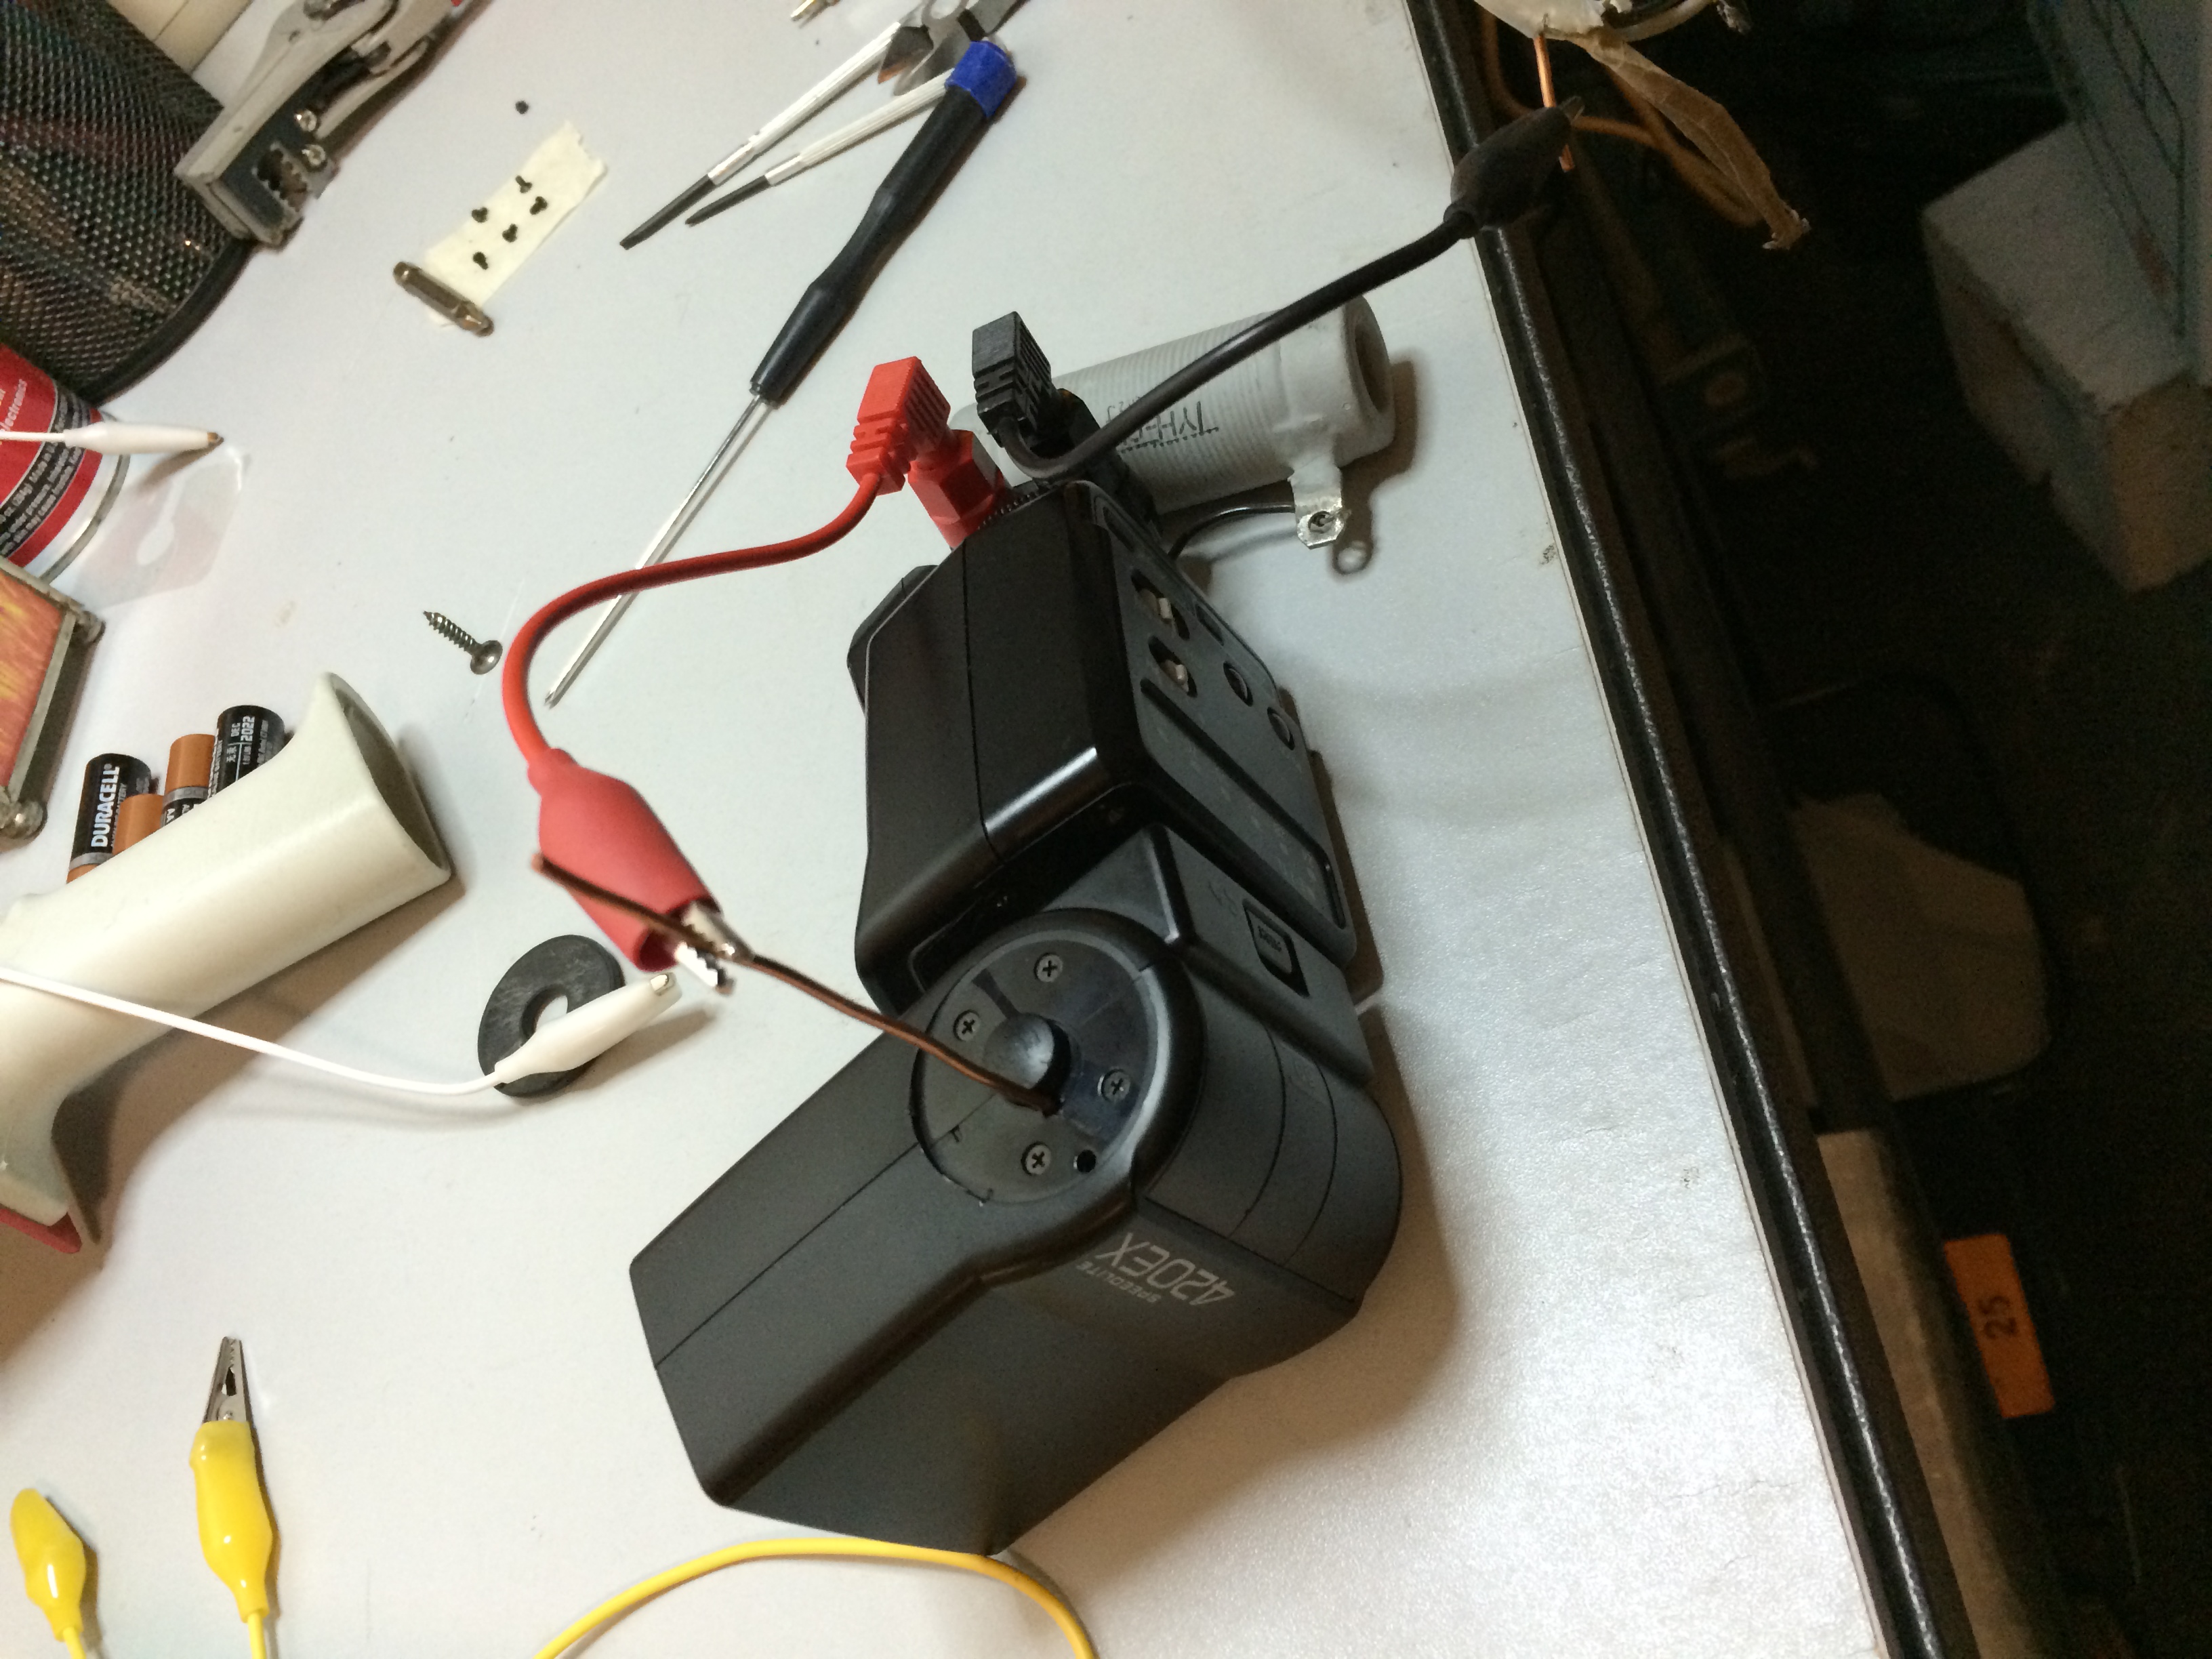
I wasn’t sure that I was actually connecting to the cap, because of how this works – you have to shove a thin wire down into the body of the flash to touch the positive pole of the cap. To confirm this was connecting – I set my Multimeter to “continuity”.. basically this sends a small charge across, and if the connection is good enough, it “beeps”.
What happened instead was I saw the resistance increasing, and then flip to a “1”. No connection. I seem to recall that this is what happens when you try to check resistance on a capacitor. Basically your multimeter is sending out a small charge to check continuity.. but the cap just eats it up. as the cap starts to charge up, resistance increases, until to goes to infinity ( 1 ) .
Sure enough when I now check the voltage on the cap – I see a small charge. This tells me I am successfully draining, and charging the cap. So I drain it again with the 8 ohm 50w resistor, and get back to work.
Part 4: Shit’s still broken
I’m going to sum up the next two hours pretty quickly here.
- Small screws
- Spring shoots out when you take off top of the flash
- Attempt to measure if the Cap is good, but my tester is the wrong range AND you can’t really measure a cap while it is in the circuit. ( 1 hour wasted right fucking there )
- I try to read an electrical schematic, all i get out of it is that the Cap is 1150uF/330V
- Frustrated, I am going to end the day by just putting it back together.
- Another goddamn spring shoots out.
- I find a wire that has pulled out. Momentary joy as I think this might be “the problem”.
- Solder that wire back on. accidentally de-solder the wire next to it. May or May not have soldered the shit out of the plastic LED that the wire attached to ( AF ASSIST BEAM EMITTER )
- Put flash back together – only 3 screws left over! I know where 1 should have gone, but I made 2 extra screws appear.. clearly we have some Loaves and Fishes shit going on.
Final for the day:
- Still powers up, but no charge to cap that I can see
- Try to test the lights on the front. I can get the left of the 2 front red lights to turn on ( I think one is a wireless indicator ) .So basically nothing gained today. Part DEUX definitely goes to the broken flash. All I accomplished was to hit on yet another series of personal limitations, and possibly wrecked the AF Assist in the process.
Dark Days Ahead.