BATTLE: KEF 105.4 SPEAKER GRILL! P1: PROTOTYPE
Posted On July 9, 2016
I’ve been looking for a set of 105.4 Grills for a while, but haven’t been able to find any. Due to recent family changes, having grills have gone from “nice to have” to “yeah let’s get that done”. I already have metal grills for the top two drivers, but do not have the grills for the bass drivers.
As you know the KEF 105.4 have an angled face which makes it a bit more of a challenge. Here is an example of how they should look:
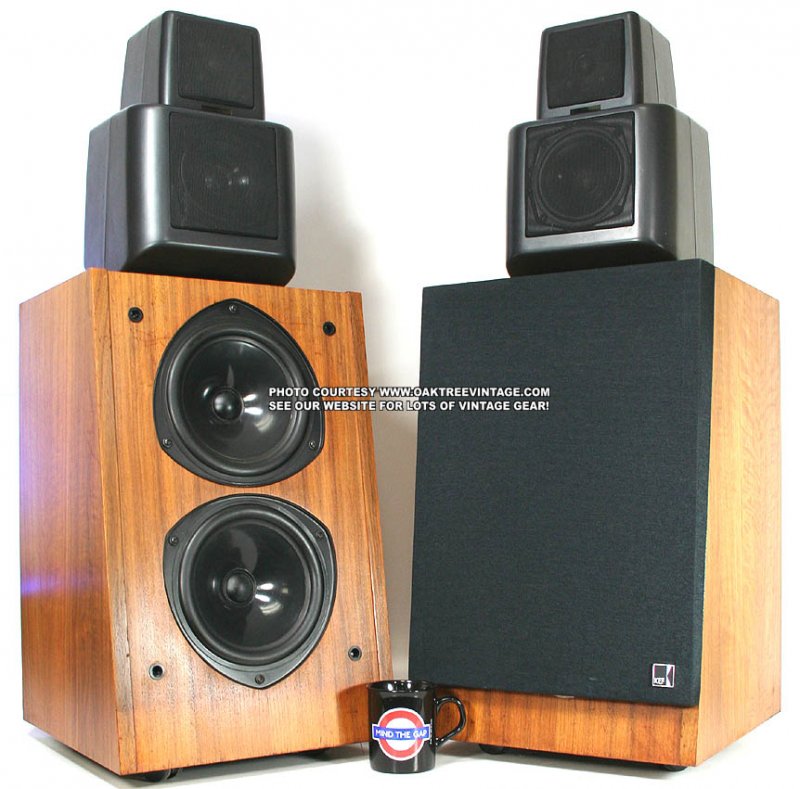
Not only are they angled, but they are thicker at the top than at the bottom – which gives it a cool look IMO.
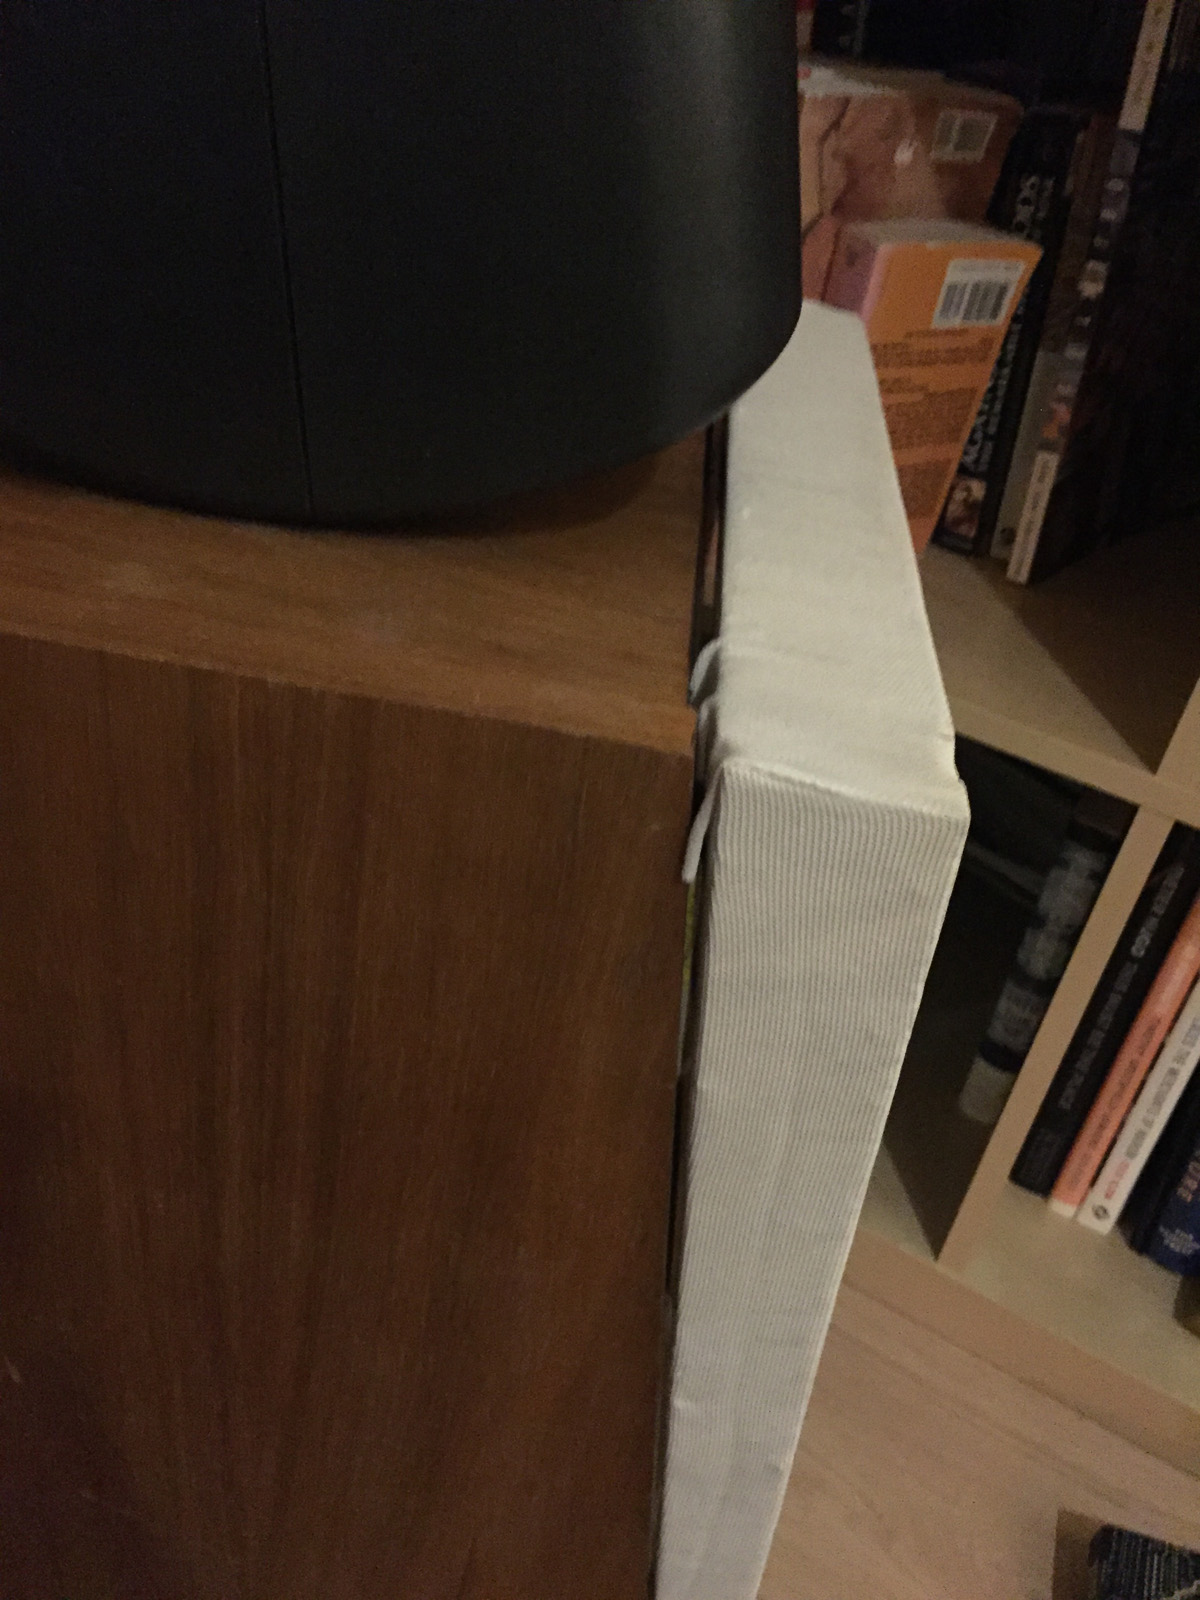
Here is my final!
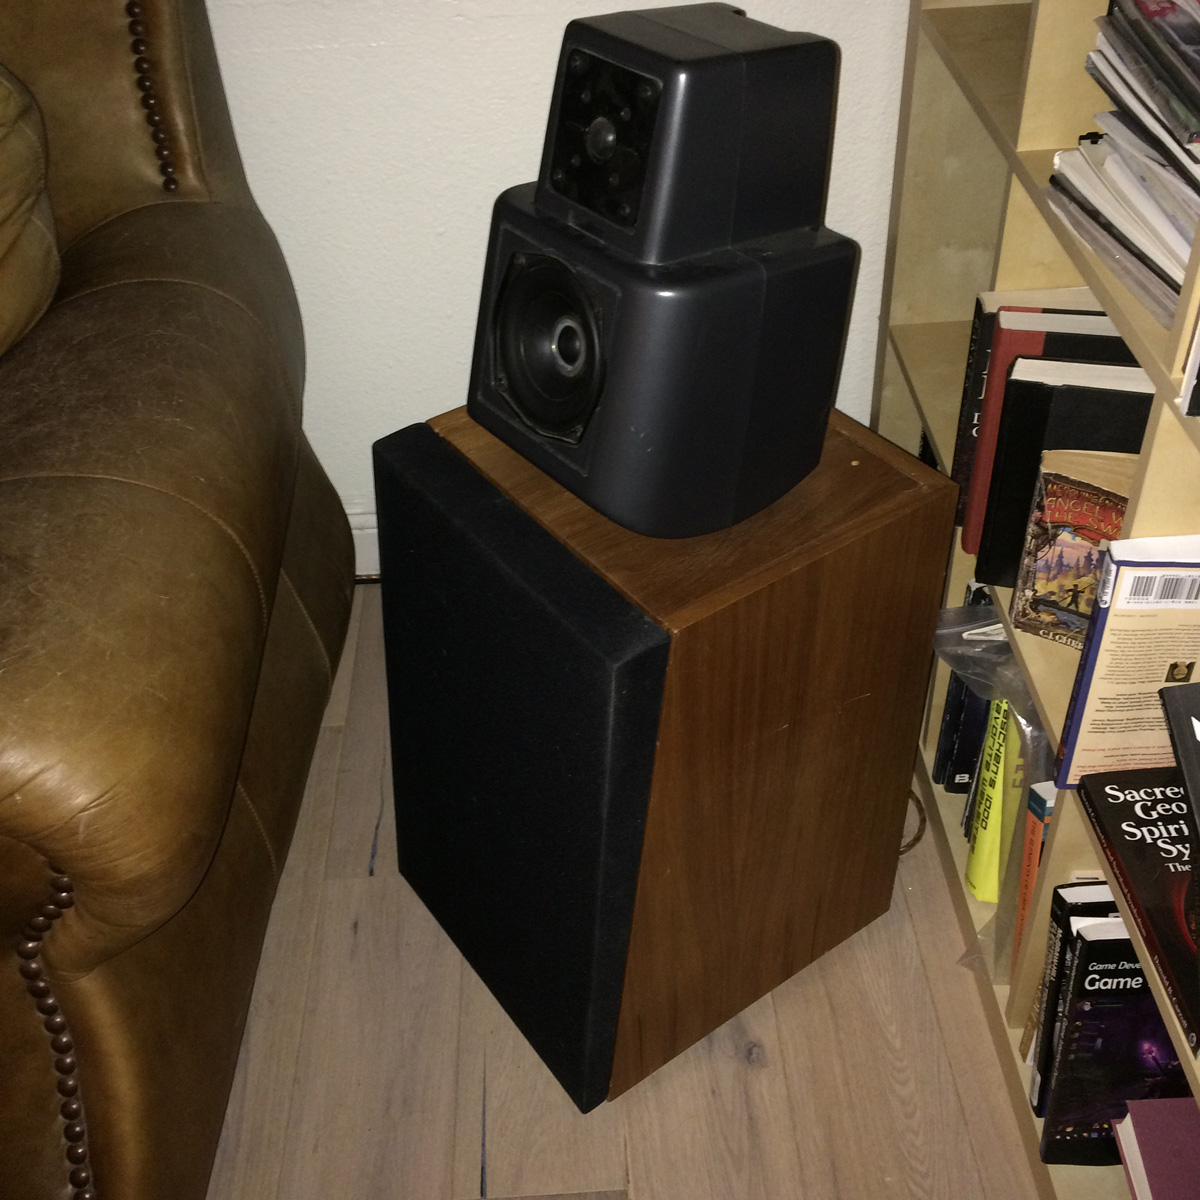
 They aren’t perfect – The angles are a bit off on top, but overall they look pretty solid. note that I changed the design slightly to make them longer than the originals. I don’t like how many of these KEFs end up with discoloration from the grills. If that occured, I wanted it to be as uniform as possible.
I’m going to include a walk through of my steps as I build the prototype…
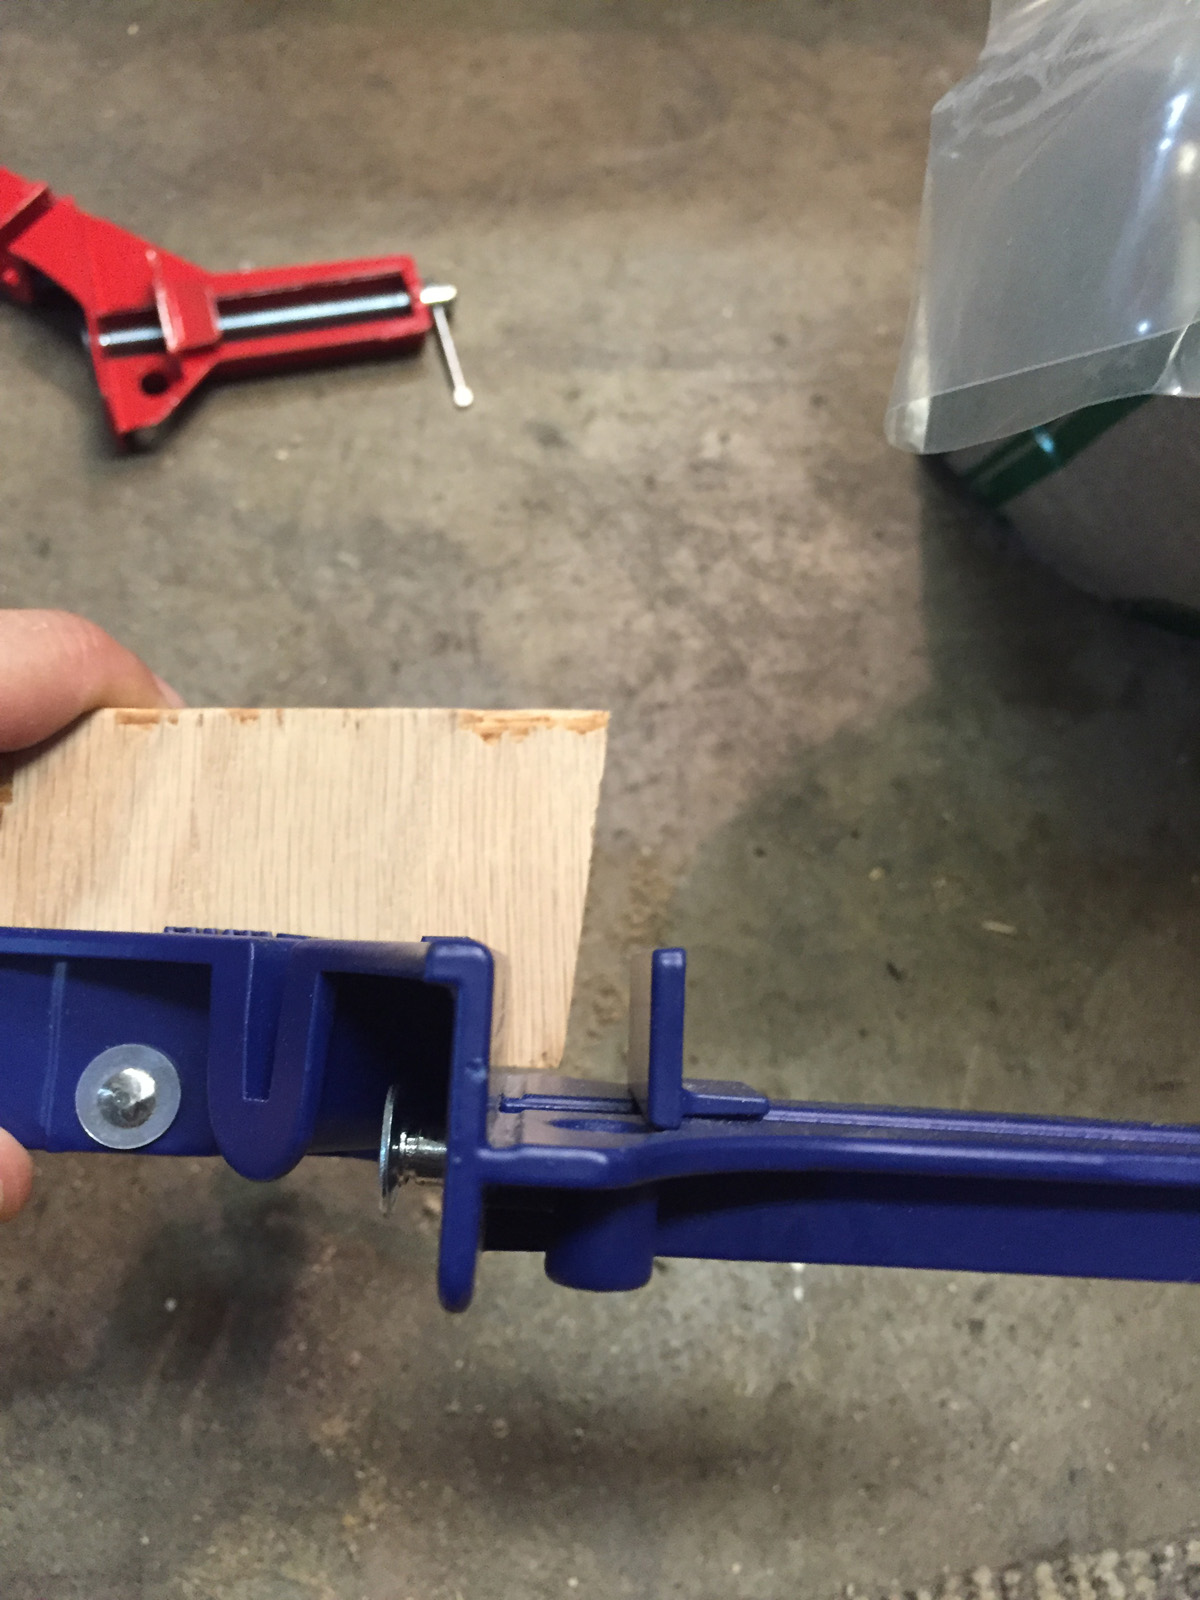
First I traced the outline of the speaker, then sketched in how I thought the grill should look. I measured the angles using a protractor, and used these angles for my first test cuts.

I struggled to get the angles correct, but ended up going with 81.5 for the face that touches the speaker. For simplicity I decided to not try and force the front angle… however that turned out would be fine for the prototype.
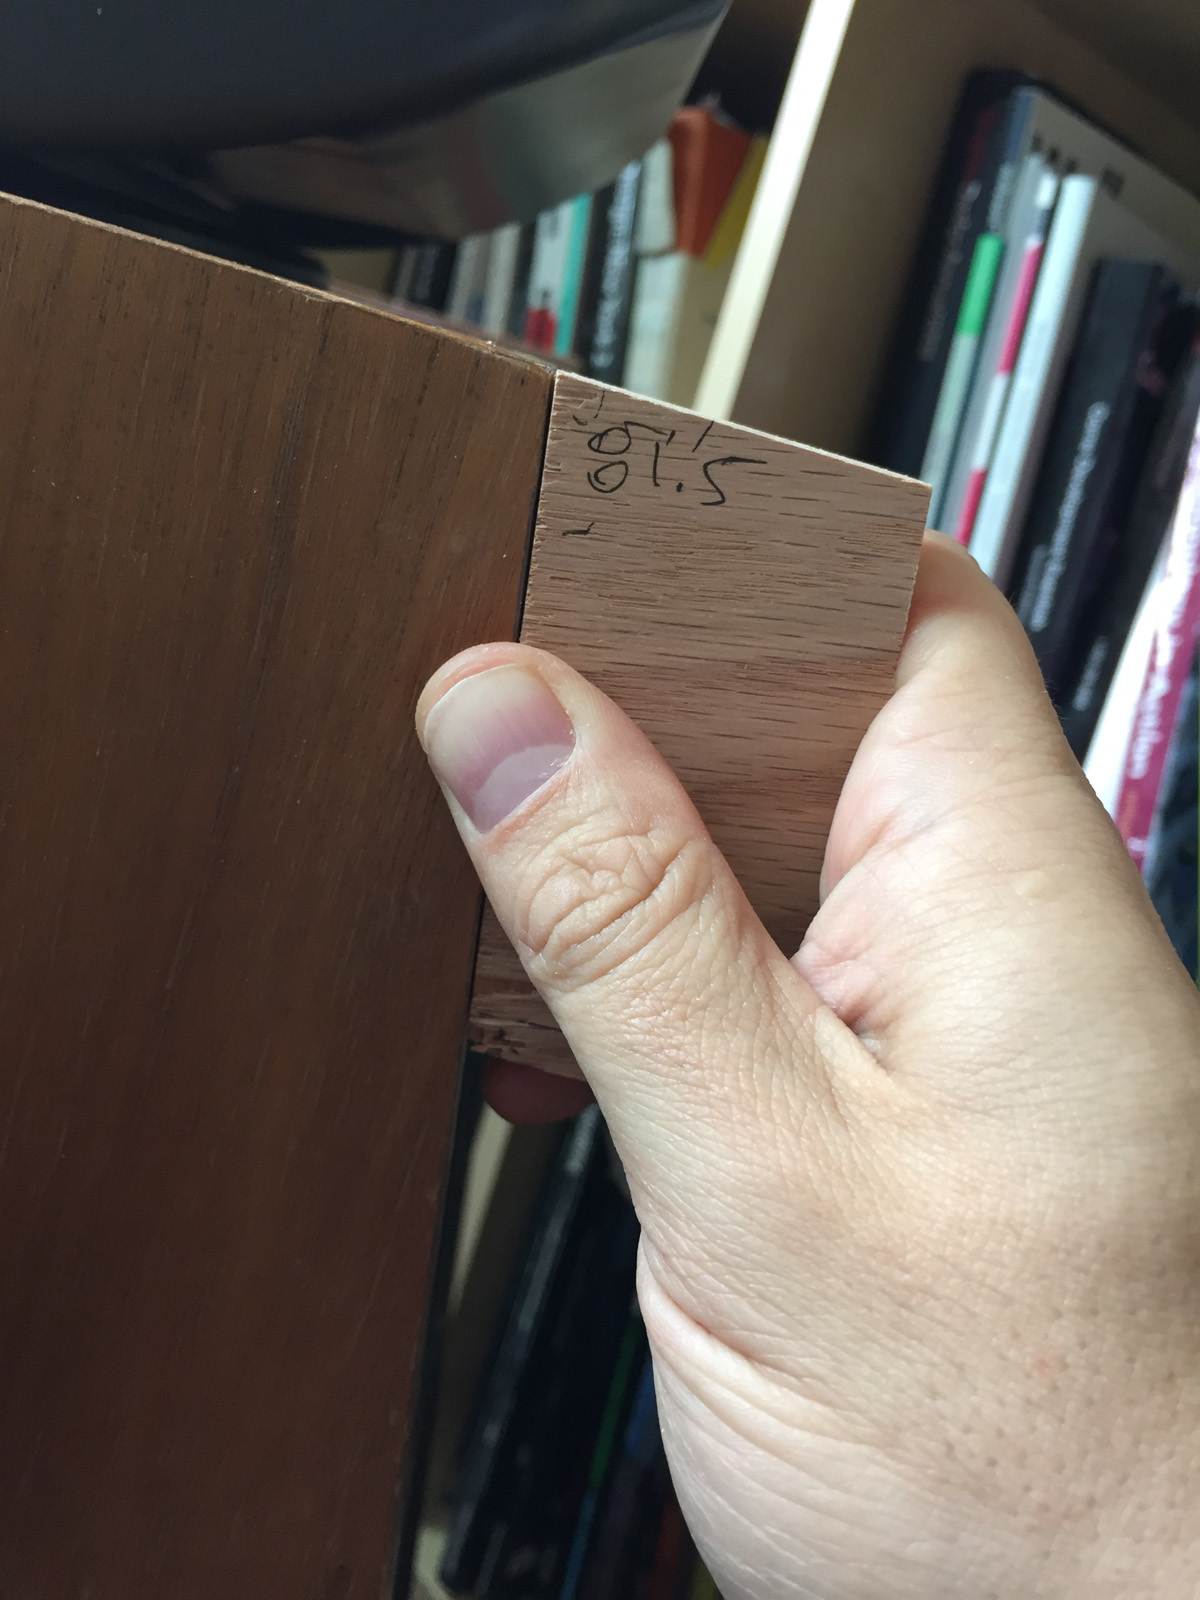
81.5 degrees is a pretty close match. I used a mitre saw for these test cuts. The mitre saw however can’t cut longer pieces… so for this first piece I cut just the top / bottom, and used my other saw to connect the lines as best I could.
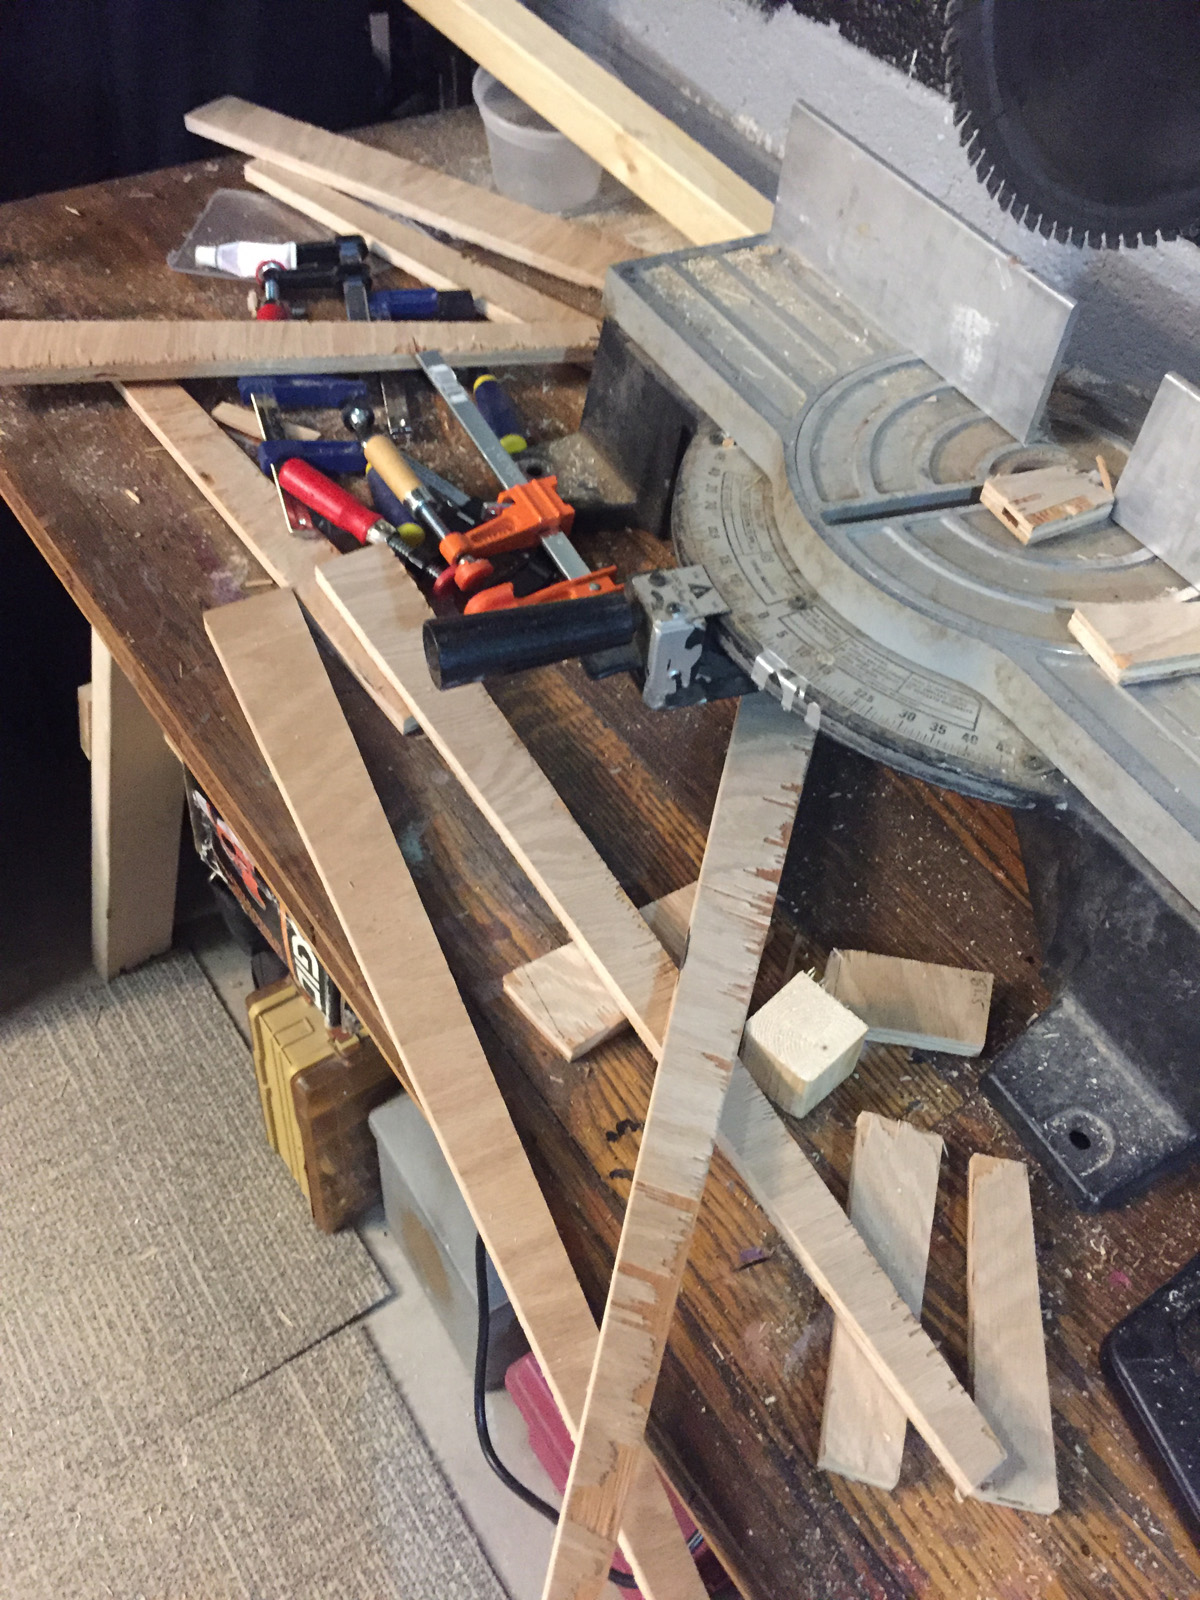
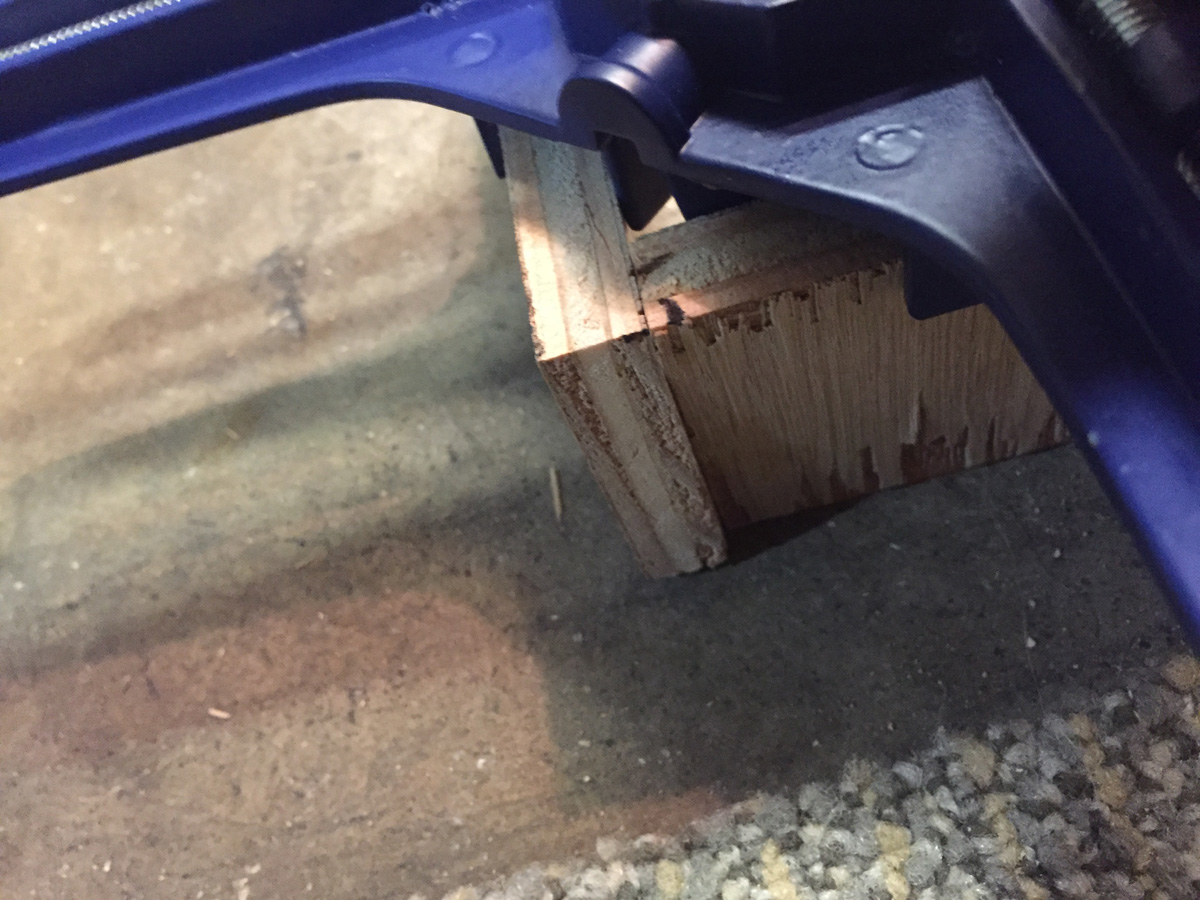
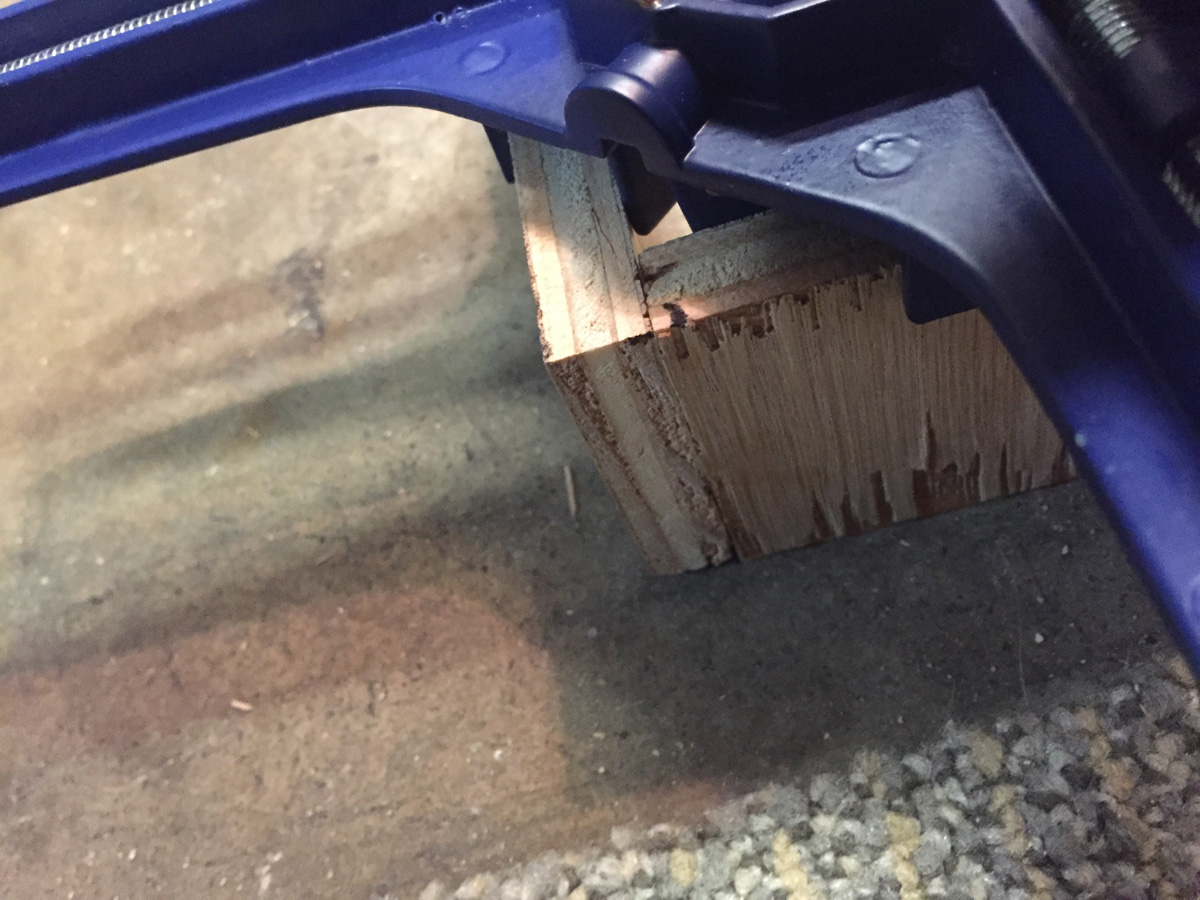
The crossbar ( top and bottom of grill ) had to also be cut at an angle. I couldn’t be as precise with this, and used the bevel feature on my handsaw.
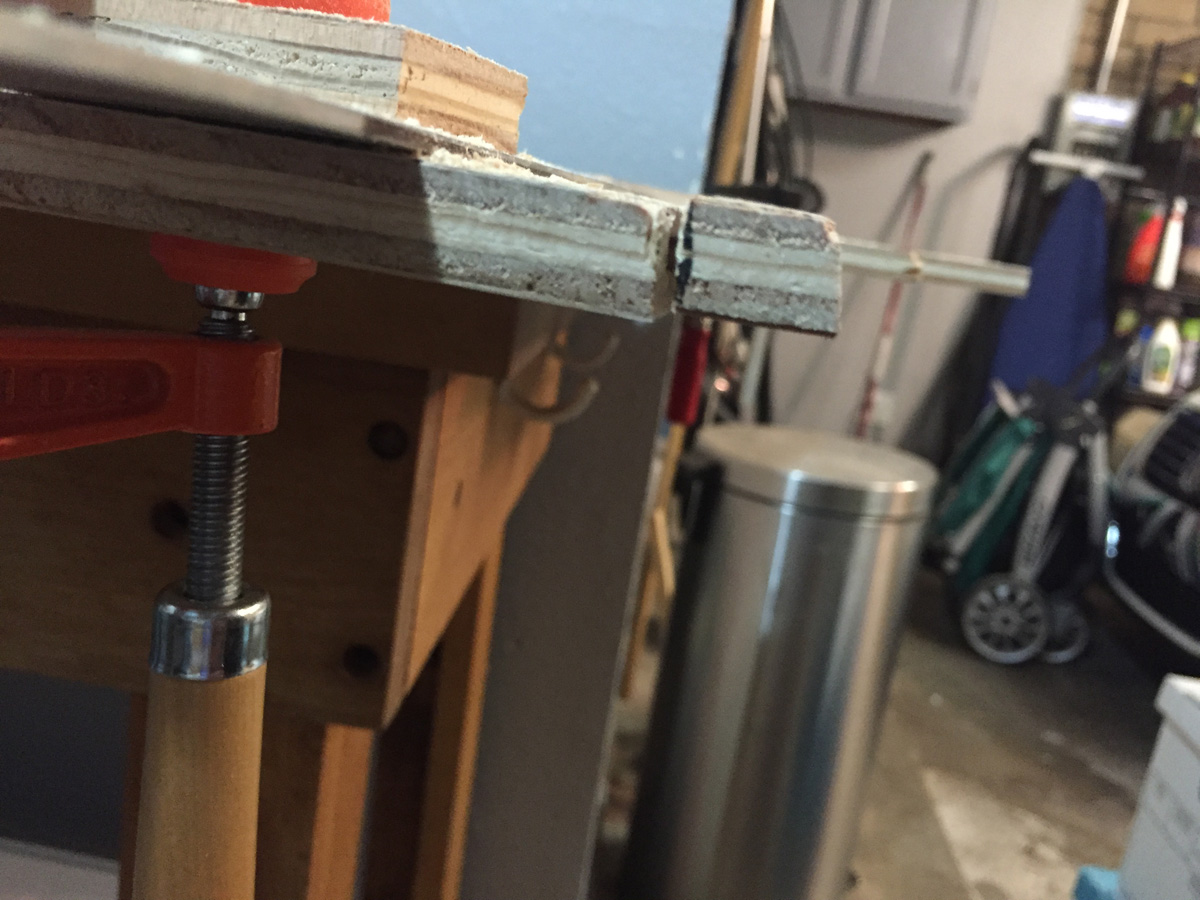
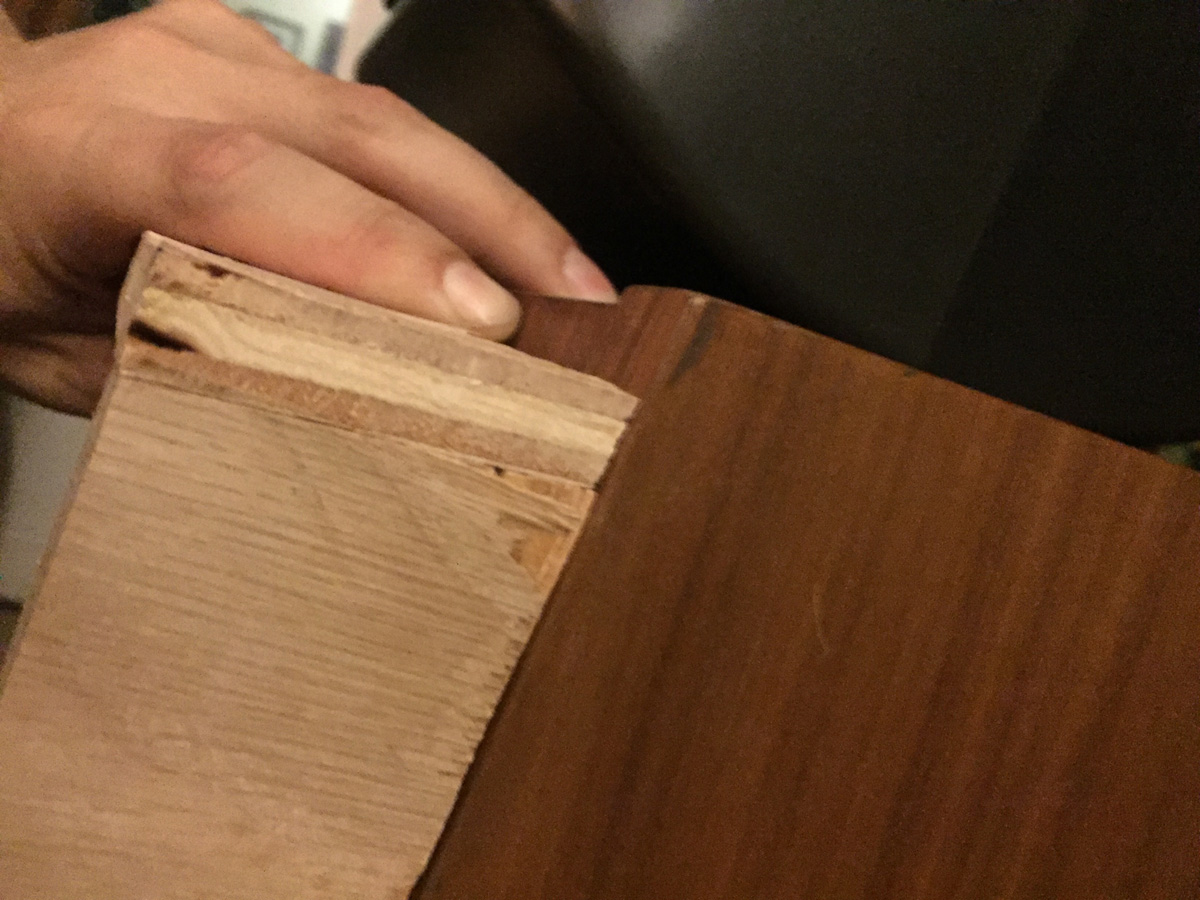
You can see here how one face is cut at about 10 degrees and the other 5 degrees. Better to have it a bit too steep than not steep enough. If it is too steep the top of the crossbar will remain flush, and the rest of it won’t have good contact… but all that will be visible is the top edge, so that is ok. You can see this comes together ok:
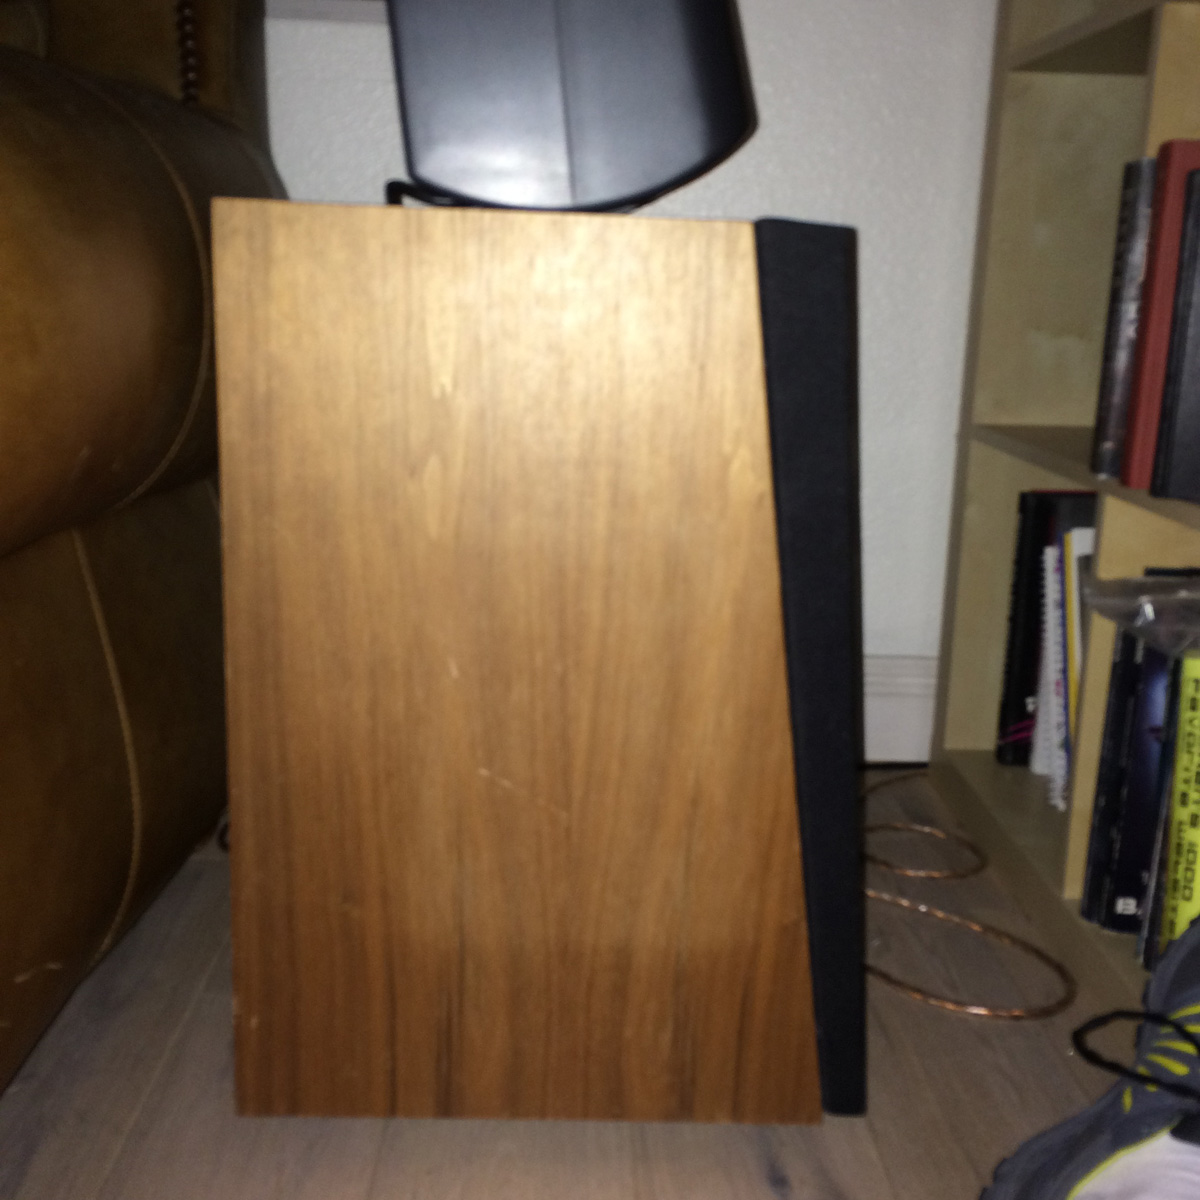
I should point out before going further: I made one modification to the usual design – I want my grills to go the full length. I often see older KEF’s with discoloration from the part of the speaker face that was not covered. I want to avoid that.
My next step is to glue the pieces together. This was a bit of a challenge since I need right angles like a picture frame… but the grill frame is right angles only in one dimension. I’m probably not explaining this well…
Here is the whole unit “clamped”…
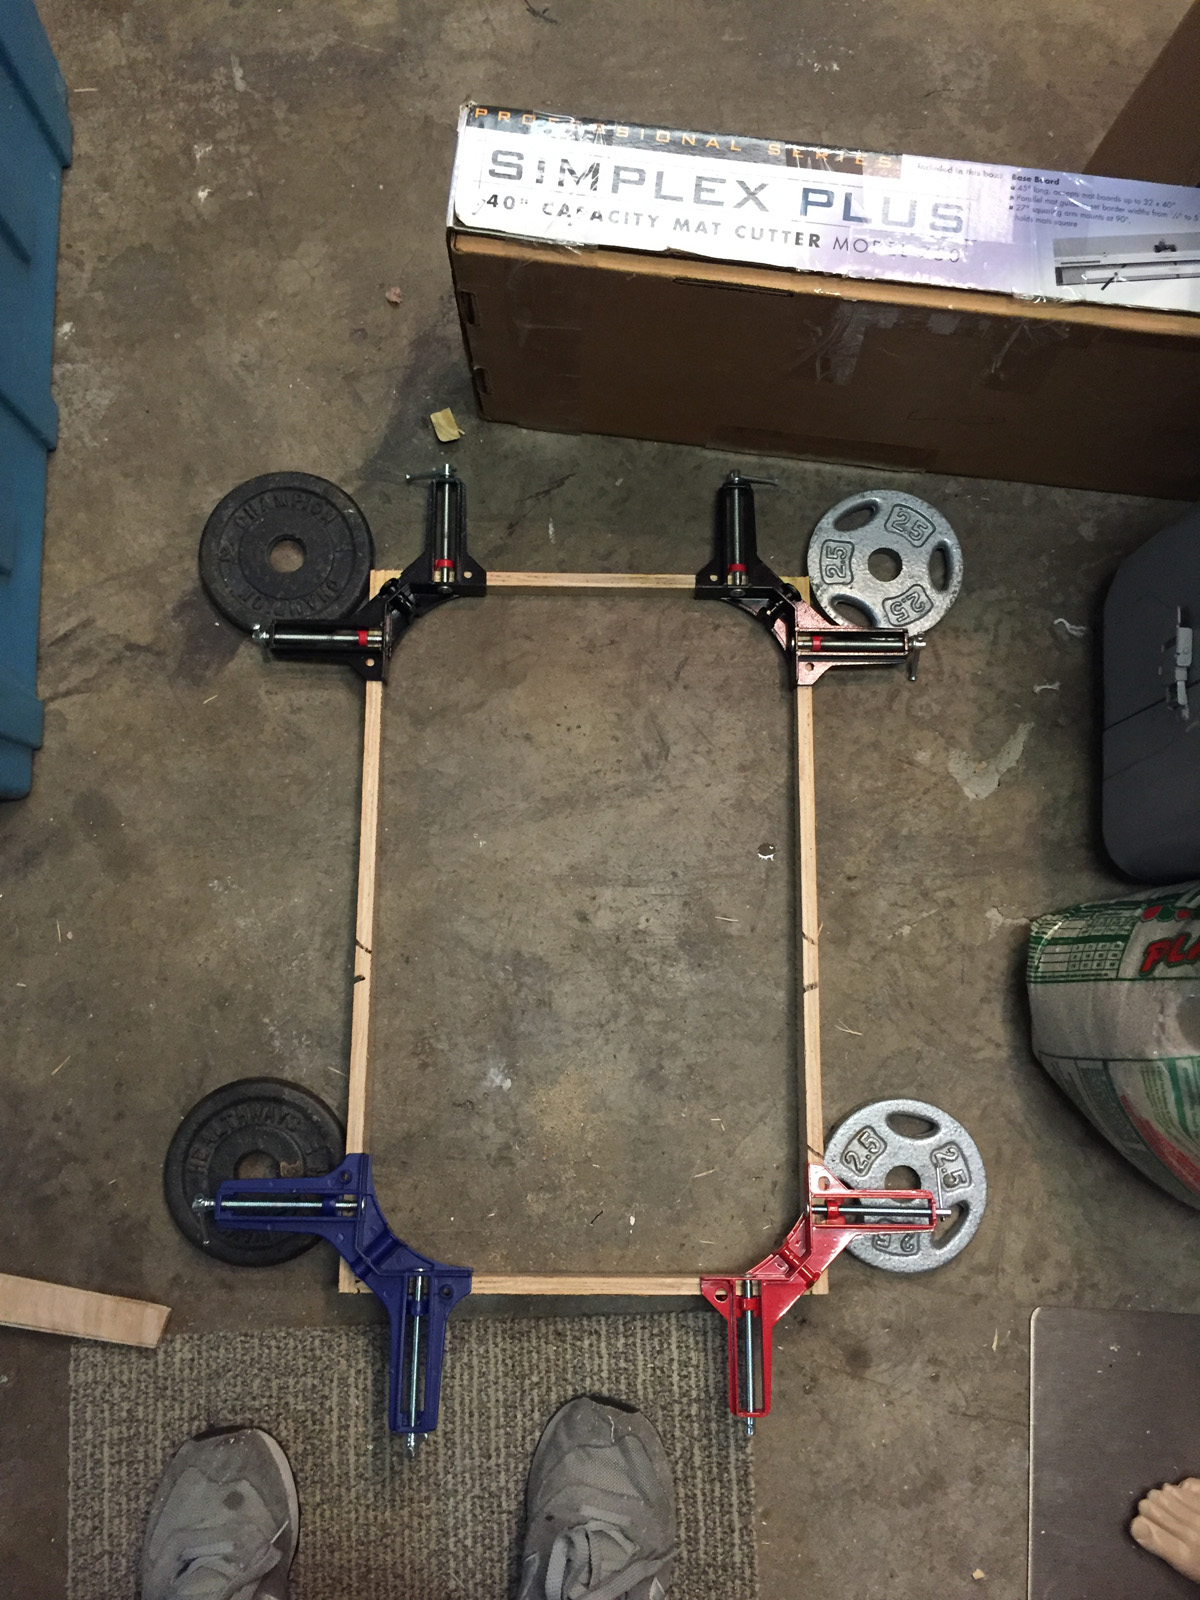
I’ll explain the weights in a moment. So while the grill has 90 degree angles on the x/y axis, it is not 90 degrees on the z axis like a picture frame or shelving might be. when I would fully clamp down, this would happen:
 You can see how at the bottom the two pieces don’t meet up
And what I needed was this:
So in the clamped photo above, I have loosened clamps on the top/bottom pieces so they can angle correctly against the concrete. This means the clamps no longer pull the left/right pieces together, so I use the weights to apply that pressure.
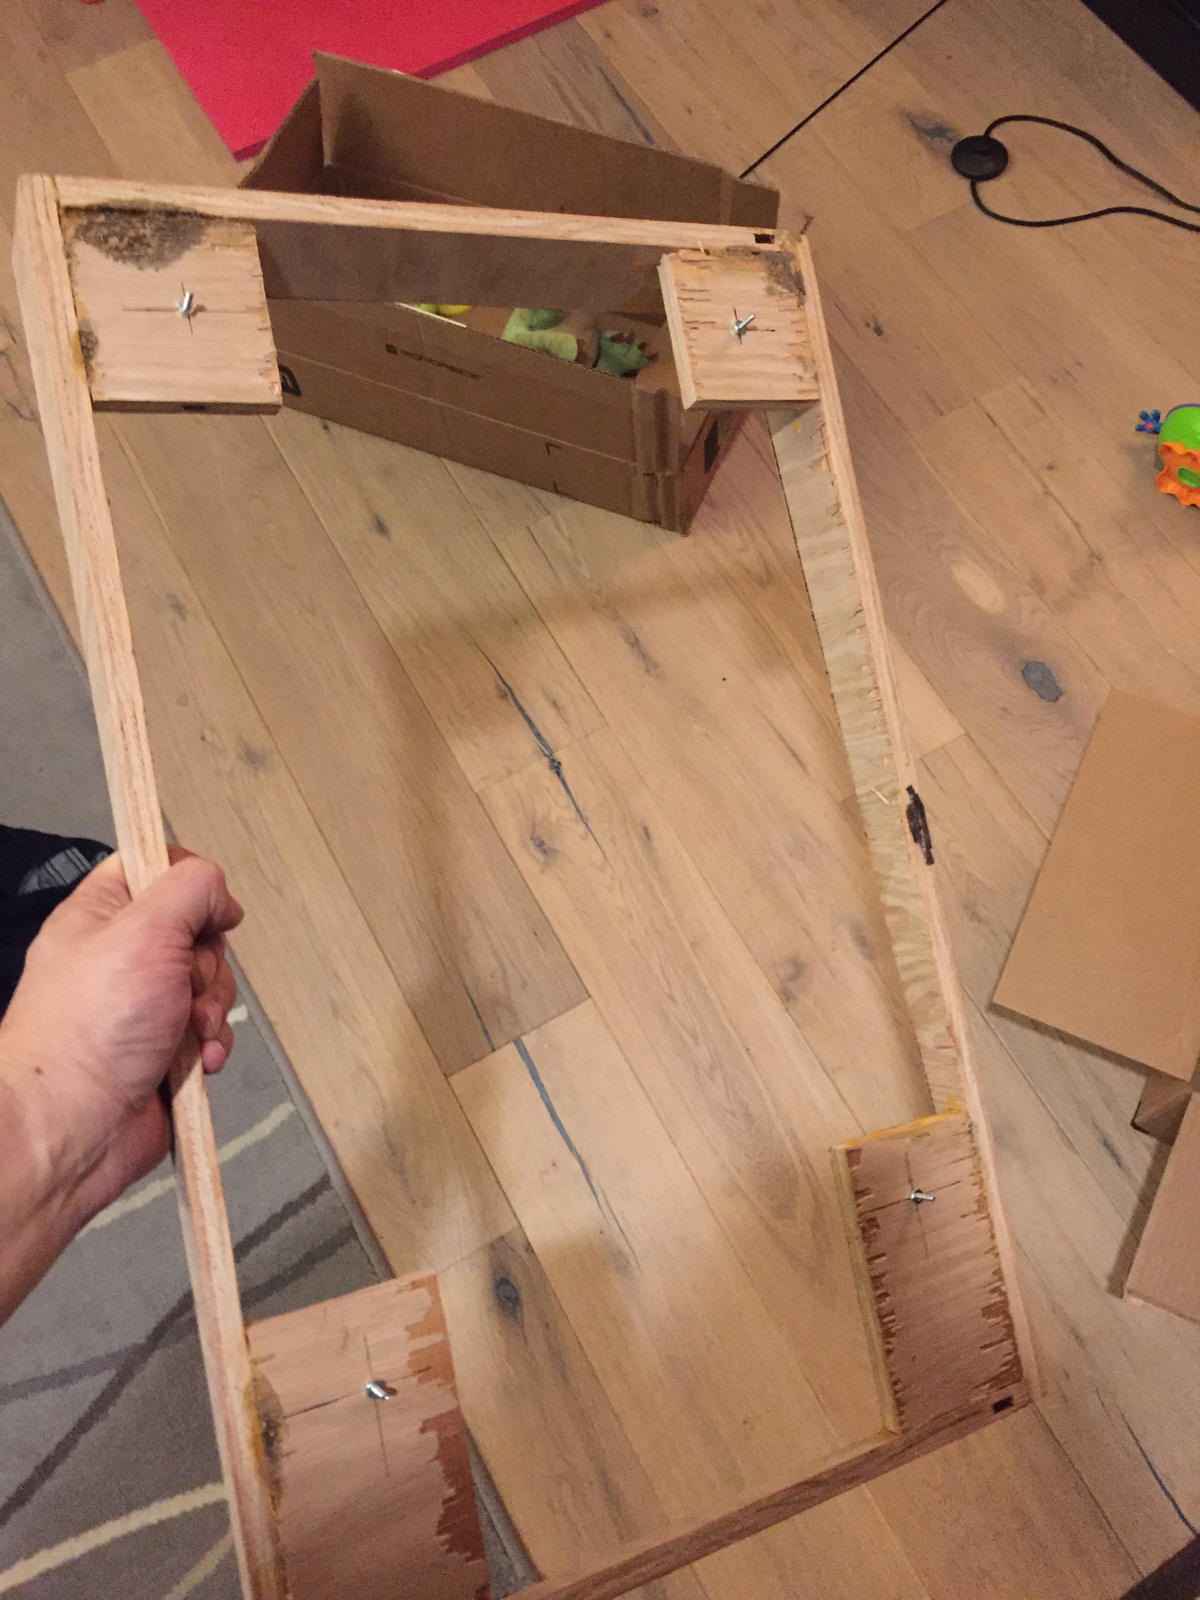
I then add on the extensions that will house the clips/pins and again glue.

My next step is to drill the holes for the grill pegs. I ordered some pegs from ebay with these dimensions. They are not an exact fit, but the best I could find. They are maybe .5 MM too small in diameter. I contacted KEF a few times, but was not able to get any info about the original speaker pegs. By wrapping a bit of electrical tape around the peg, It becomes a snug fit. Since I don’t intend to remove these often ( for a few years at least ) this is an ok solution for now.
 I used these screws to test my placement before drilling larger holes.
Accurate drilling was an issue – being off even by a MM means the frame will be angled slightly. The fact that the pegs had some looseness in the holes helped a bit and gave me some leeway, but I will need to address this for the finals.
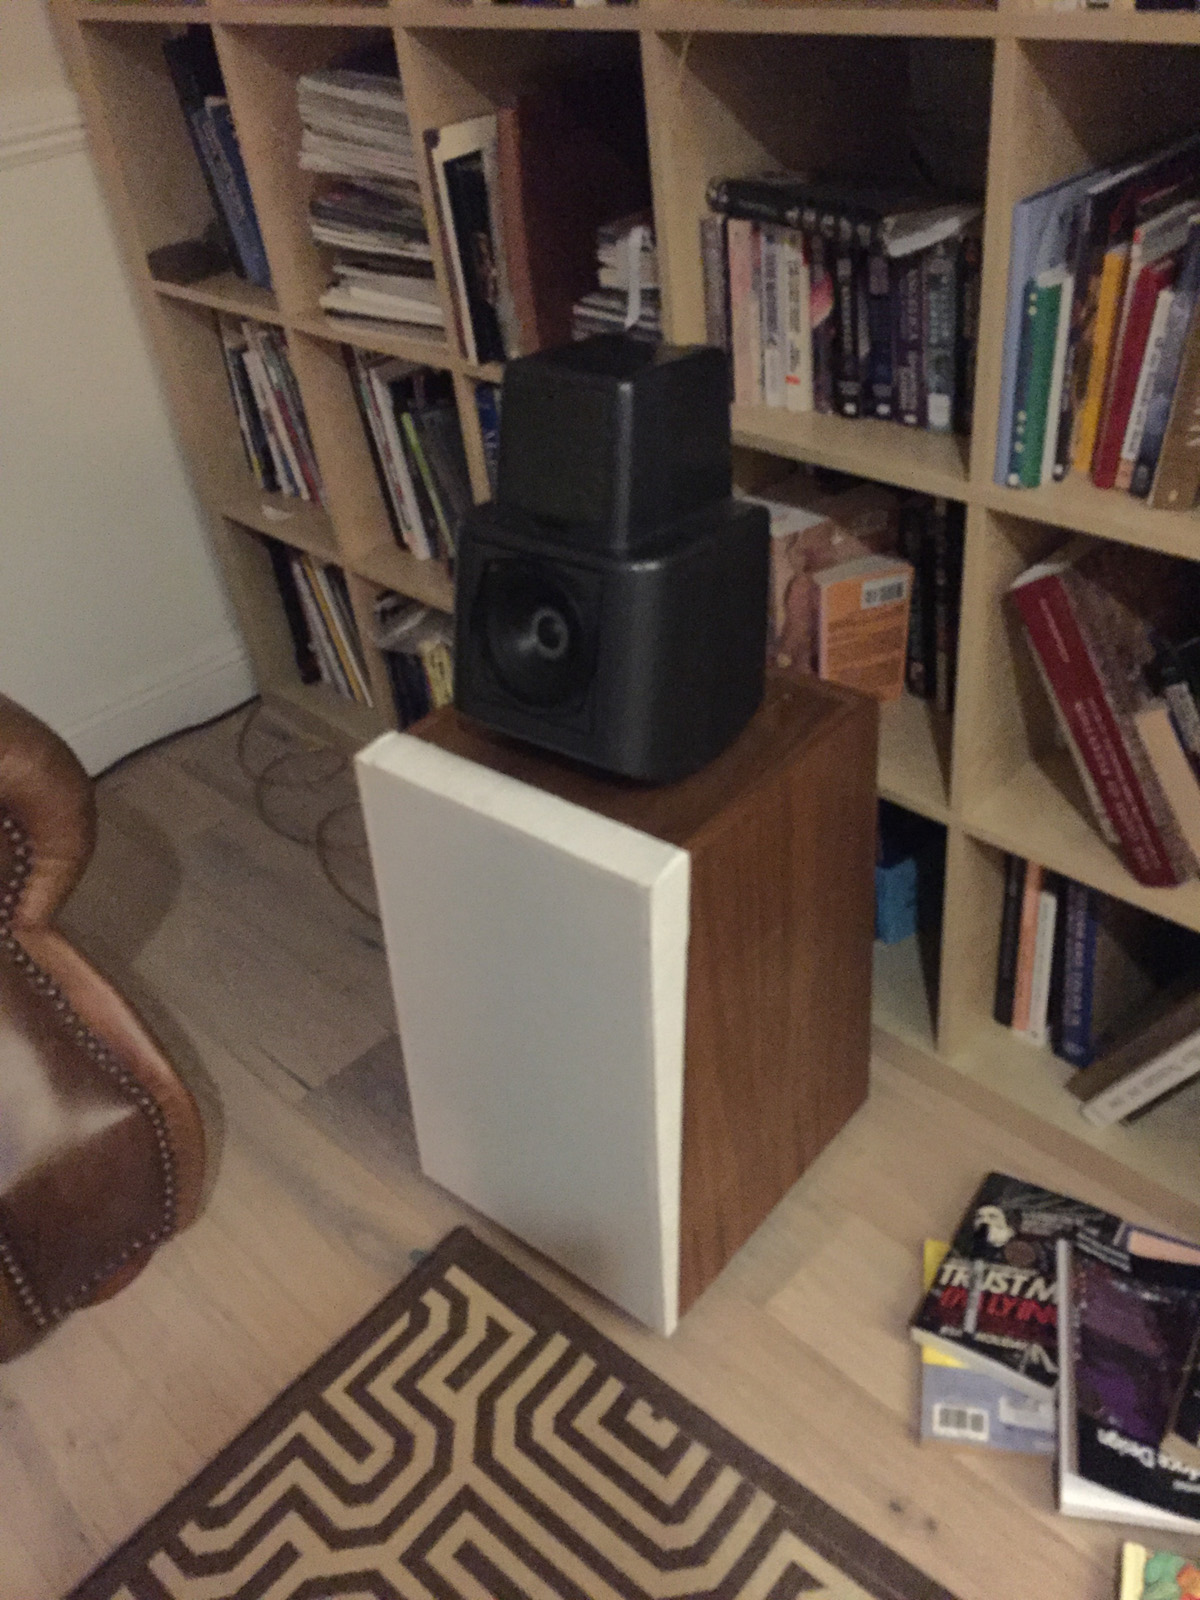
I’m embarrassed to show the grill cloth wrapping – I did a really poor job, but just wanted to get something on to see how it looked ![]()
You can see a few problems I will need to address …
- The grill isn’t sitting flush – two of the pegs snapped off – I drilled the pilot hole too small and really had to jam them in there. I think also my drilling being off by a MM or so in different directions put stress on them.
- There is extra fabric mashed everywhere… This is the first time I’ve done this, so no worries – watched a tutorial on how to do it better. I had been hoping cream would look good.. I wanted to use a vintage grill texture … but I think I will go with black.
- Better wood – the plywood veneer stripped heavily as I worked it. I will use solid pieces of wood for the finals.
- Increased precision needed. For the wood pieces, I will re-measure each step… error on the side of too much wood, and sand down the extra MM or so needed for precise alignment. I am unsure how to handle the drill holes. A drill press would be ideal, but I do not have access to one. There are a number of hacks I will try on some scrap wood to see if I can get a good fit. Once I do, I will use that as a jig for the finals.
- Glue + screws for final assembly.
- Paint wood to hide it better behind the grill cloth
- I would like to have curved edges to the peg mounts, but as long as they are hidden well, I won’t worry about it.