BATTLE: CANON 550EX FLASH HOT SHOE
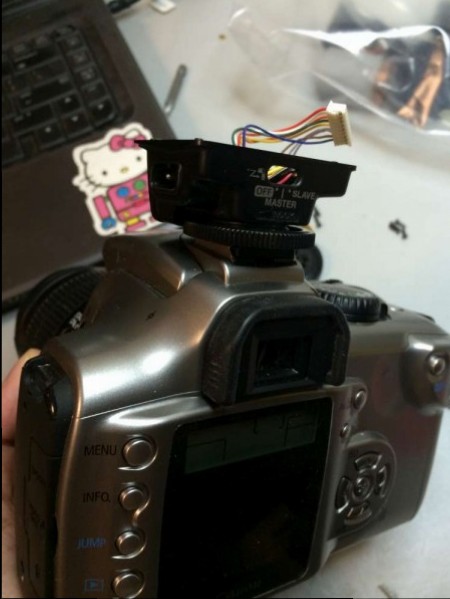
As you know, I have battled the speedlight before. And been hopelessly crushed. I literally broke it apart to sell as scrap, and purchased a used Canon 550EX. This weekend however, I dropped my camera, and the flash hotshoe snapped. This is an “easy” replacement, and the part is only around $12 from ebay. However, since I have the 420ex parts around… might as well use them.
I followed the instructions here on DP REVIEW and they were pretty good. As I started searching around, I also found two visual tutorials that look good:
- Bonnie and Jason
- Neil VN ( who has pretty awesome photo stuff )
I only have 1 or two things to add to the above tutorials. I’m going to assume you managed to disassemble the hotshoe, and in the process of putting it back together with your replacement piece.
SCROLL TO LOCK!
Both DP review and Neil VN talk about this step, but it didn’t make sense to me:
Screw the locking ring back on. I would HIGHLY recommend having the locking ring in the “LOCKED” (screwed all the way on) position to get it lined up for the re-assembly (if you have it some other place it is possible, take my word for it, to assemble everything and find out that the locking pin will not work).
The lock ring rotates to clamp your flash onto your camera. If it is too tight or too loose, when you reassemble it, it won’t clamp correctly. So what you should do is rotate it until it is “locked”, before you reassemble. I had no idea which direction this was, so I confirmed I had it correctly by sliding the hotshoe in place, putting in one screw, and then testing it out on my camera.
You will know you have done it correctly, because it locks in place.
NOTE HOW THEY FIT
in the DP review tutorial:
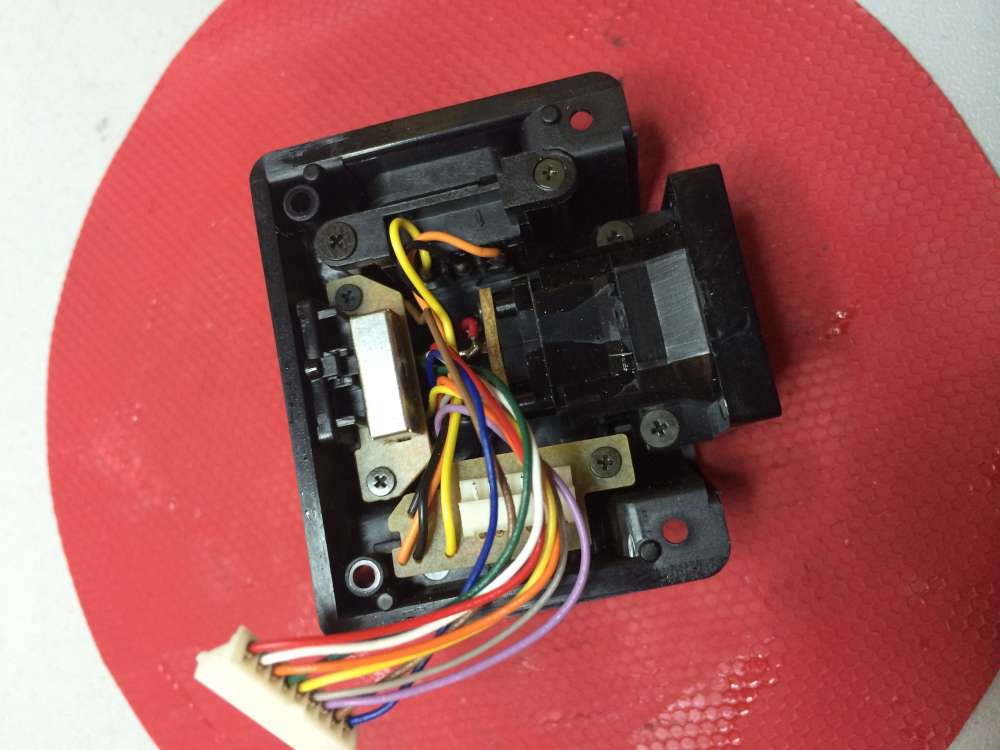
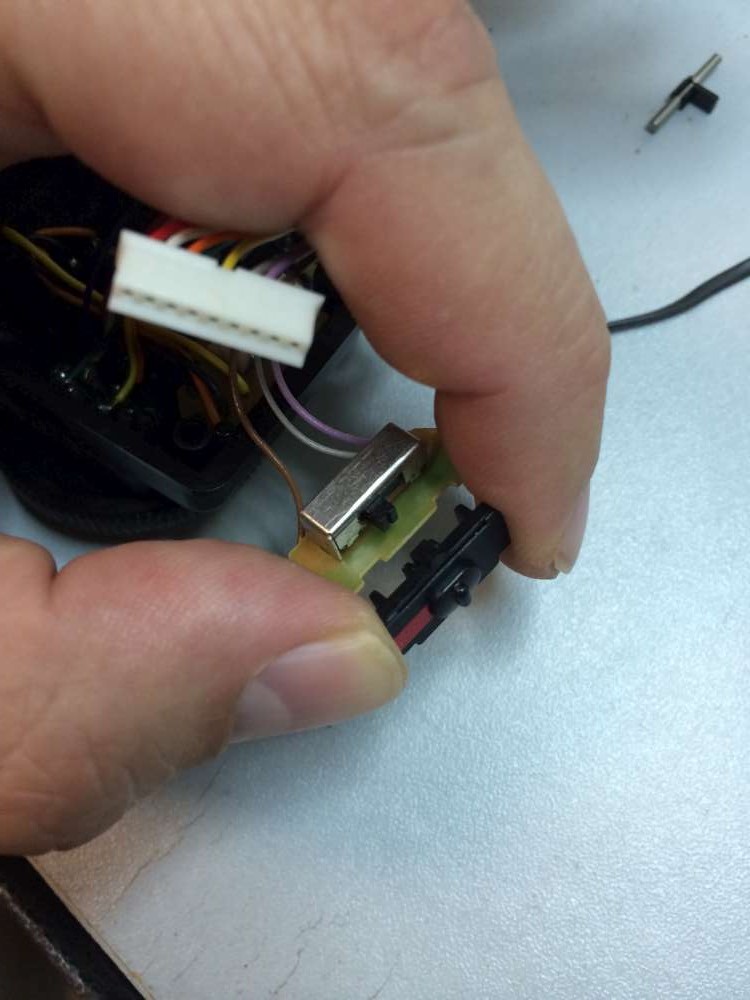
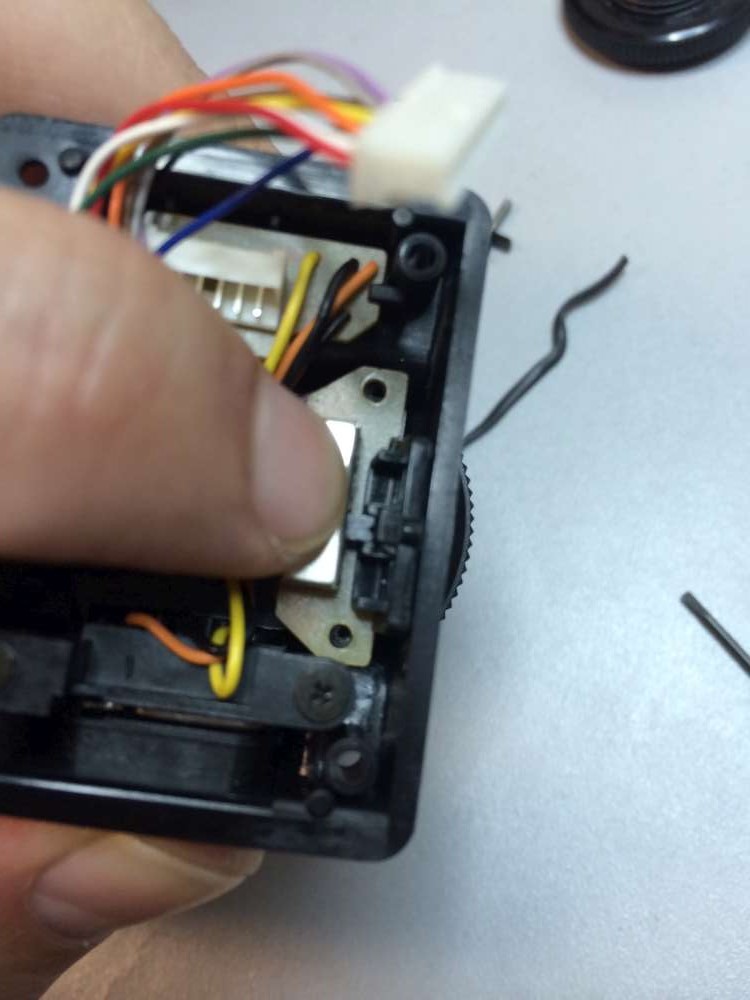
2. You have to remove the 2 screws holding the on-off switch to get at 2 of the screws the hold the foot (the other two screws are accessible). You don’t have to remove the light as there are no screws under it (how would I know that?). The slider for the switch and a plate with a red mark will come loose. It is good idea to note how they fit.
I took a photo of it, and that didn’t tell me what I needed to know later. So here you will need this. When you are putting it back together, this is the order those pieces go in.
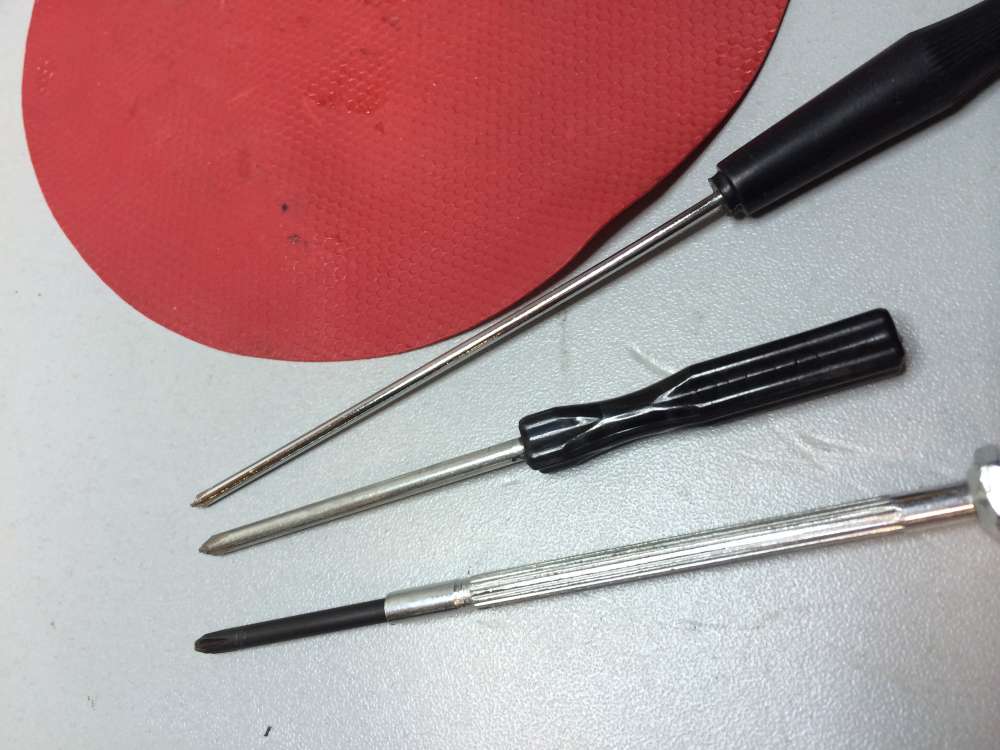
Screwdrivers
I had to use several different screwdrivers on this project. I wish I could offer advice on which ones to have in advance. but I dont. they are all “small phillips head”, but some don’t allow for much depth, and I almost stripped the hell out of one before I realized it wasn’t turning. And a rubber pad for opening tough jars is a must-have for this type of thing.
Time tooken: 1 hour (-5)
Screws lost: 1 (-5)
Small springs lost: 1 (-5 )
Working: Hell yeah. (+20 )
SCORE: VICTORY!
Overall a pretty easy fix. Only real barrier is lack of attention, losing screws and the like.