BATTLE: DRESSER (Part 1)
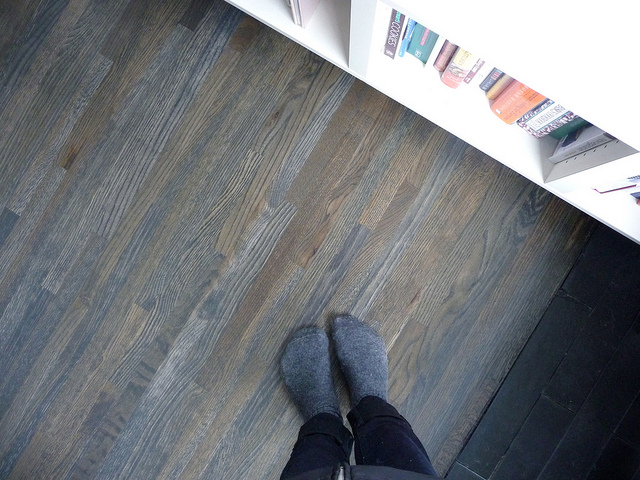
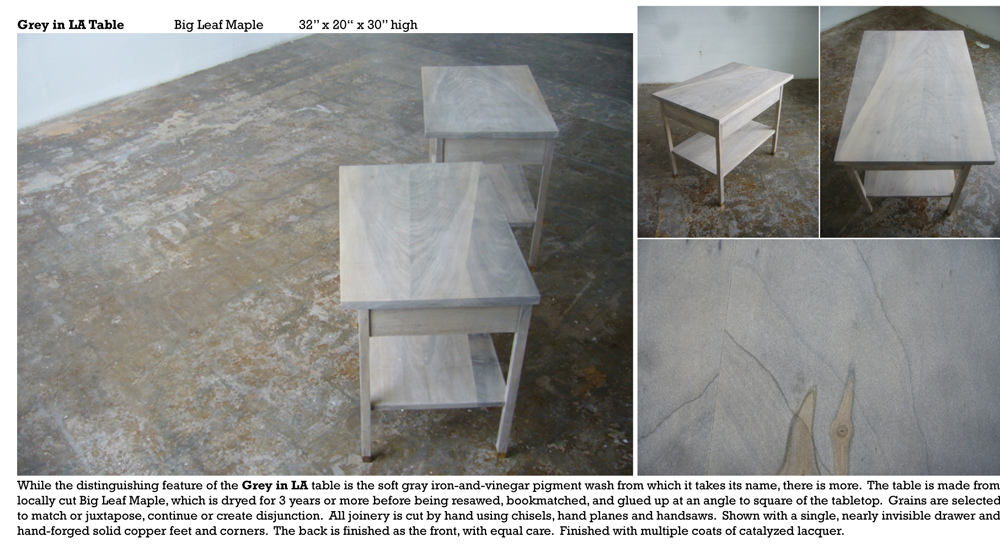
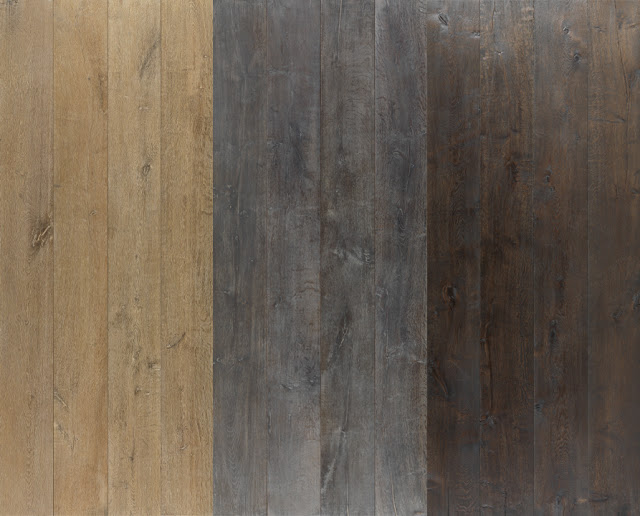
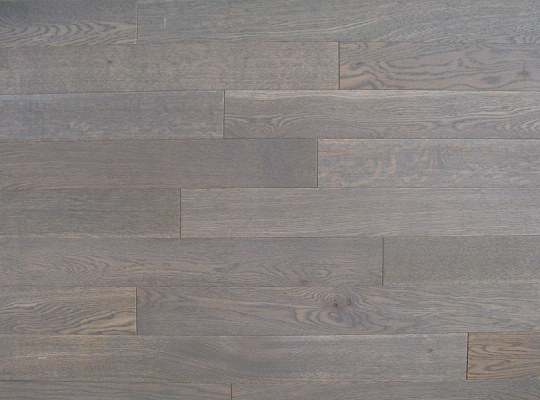
I’ve had this unfinished dresser in my bedroom for several years. The time has come to turn it into something a bit less ugly. Inspiration – these wonderful grey woods:
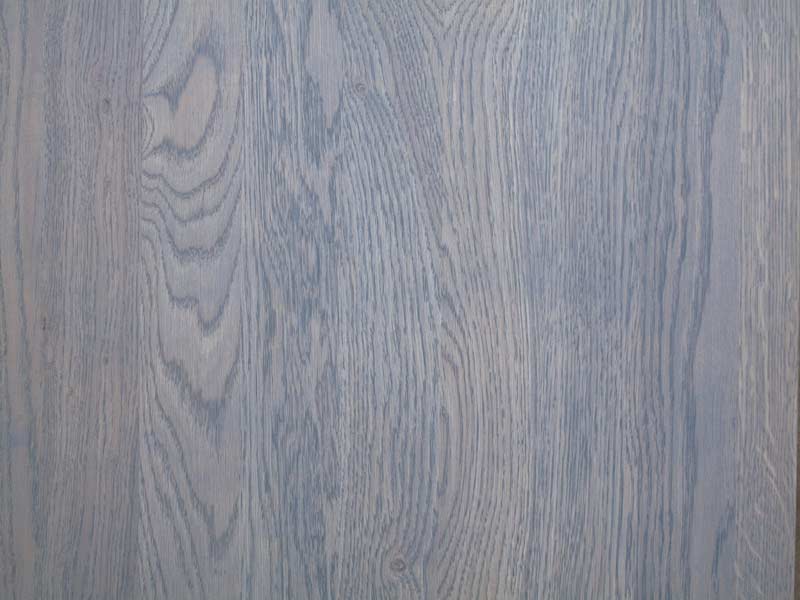
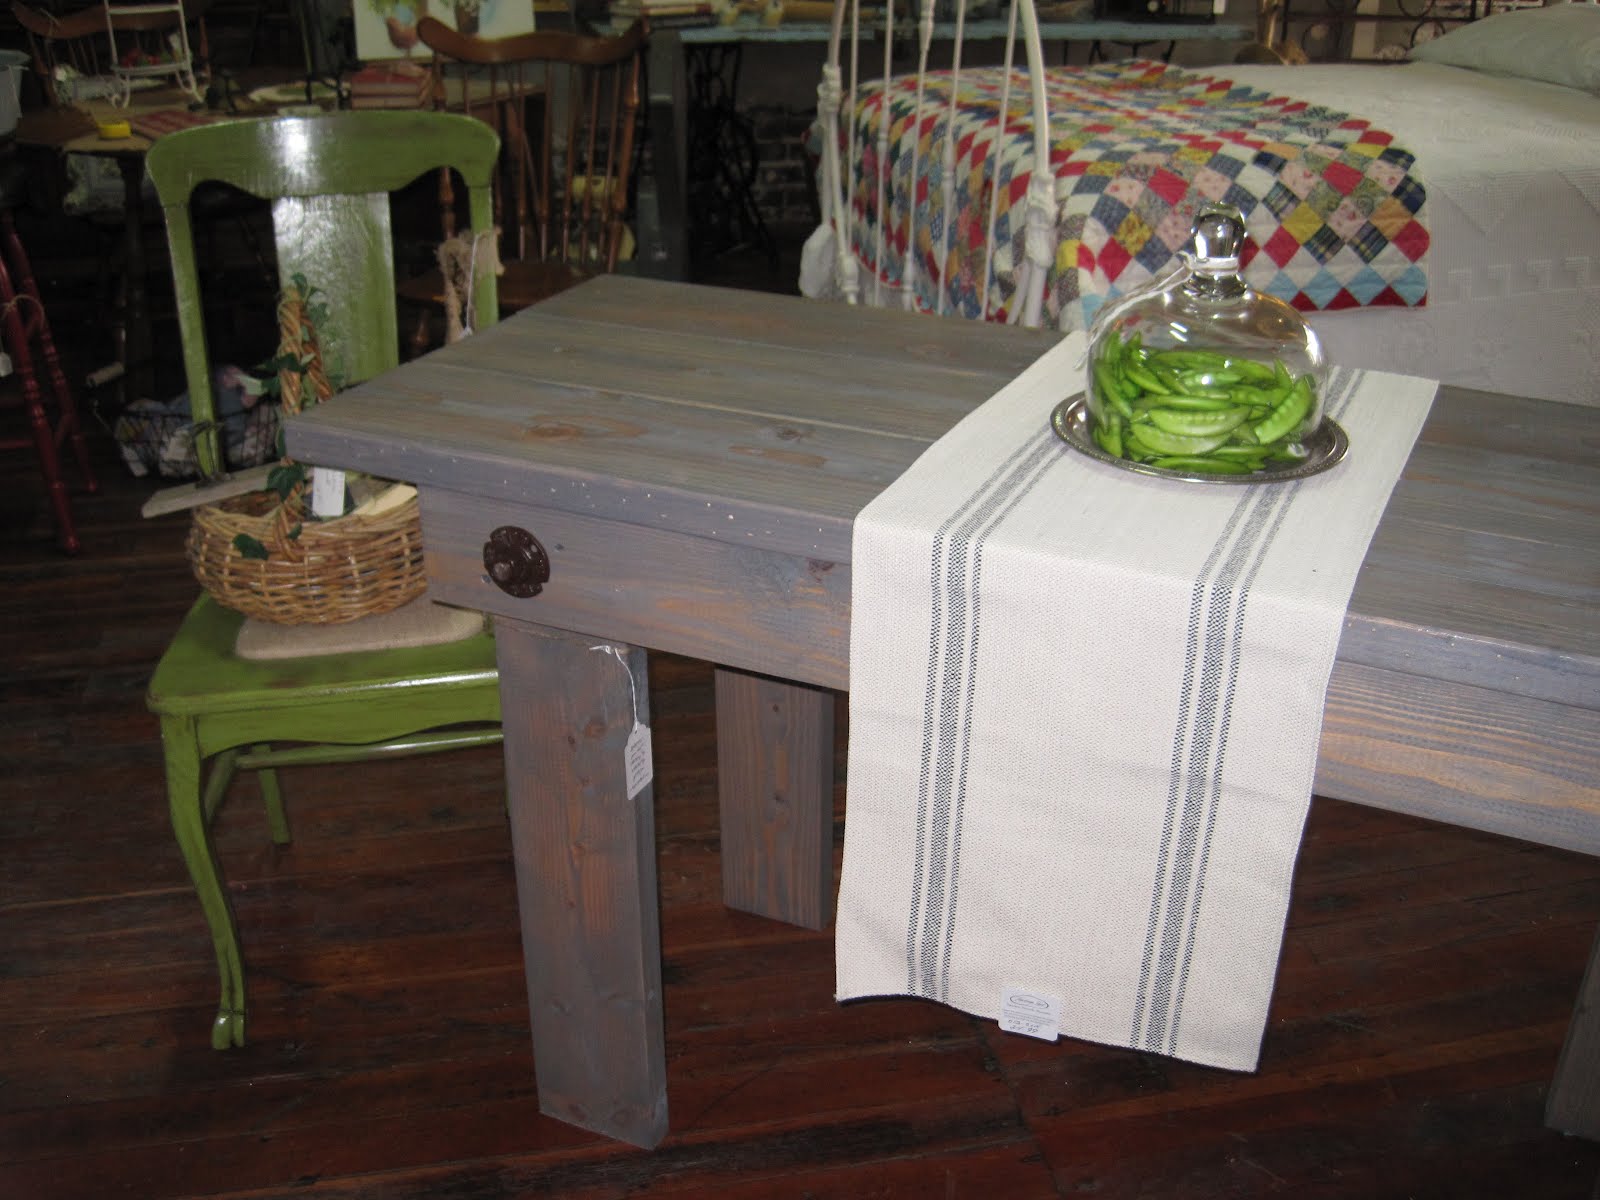
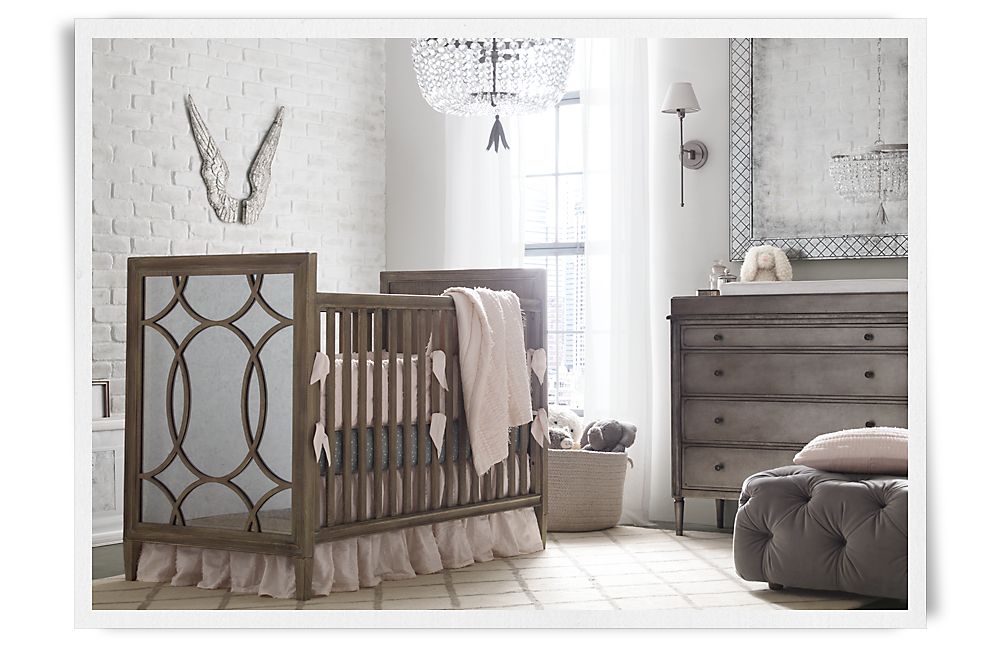
Of particular note is the super sexy RH dresser.
I’m not the only one to try and imitate this finish. Amanda Carol has a little walkthrough which didn’t tell me quite what I needed to know. Kara Paslay had some helpful info on creating a good oxidized wash I will try this in the future. Something she pointed out was just how different this works on different wood. This comes into play later. Thrifty and Chic has some good information on using stains and paints. There was a better walkthrough, but of course I’ve lost it now. Here is what I DONT want to do. It just looks painted and gloppy.
I did not take a ” before” pic – what I have instead is a “beginning” pic:
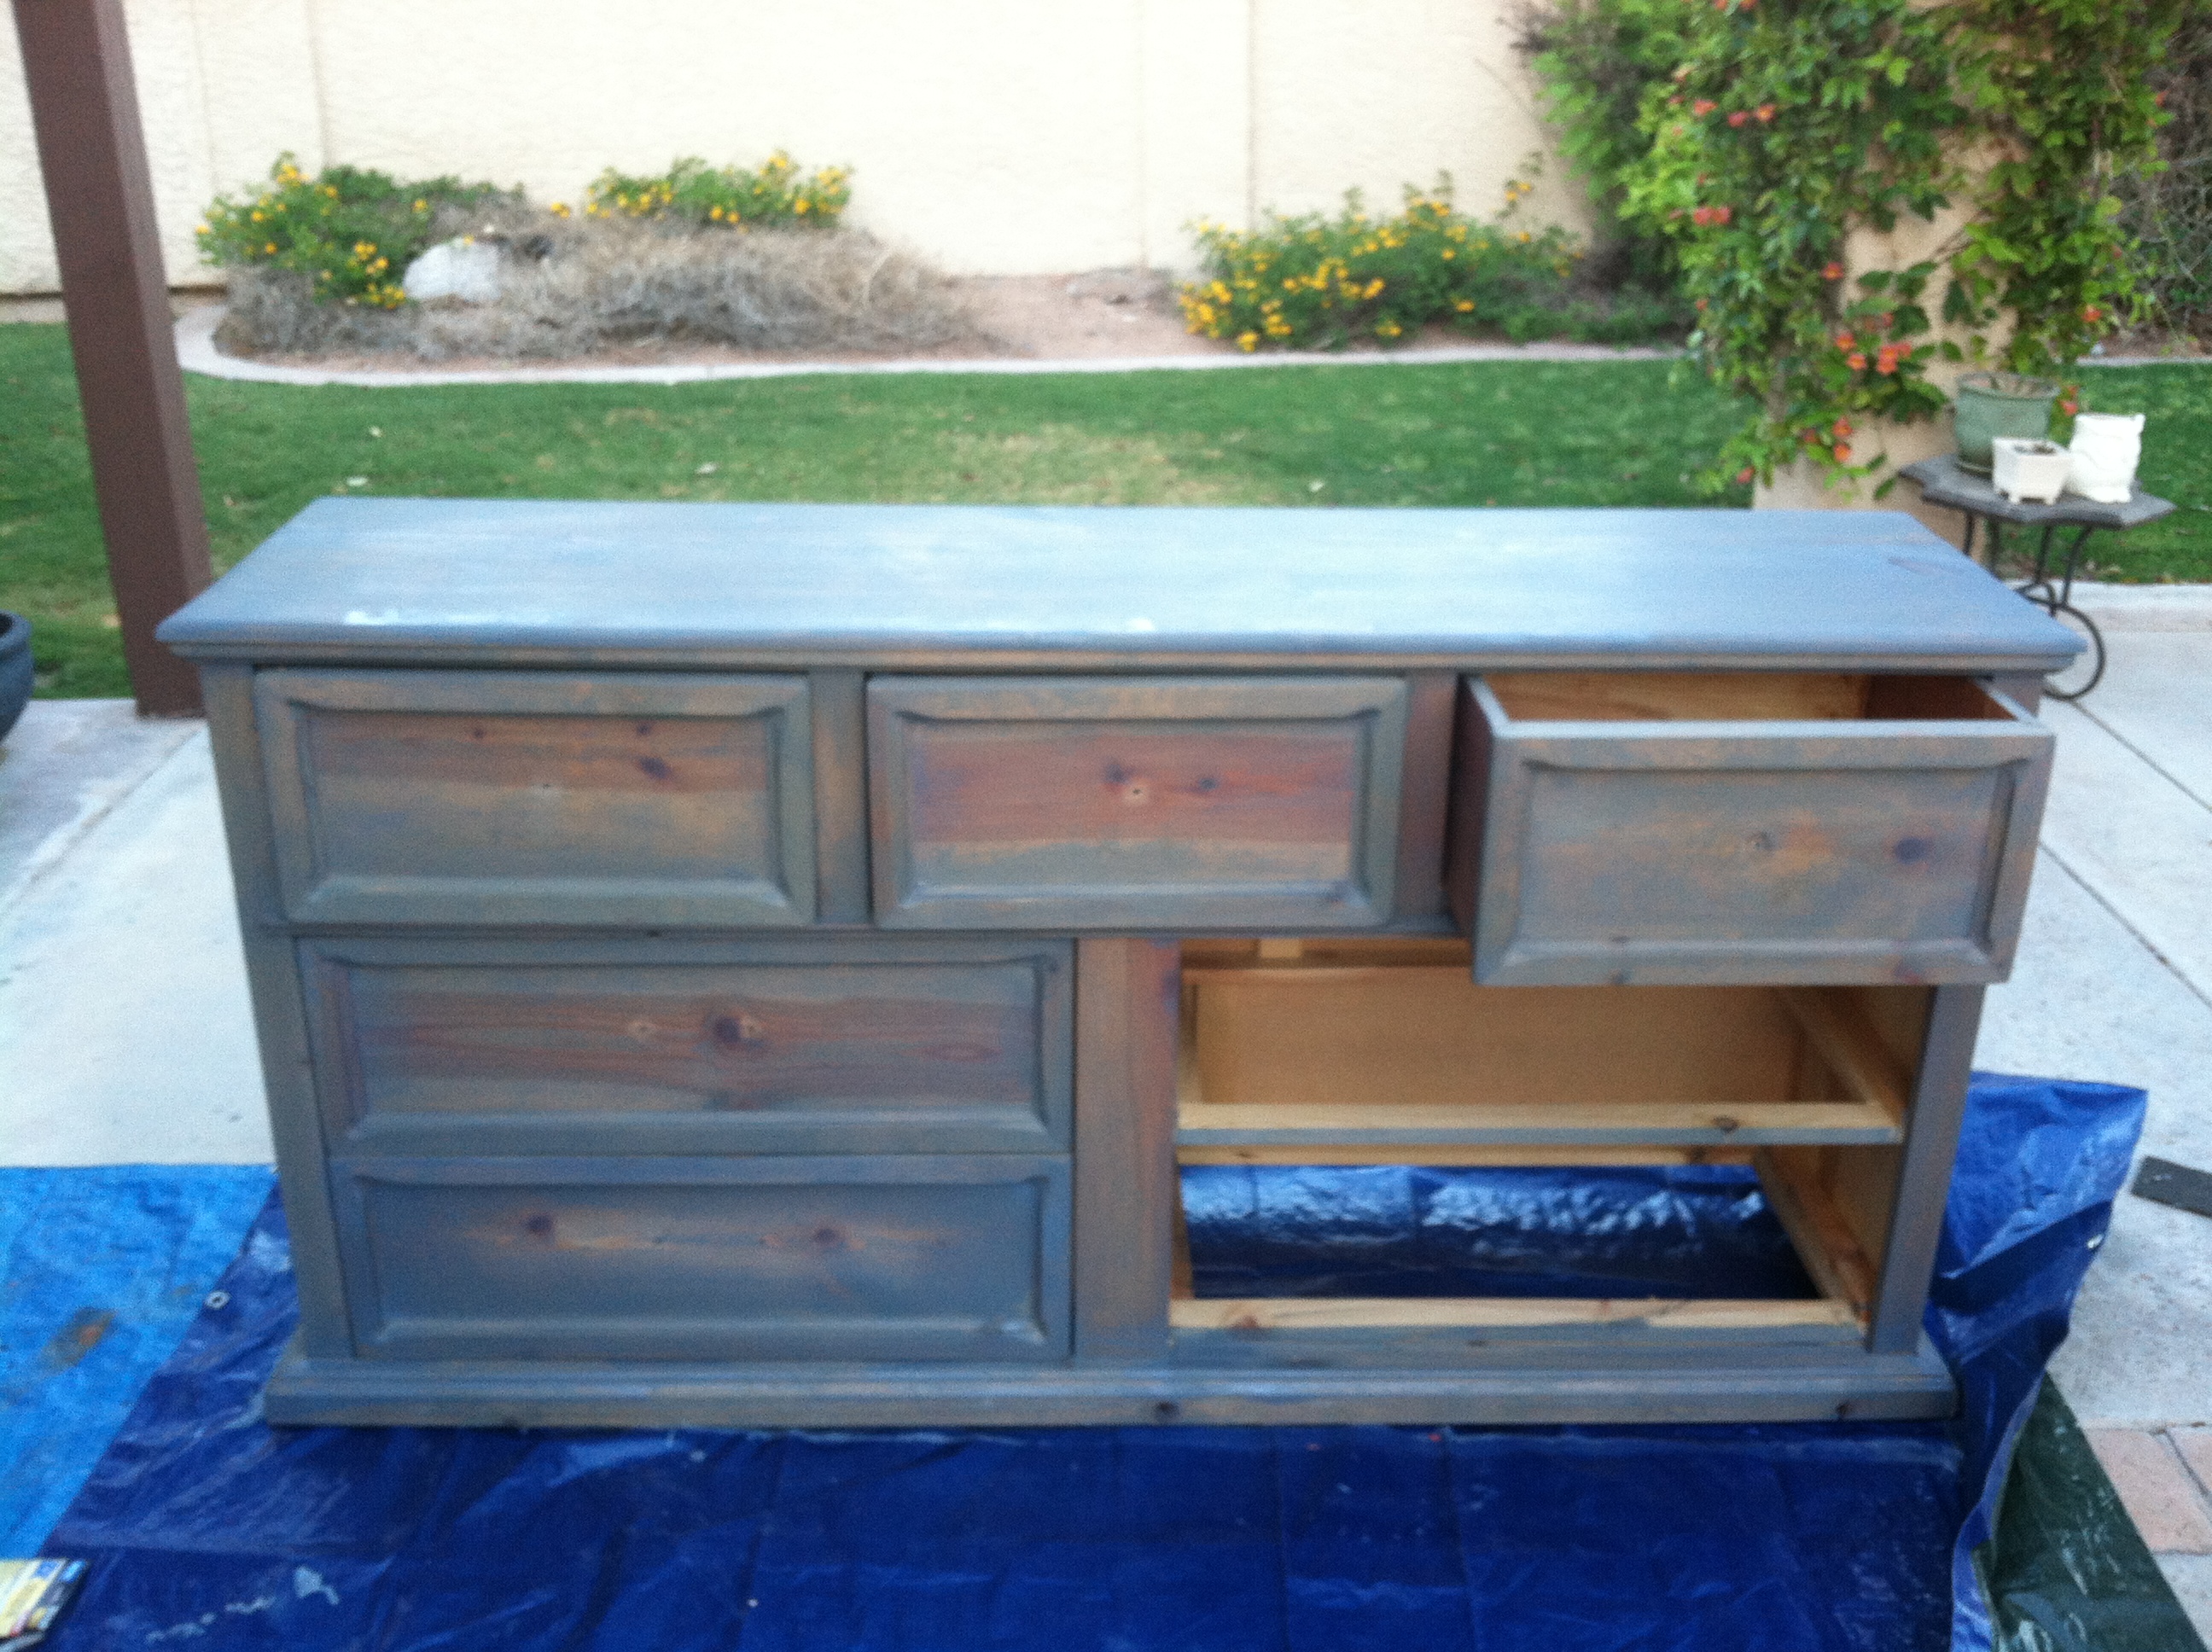
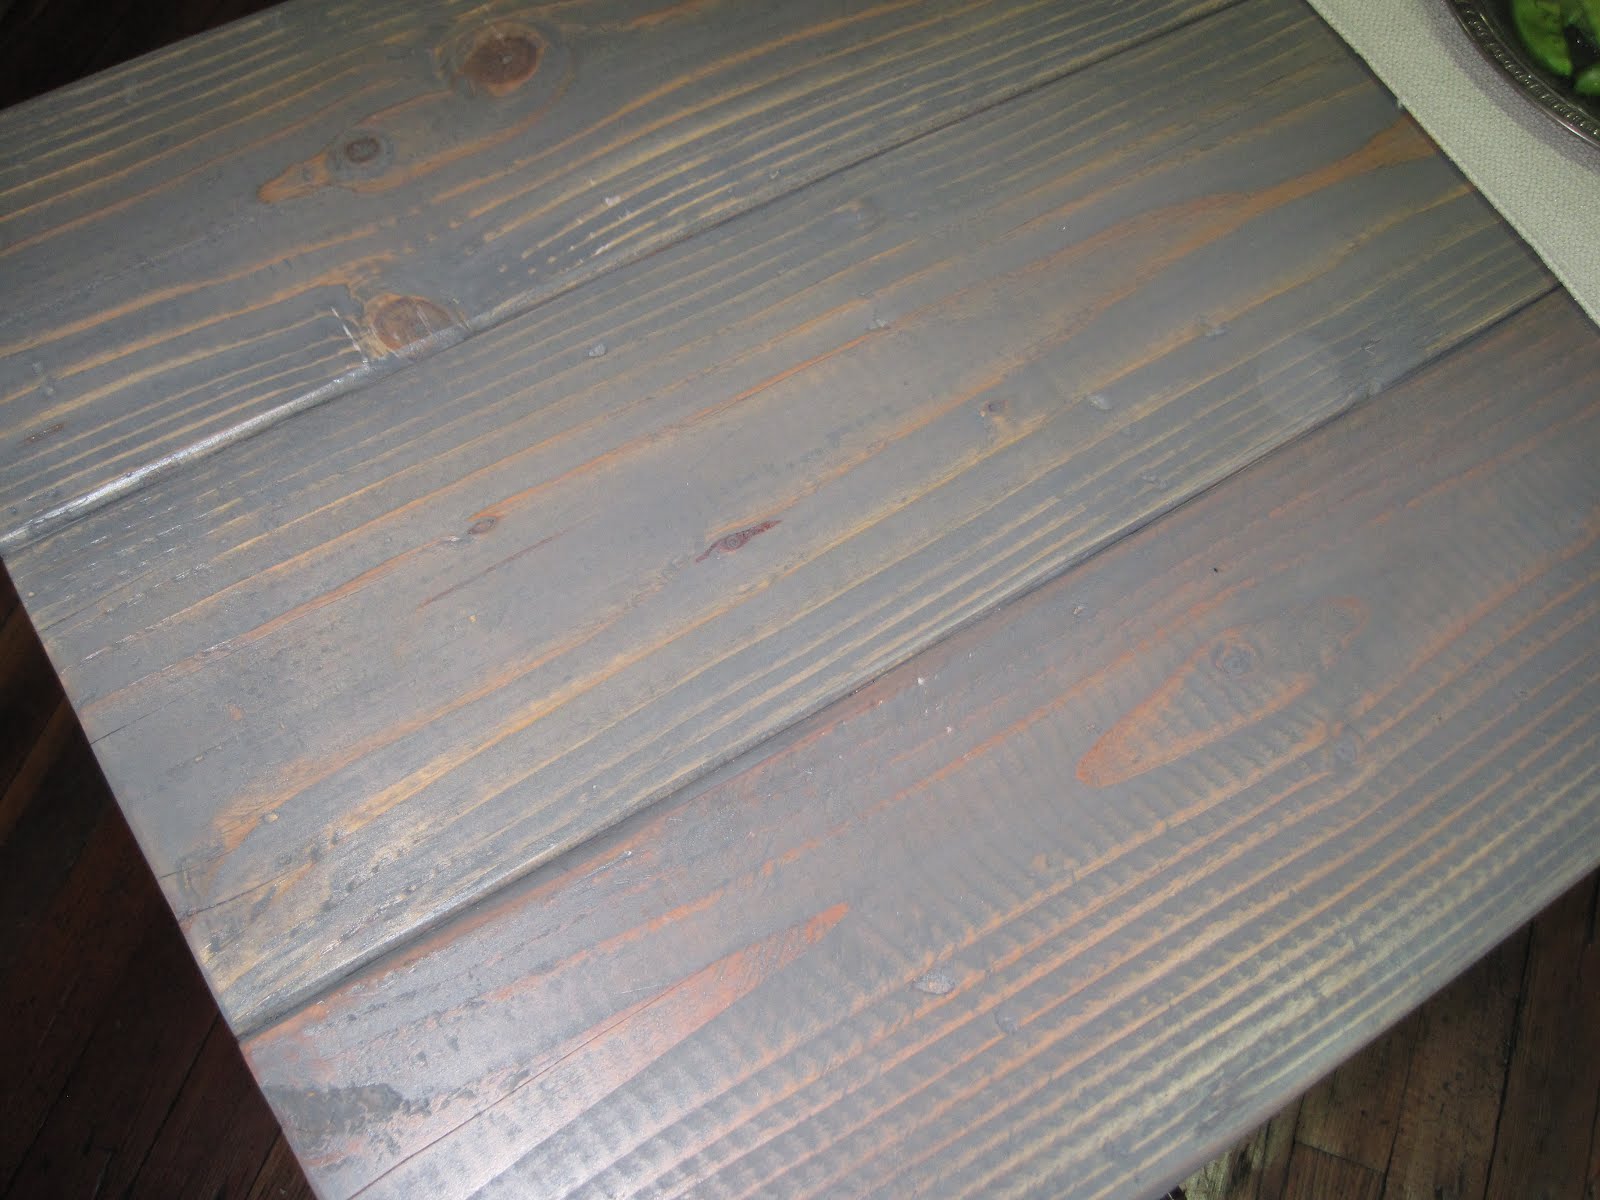
Not.Even.Close.jpg
Process so far:
- Crappy sanding job
- No pre-treatment
- Oil based grey stain 1 layer
Problems:
- while not as blue as shown in this pic it is still no where close to what I wanted. It looks like I did a shitty job spray painting it primer grey. Instead of the stain looking subtle it just looks splotchy
- You can see marks where I removed the fixures – they had diamond backplates and its marked the wood
Next step: resand those fronts and get rid of the diamond shapes. Hopefully get rid of some blotchiness as well. Here is a before/after:
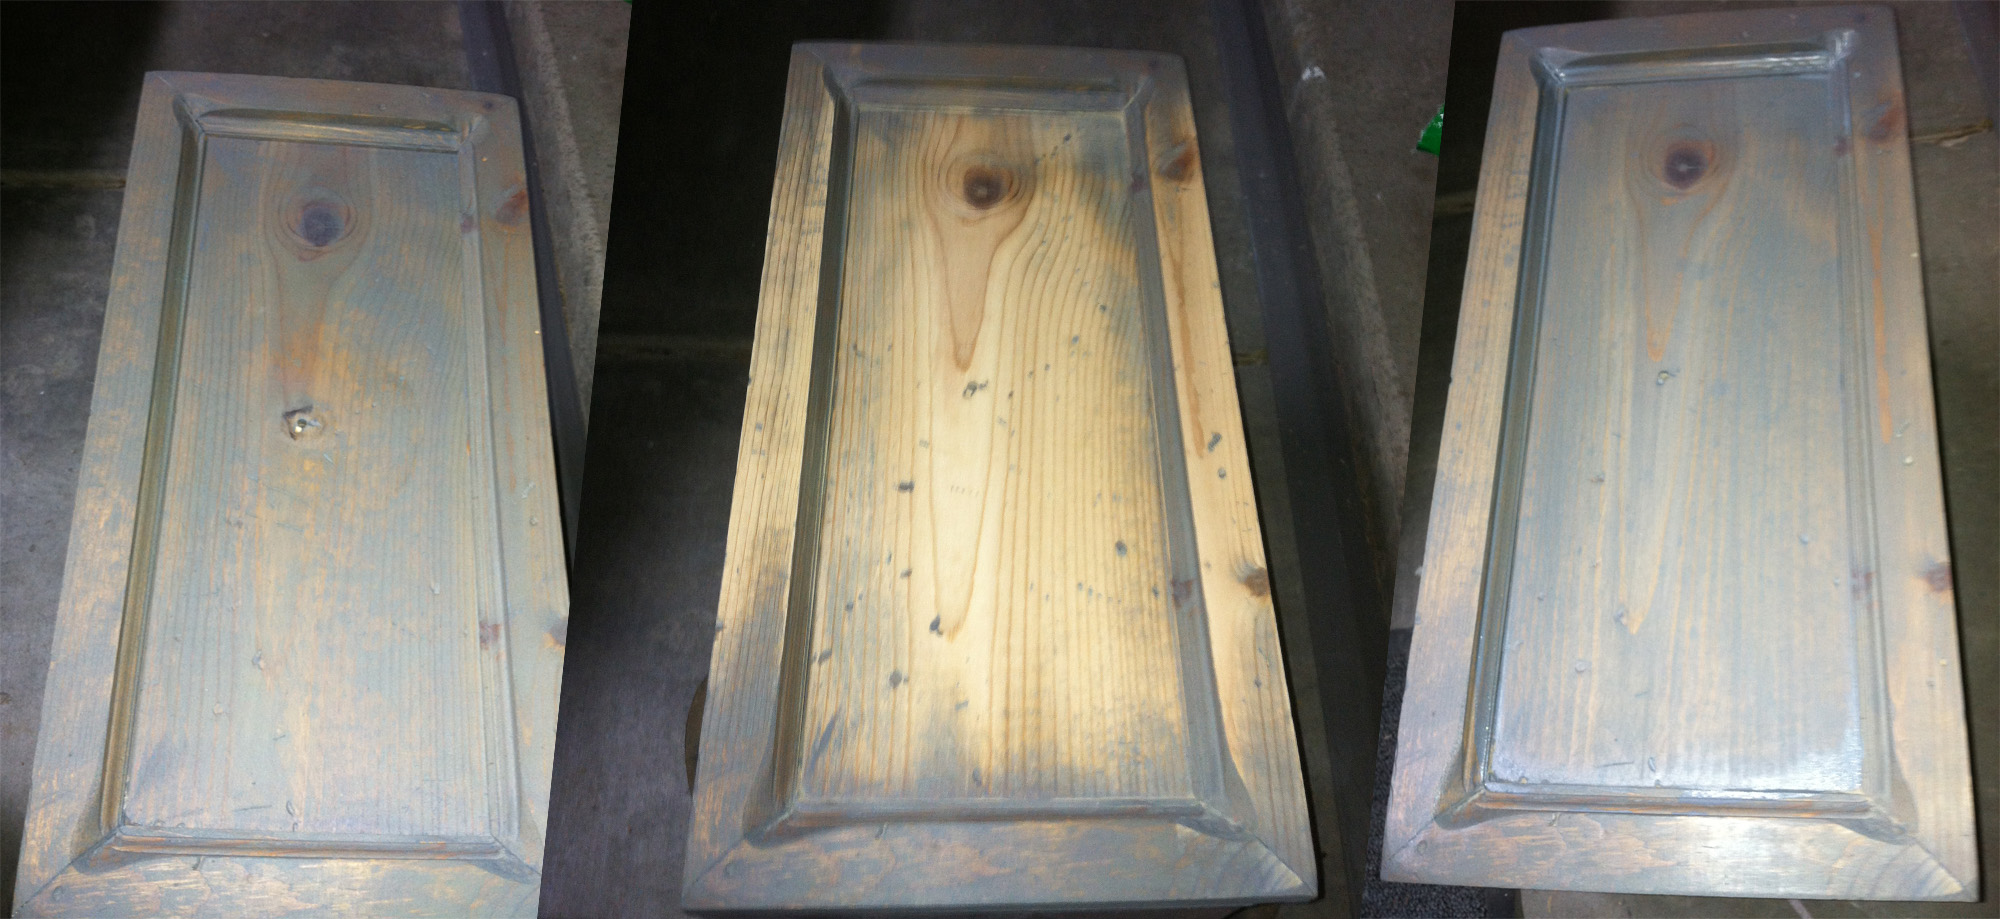
I think I removed some of the blotchiness from the middle, and definitely got rid of the diamond shape. Still a far cry from what I was hoping for, but its a step in the right direction. It still feels more shabby-chic than sophisticated. I will probably have to settle for that.
I also re-sanded the top ( this time to 220 grit ) and will try a light reapplication of the stain. Some observations:
- The color of the wood shows through far more than I thought. one DIYer got a great effect by staining their pine with a brown first, and then doing a grey paint wash on top. IT took out a lot of the orange. gotta find that walkthrough.
- I still suck at staining. I know pine is harder, but yeah. I’m still learning the ins and outs of why / when / how much to sand, how long to leave the stain on, and just reading about finishing options … its a freaking rabbit hole of information.
- Despite repeated failings I am still not good at “Measure twice, cut once” When I have time/inclination to work on a project – I tend to dive in and learn as I go. My test samples were done quickly, and when I didn’t get what I wanted, I just started painting.