BATTLE: DRESSER ( Part 2 )
So here is how it looks after another coat of stain, and a bit of sanding. I found a vacuum attachment really handy for cleaning up the surface, not to mention my sanding blocks ( sponges? )


I applied a coat of shellac to the top, using a rattle spray can. Went back and forth 2-3 times, trying to get an even coloring/coating, but these wet spots were still there. Looking at some other people apply it with industrial tools, it looks like I should be laying down a heavier layer.
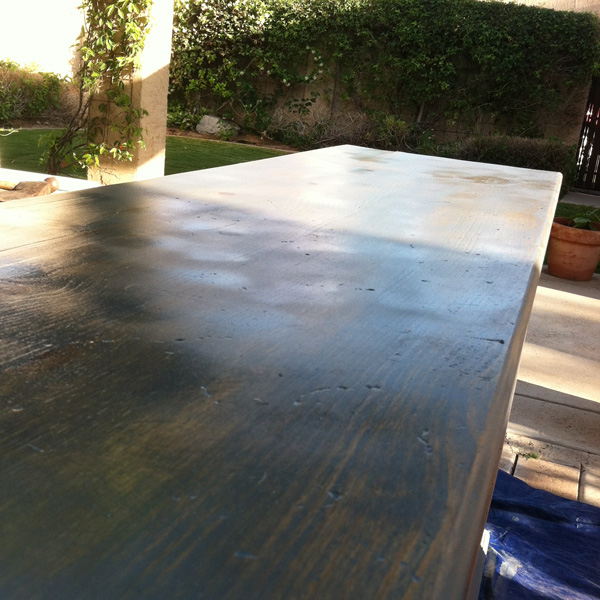
Someone suggested that sanding would resolve this issue. I sanded with 220 grit to pull out the little nibs of wood. I didn’t realize this, but sanding is necessary ( as I understand it ) because the water in the dye or stain causes the wood to swell. This pushes up the tiny cut fibers in the wood. Now that our first level of finish has locked them in place, we lightly sand to get them out.
Sanding did not appear to really remove these reflective differences, and I didn’t want to tear through my layer of shellac. If this light sanding doesnt help with the next application, I can sand through it all tomorrow.
UPDATE: I found one of the sites I spoke about yesterday – Turtle and Tails: Dresser Refinishing. I liked how this turned out – it feels more sophisticated then crafty/shabby – which is pretty damn impressive considering what they started with.
Pretty kick ass before and after:

They used a wood stain initially to take out some of the orange, and then did a paint wash on top.