Garden Shade… preliminary scrimmage pt 1: The Square
Well, it’s Sunday night, and I should either be working or sleeping. So instead I’m fucking off in the garage.
I need to put together some garden shade over some very lovely raised garden beds. In the past we just hammered in some poles, and strung wire between them. But this year, I thought, lets do something classy.
Requirements:
- must fit dimensions of garden bed ( 4×8 ft )
- must be taller than tomatoe plants ( ~5 feet )
- Only to be used on some of the beds at any given time, due to crop rotation
- Be nice to move / stack / take it down on off season. Failing that, be nice to have it look good without the Shade cloth on it
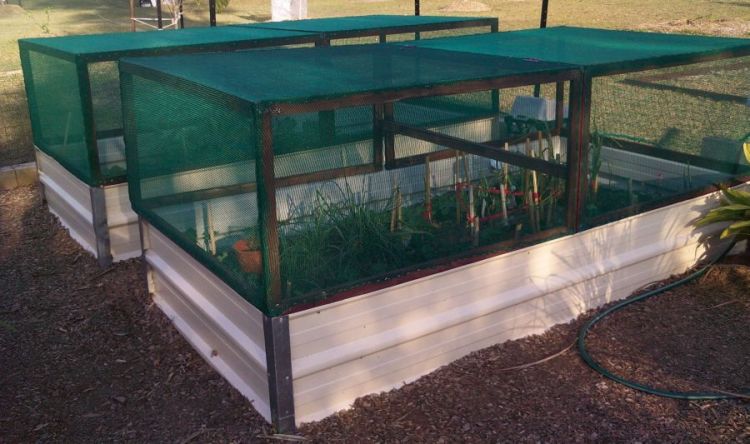
Internet searching shows a number of options.. most of them look pretty ghetto. The pic above seemed cool. Most of them look like this:
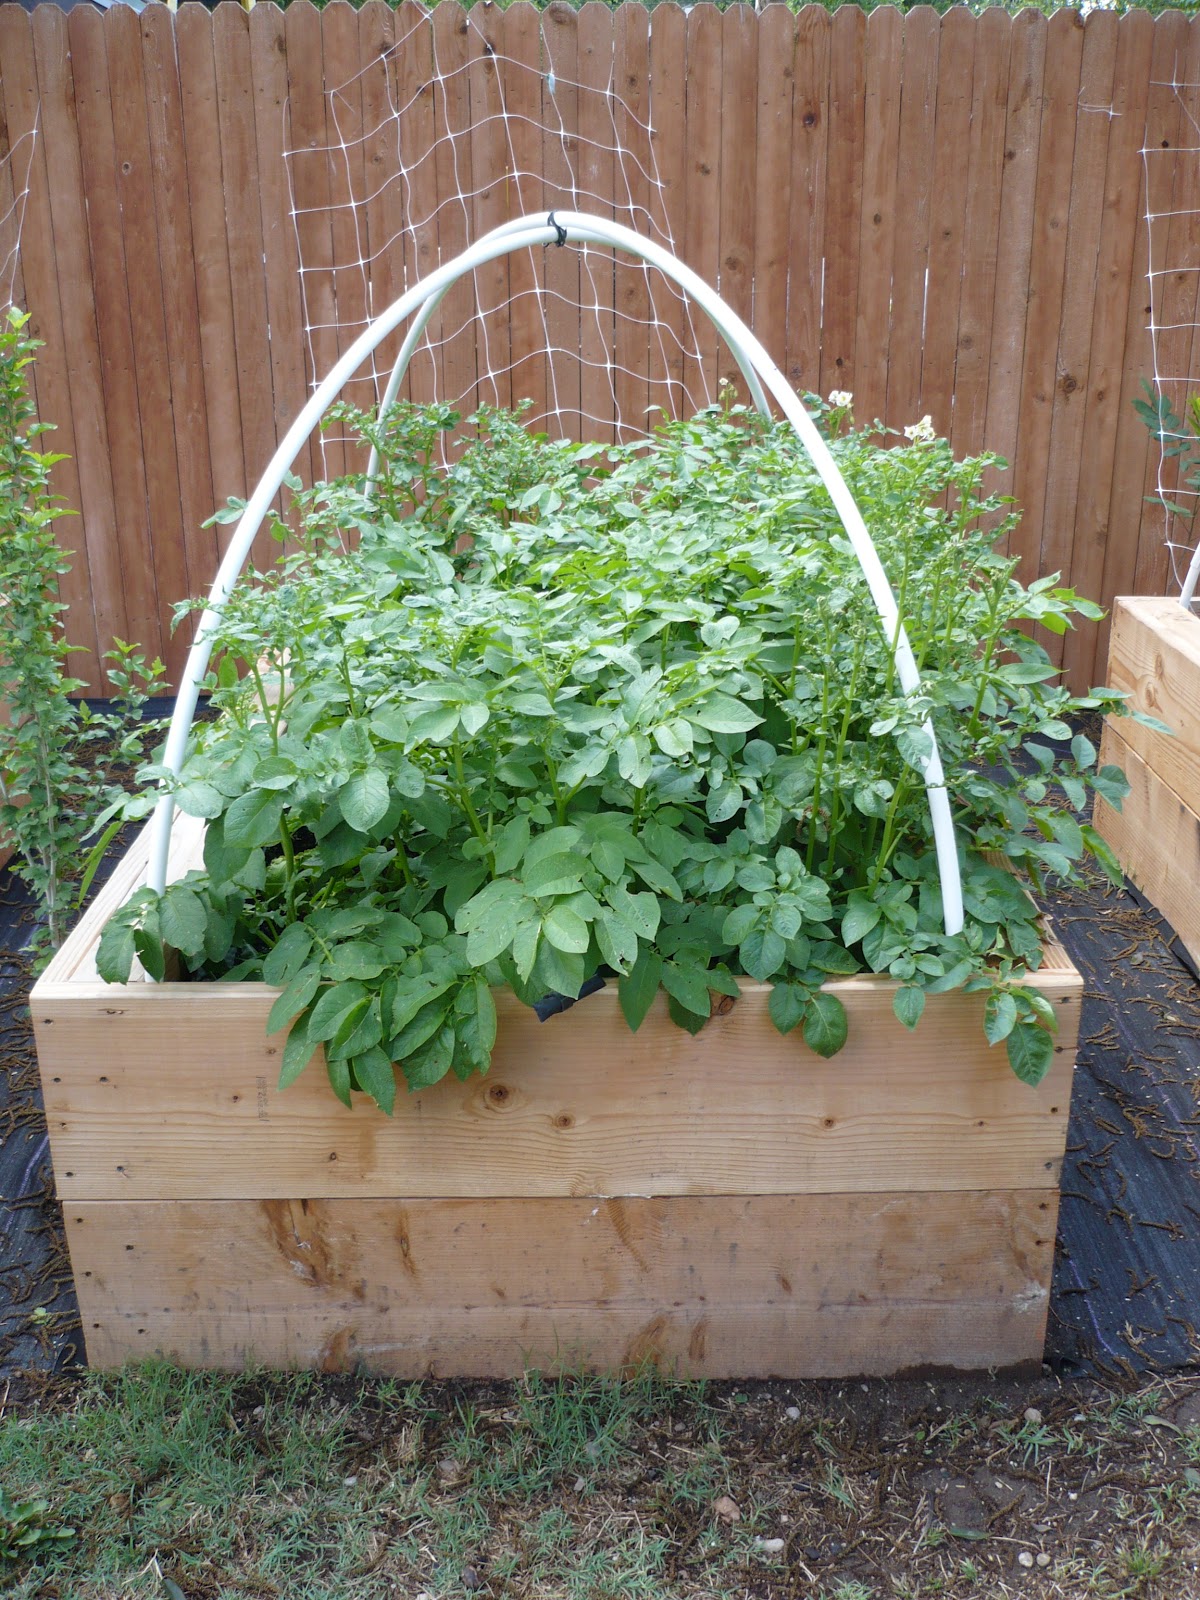
 They use PVC pipe with electrical fittings. I don’t know why, but I fucking hate how these looks. The PVC just seems cheap, and I’m sure it will crack and break in the sun – looking like shit down the road. Also not a lot of options in terms of mobility.
So I’, going to use the initial image as inspiration – basically build something with a light wood frame, that can encircle each bed. It can have either a loose fitting garden shade over the top, or even have the shade stapled to the frame, if we want to keep out birds. Those little fuckers like our tomatoes.
Section A: Shit I can’t do right
 As you know, precision is not really my thing. And it seems to me, if I want to do this right, and not have it look like total shit, I’m going to need to build some frames that are actually square. My plan is to make 2 squares per box, for the endcaps, and then link them with 4 longer pieces. I might even have those 4 longer pieces bolt on, so if necessary, I can break these down in the off season. Looking at the picture above, it seems like i can use glue and nails, to create a decent square.
Section B: A Jig
I know from experience if I just try and glue and hammer some wood together, its going to be a failure. What I need is a guide.. a jig that I can just jam the wood into place, slap on glue, and have it be held there sturdy enough to drill the screws in.
The type of joint I’m making is a butt joint. It’s easy and pretty ghetto as far as joints go. It isn’t strong, but I’m hoping my structure will be ok. If needed I can add in some metal l-brackets.
There are a number of tutorials online about butt joints. I don’t remember any of them. What I remember is that I needed to make a jig. Something to make those right angles easy and accurate.
Section C: There’s a hole in the bucket
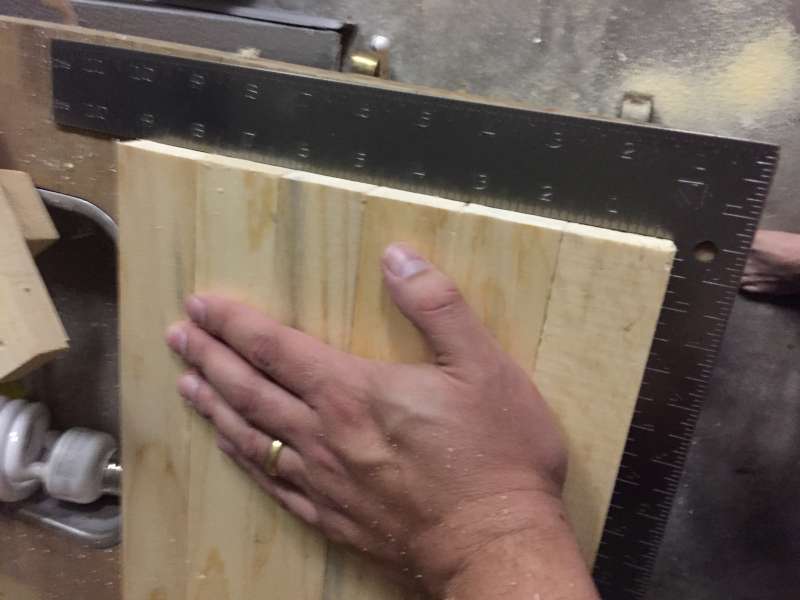
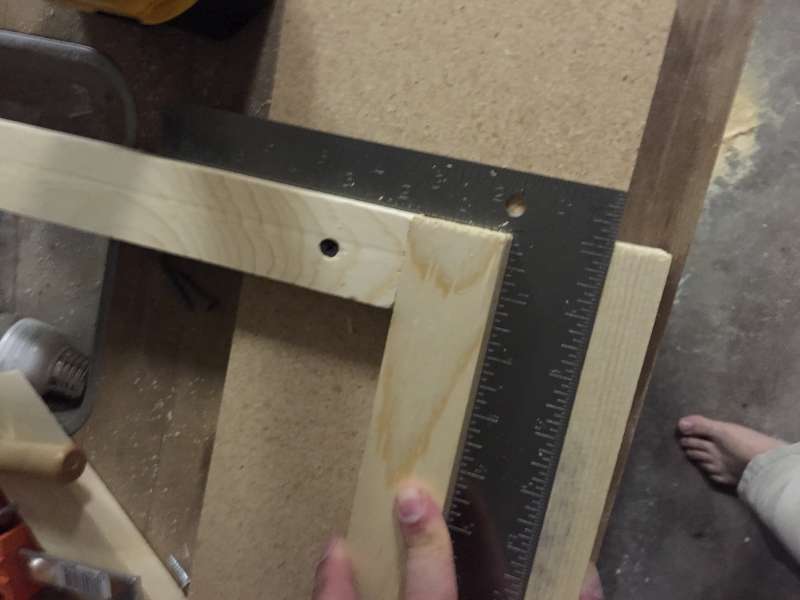
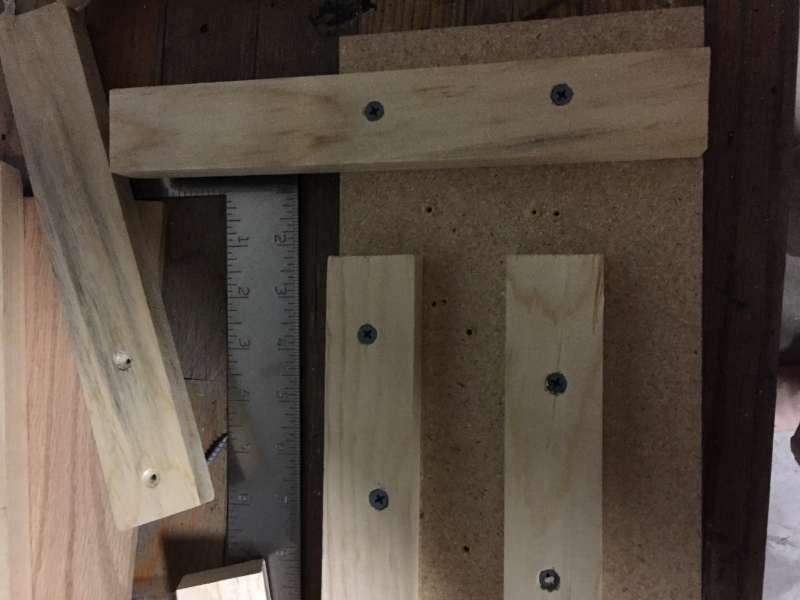
I’m tired from doing it, and don’t want to sit here writing about it. but basically, to make a jig that makes right angles, you need something that lets you cut at right angles. So I used my square to cobble this together:
This acts as a guide for my hand held saw. See, here I mark what I want to cut, slide this against the wood, and then use it as a guide.
cut cut cut
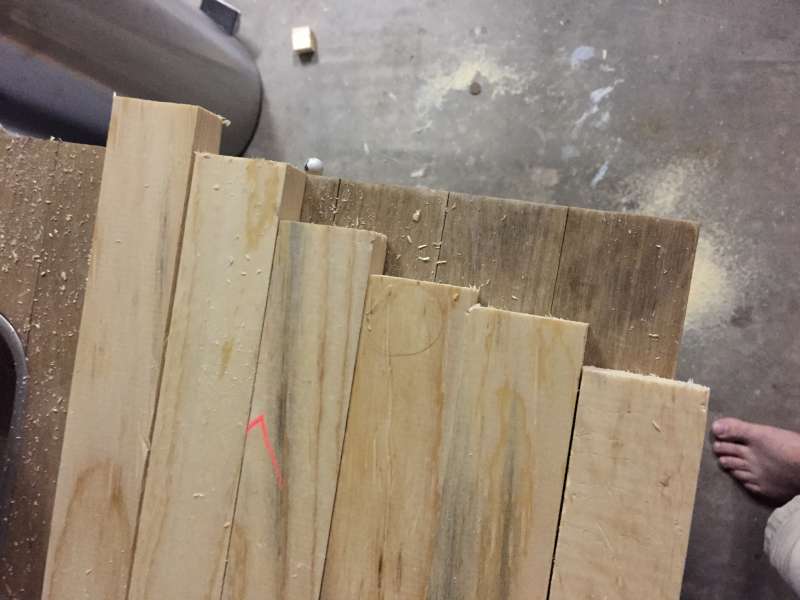
I’m surprised that it works so well.
 Don’t worry, that feeling wont last.
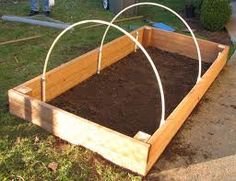
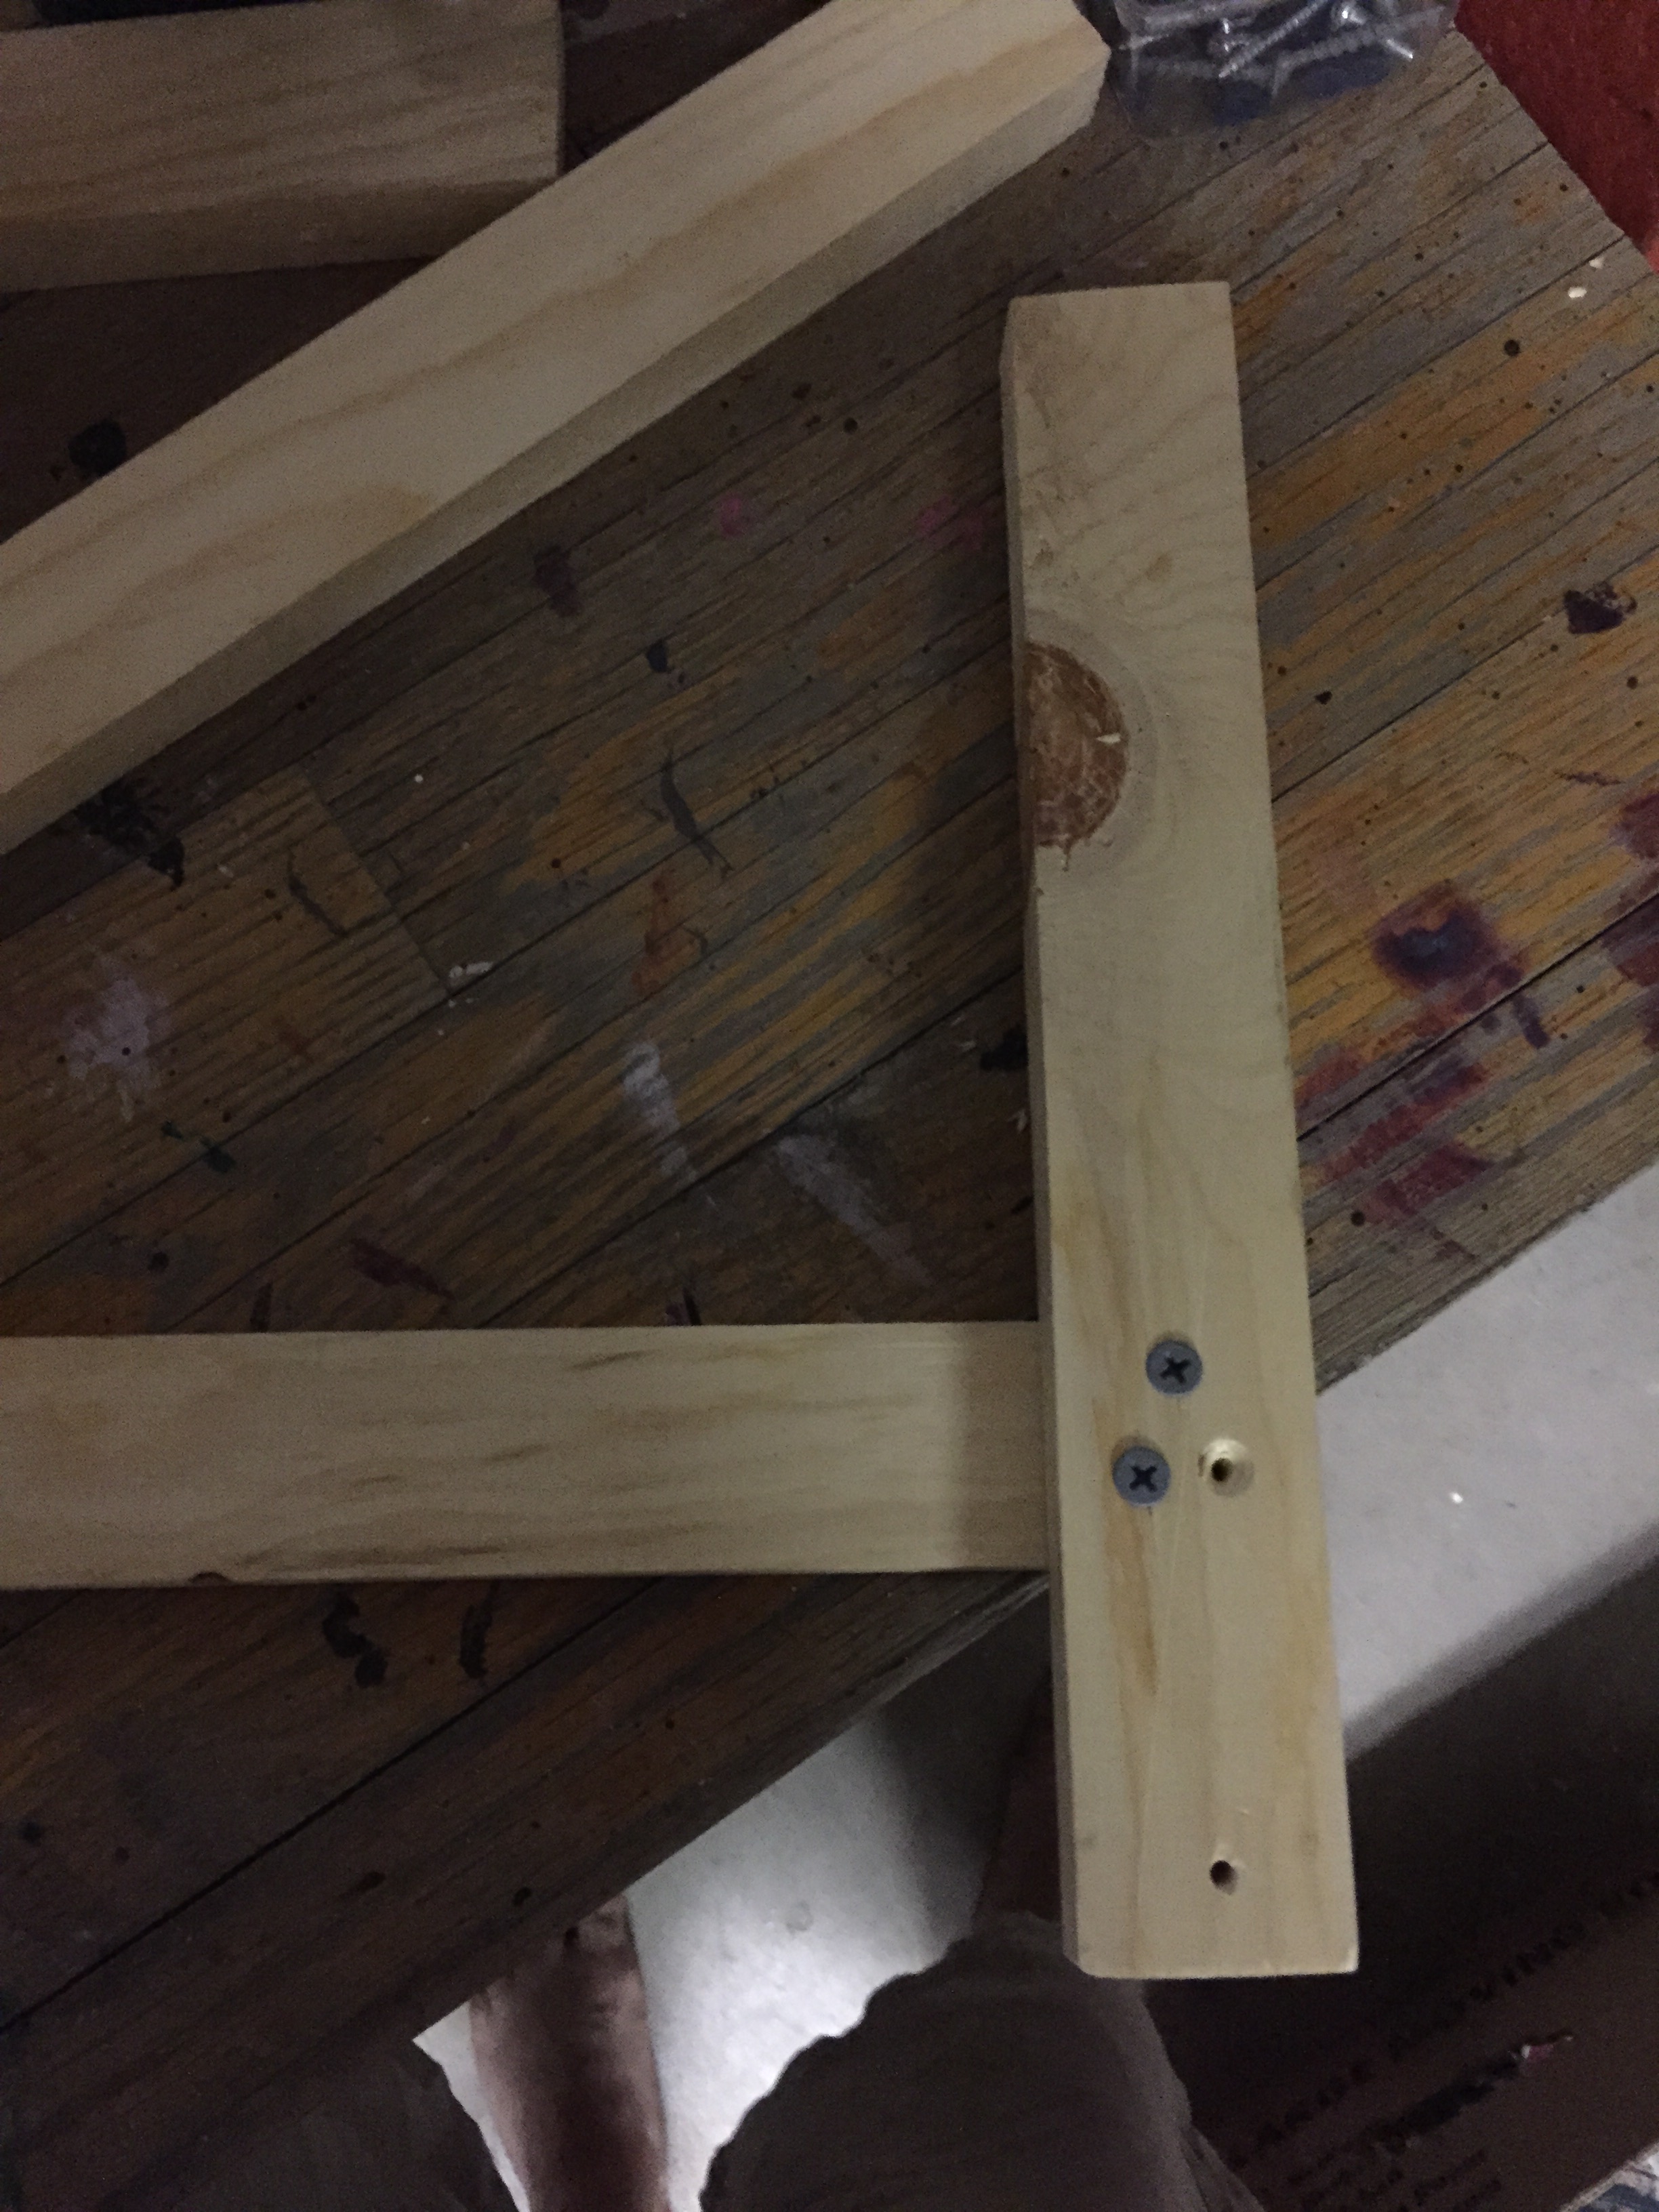
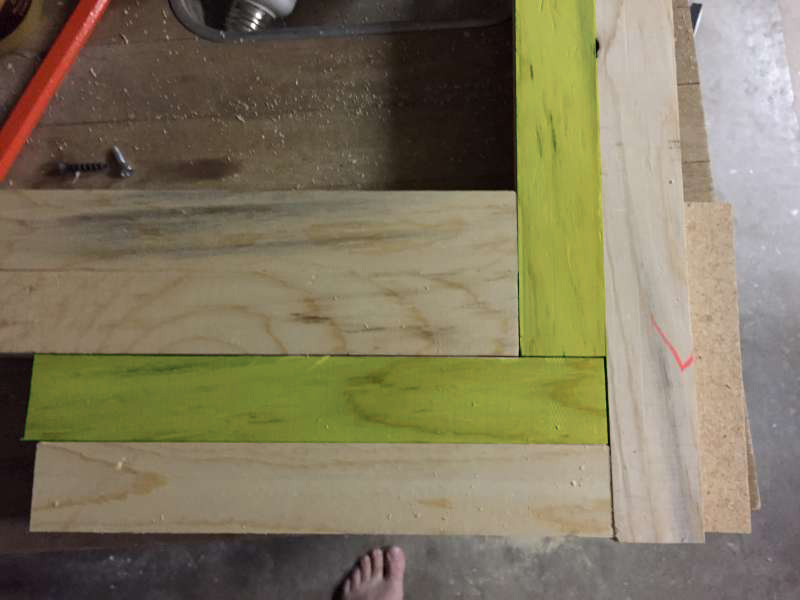
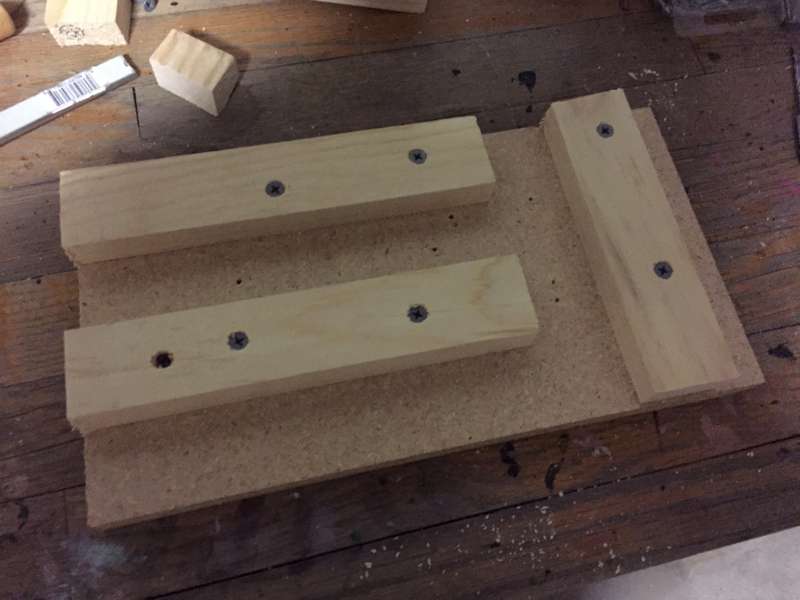
Now that I have some small wood sticks, I can start constructing my jig. My goal is to creating something like this.. where the green pieces are my garden shade frame. So I’m going to line the other pieces up, drill them into some MDF, and then whenever I need a right angle, I will just push the wood into here. easy.peasy.
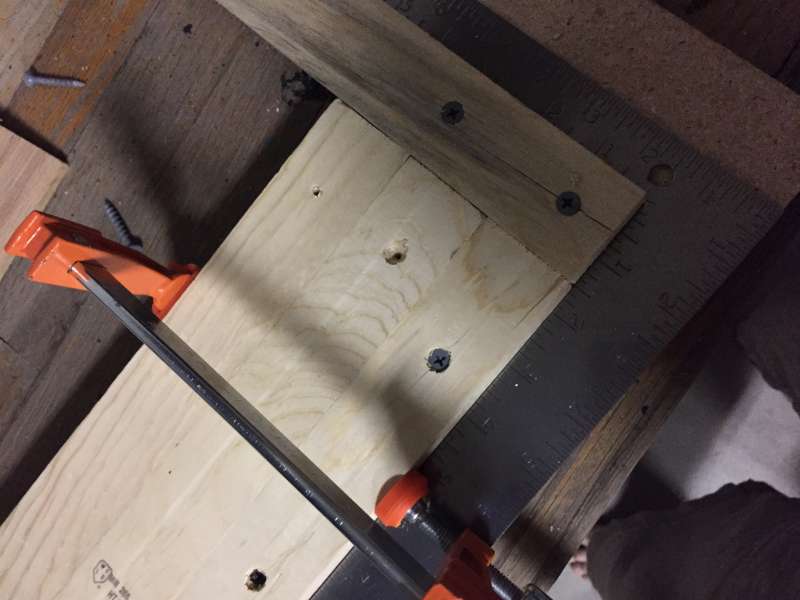
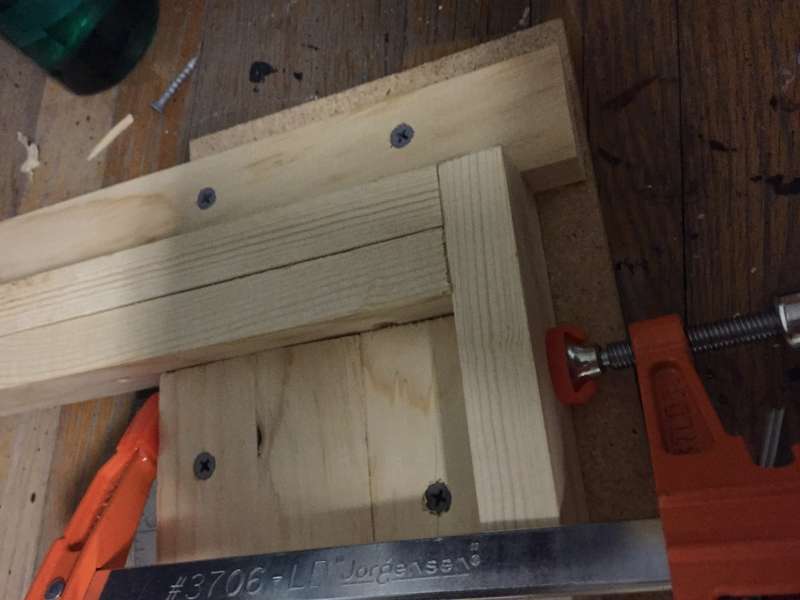
 Stuff happens. I measure and clamp and drill. The wood keeps moving and I need more clamps, which I dont have, and its sunday at like 2 am, but eventually it sort of happens. I get this:
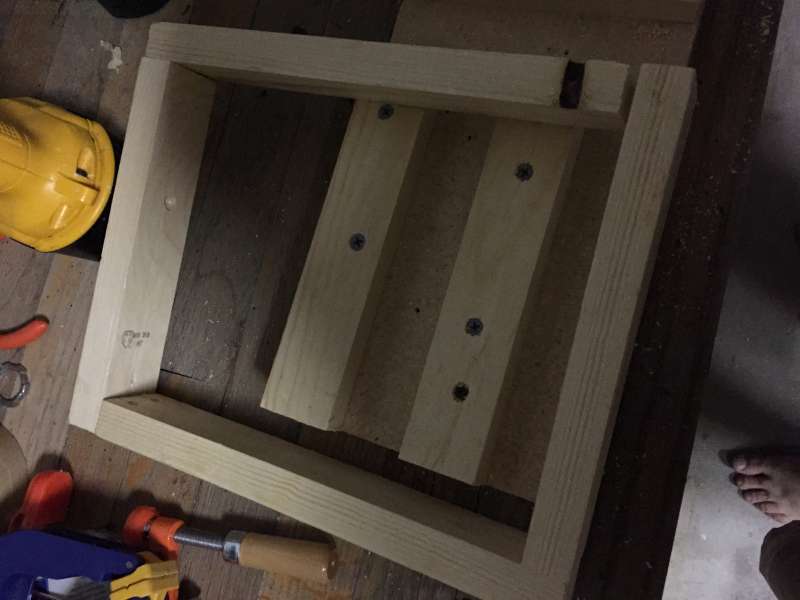
 Not too bad! I think. I don’t know, its hard to tell if it works or not. So lets give it a run. I made these 2 inches thick, but my wood is only an inch thick. so I stack two of them for positioning.
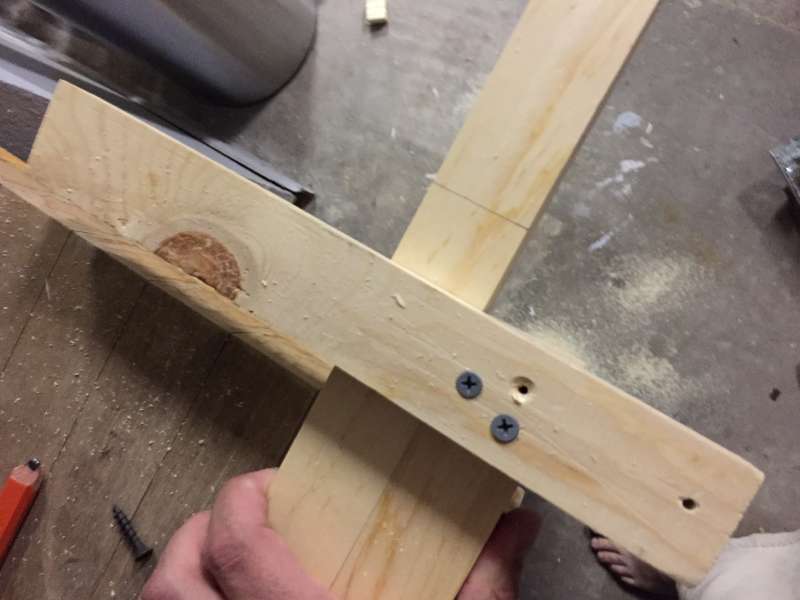
Drive in some screws
Which sucks
 I get new pieces of wood, and this time I drill pilot holes first. I was hoping to avoid that, just because of the additional time needed to swap out bits ever 2 screws.
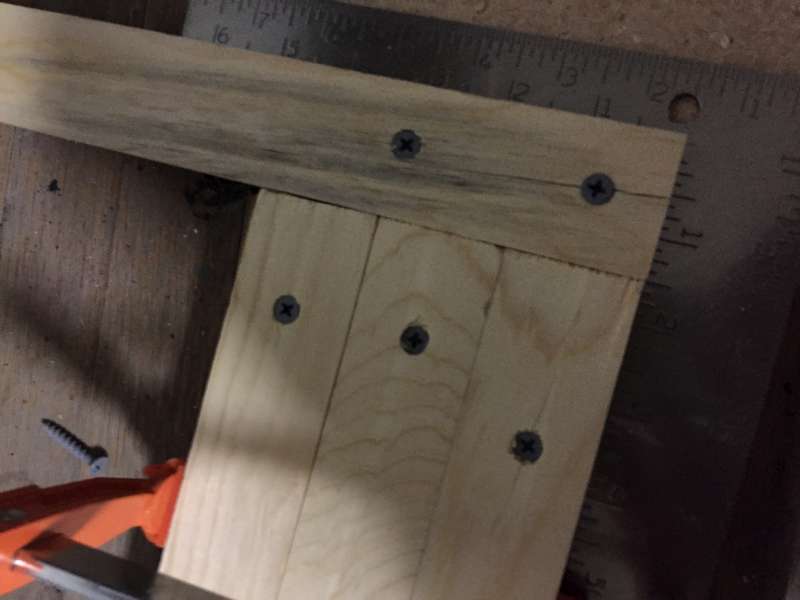
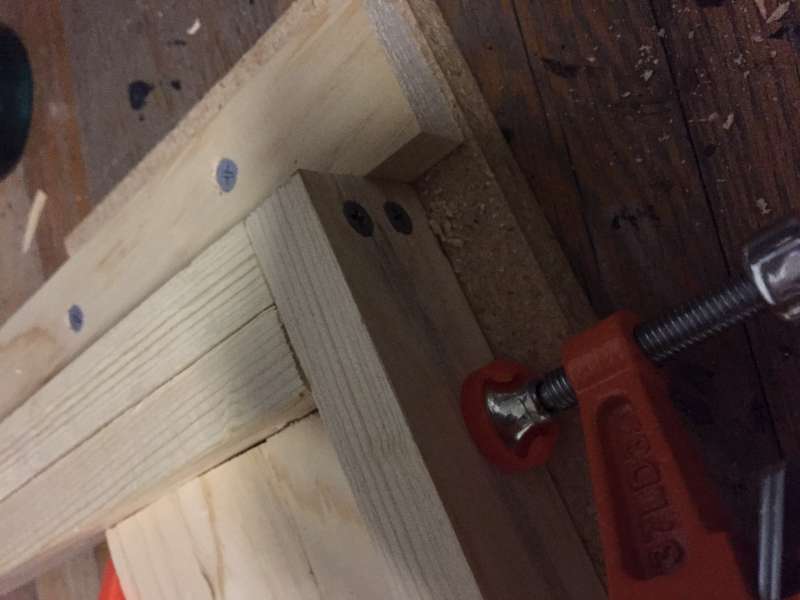
But my angle looks good. I decide to try and build a mini frame right now. One problem I have is the jig is too large… I trim it down.
And keep working my way around. it works ok, but I run into some issues. For example, all my boards weren’t the same size, and my jig is still too large for the last butt joint.
So I trim it down, square it, clamp it, and drill.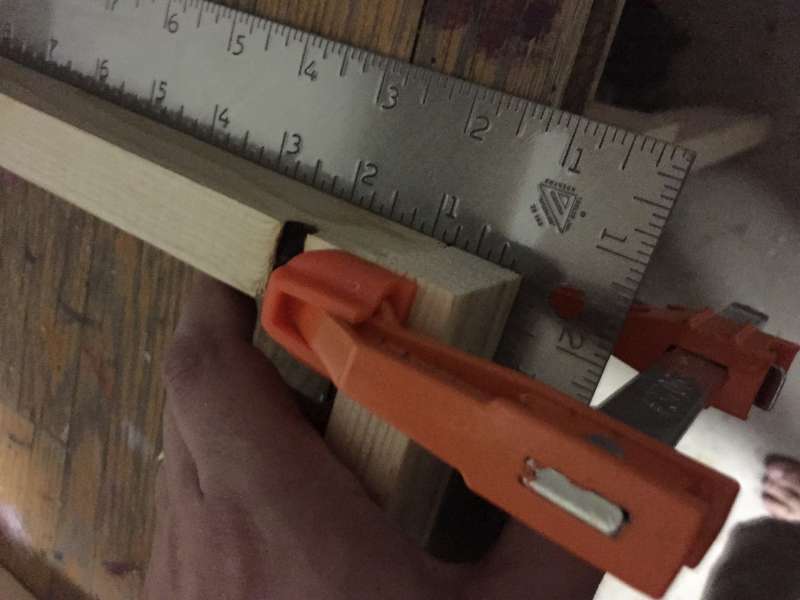
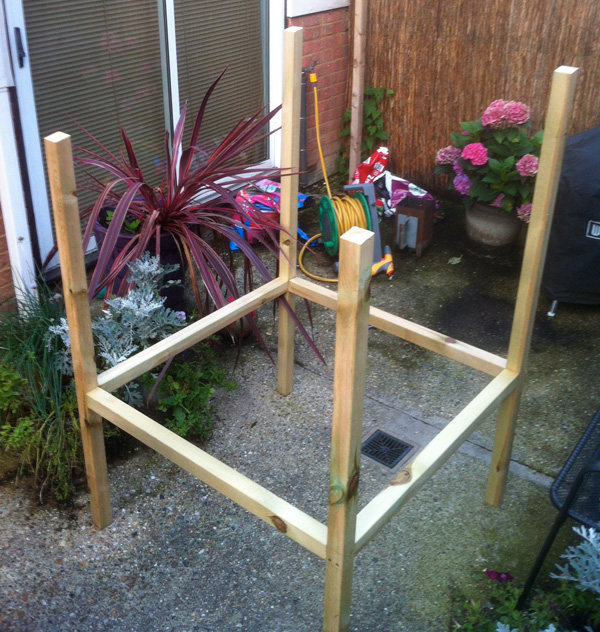
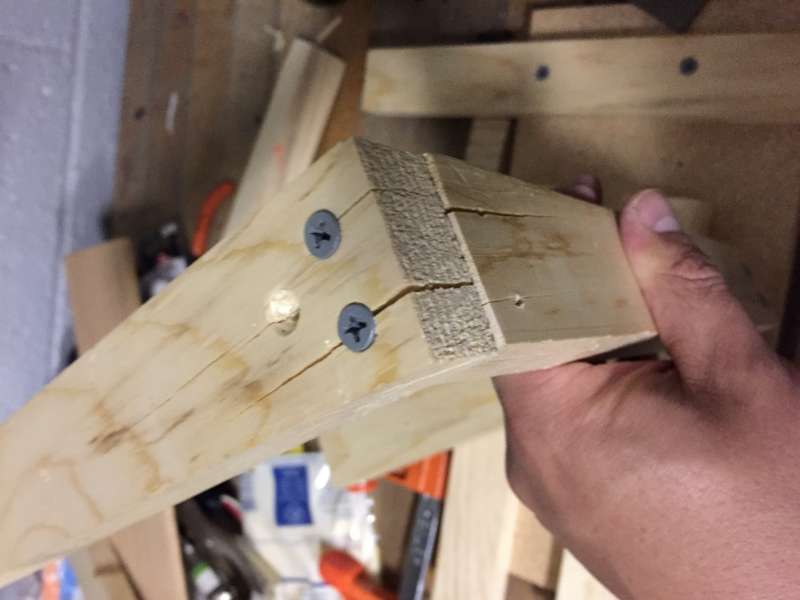
Final product.. is well, it’s a rectangle. sort of? 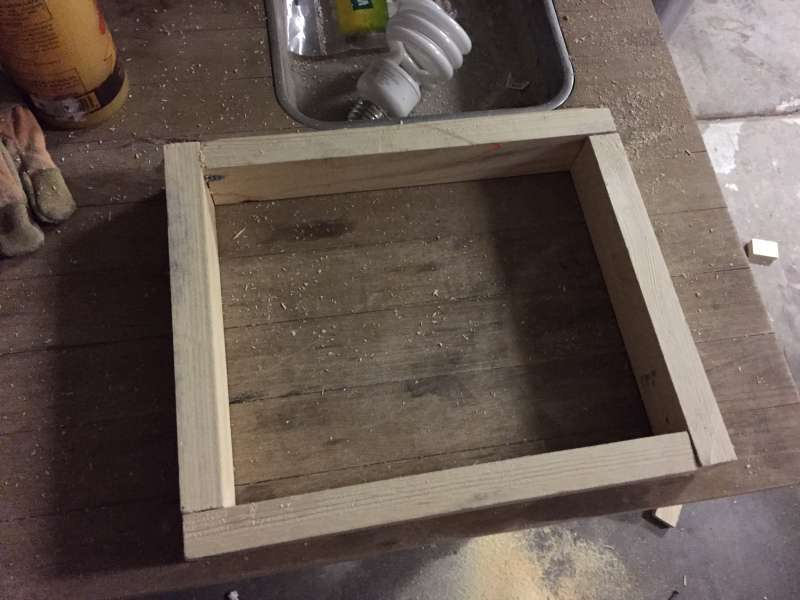 I’m not sure how I feel about this. I spent a lot of hours to do this, and the more I think about it, I could probably just buy the fucking jig I needed. I’m afraid to google, because I can probably buy it at home depot.
But at least I know I can make a roughly square frame, which is probably good enough for the project.
And there is no such thing as “wasted time” when procrastinating on a Sunday night!
Score:
Cost: low.. $20?: 2 points
Time: shit. 2+ hours: -20
Made a square?: Sort of? +0
R&D: Can probably make a square: +20
OVERALL SCORE: +2!!! Things were made!