BATTLE: DRESSER (Part 3)
After the BATTLE: BIKE BRAKES debacle, I need to focus on something positive, so here is my wrap up of the dresser.
STAIN AND FINISH
Continued from BATTLE: DRESSER (PART 2)
The last image I posted had the shellac leaving some weird patches on top. I tried resanding/shellacing, but it didnt seem to make much of a difference. So I said fuck it and started putting on the water based poly.
I applied the poly using a foam brush, which I’ve read is not the ideal method. It worked pretty well for the most part, but having since used a brush, I think I like the brush better…
Bubbles are the enemy – here you can see some that formed/hardened. I then had to sand em down, and went a bit too deep. Not a big deal – just adds to the texture.
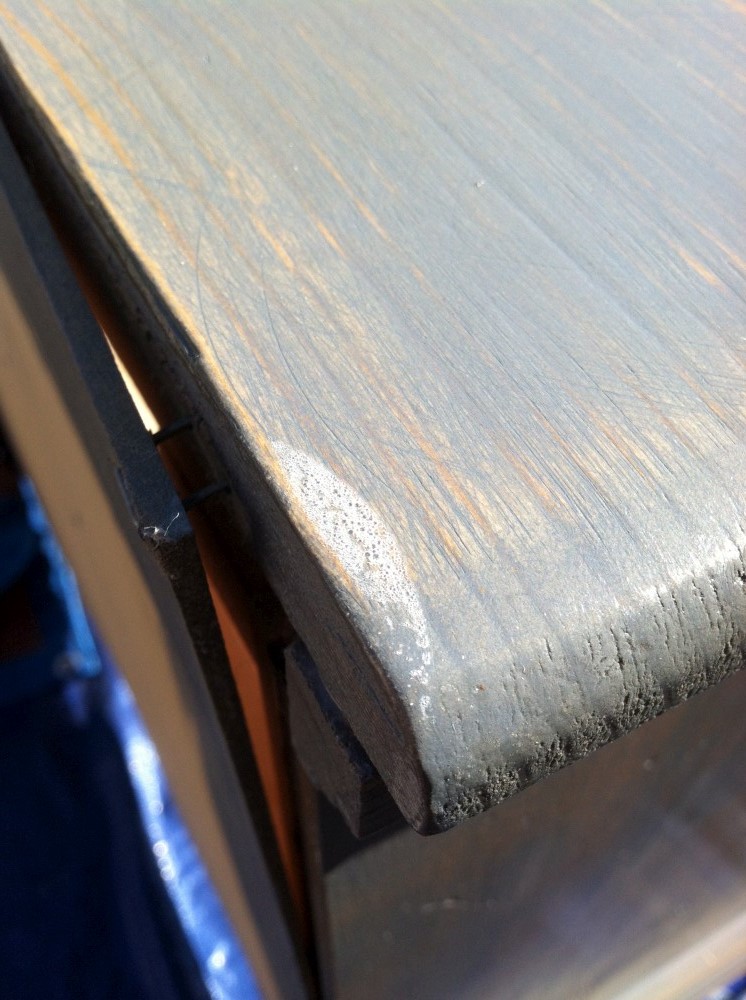
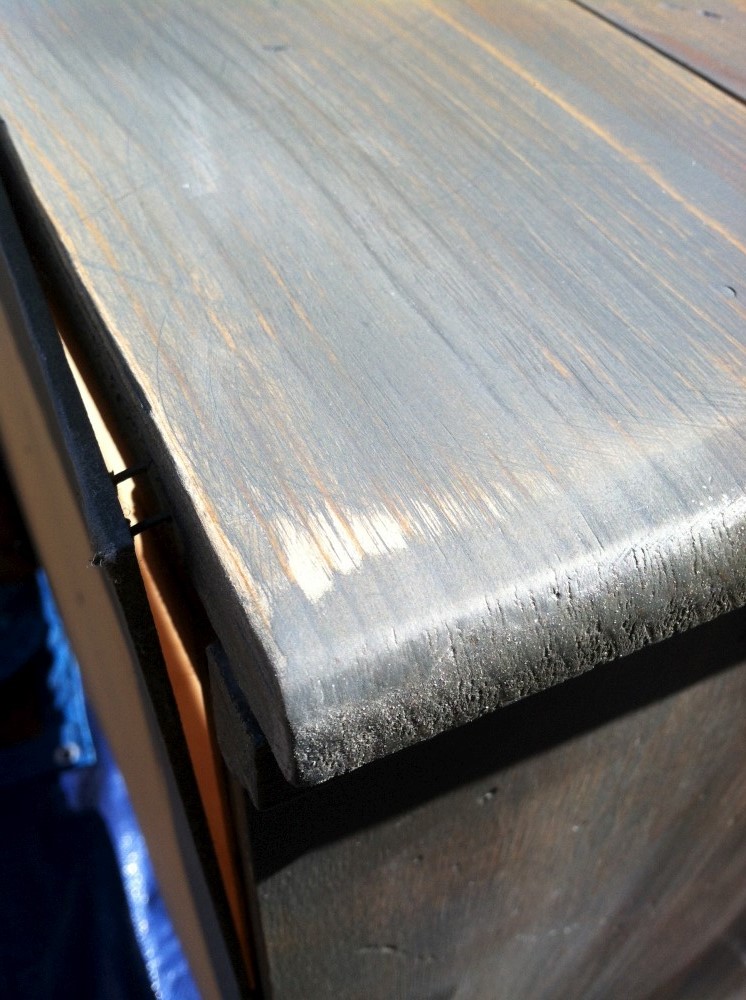
I have since read that thinning the poly prevents it from trying too fast, and allows the bubbles to pop on their own. Seeing as I was doing this in direct sunlight, in 100 degree summer heat, it makes sense I got bubbles.
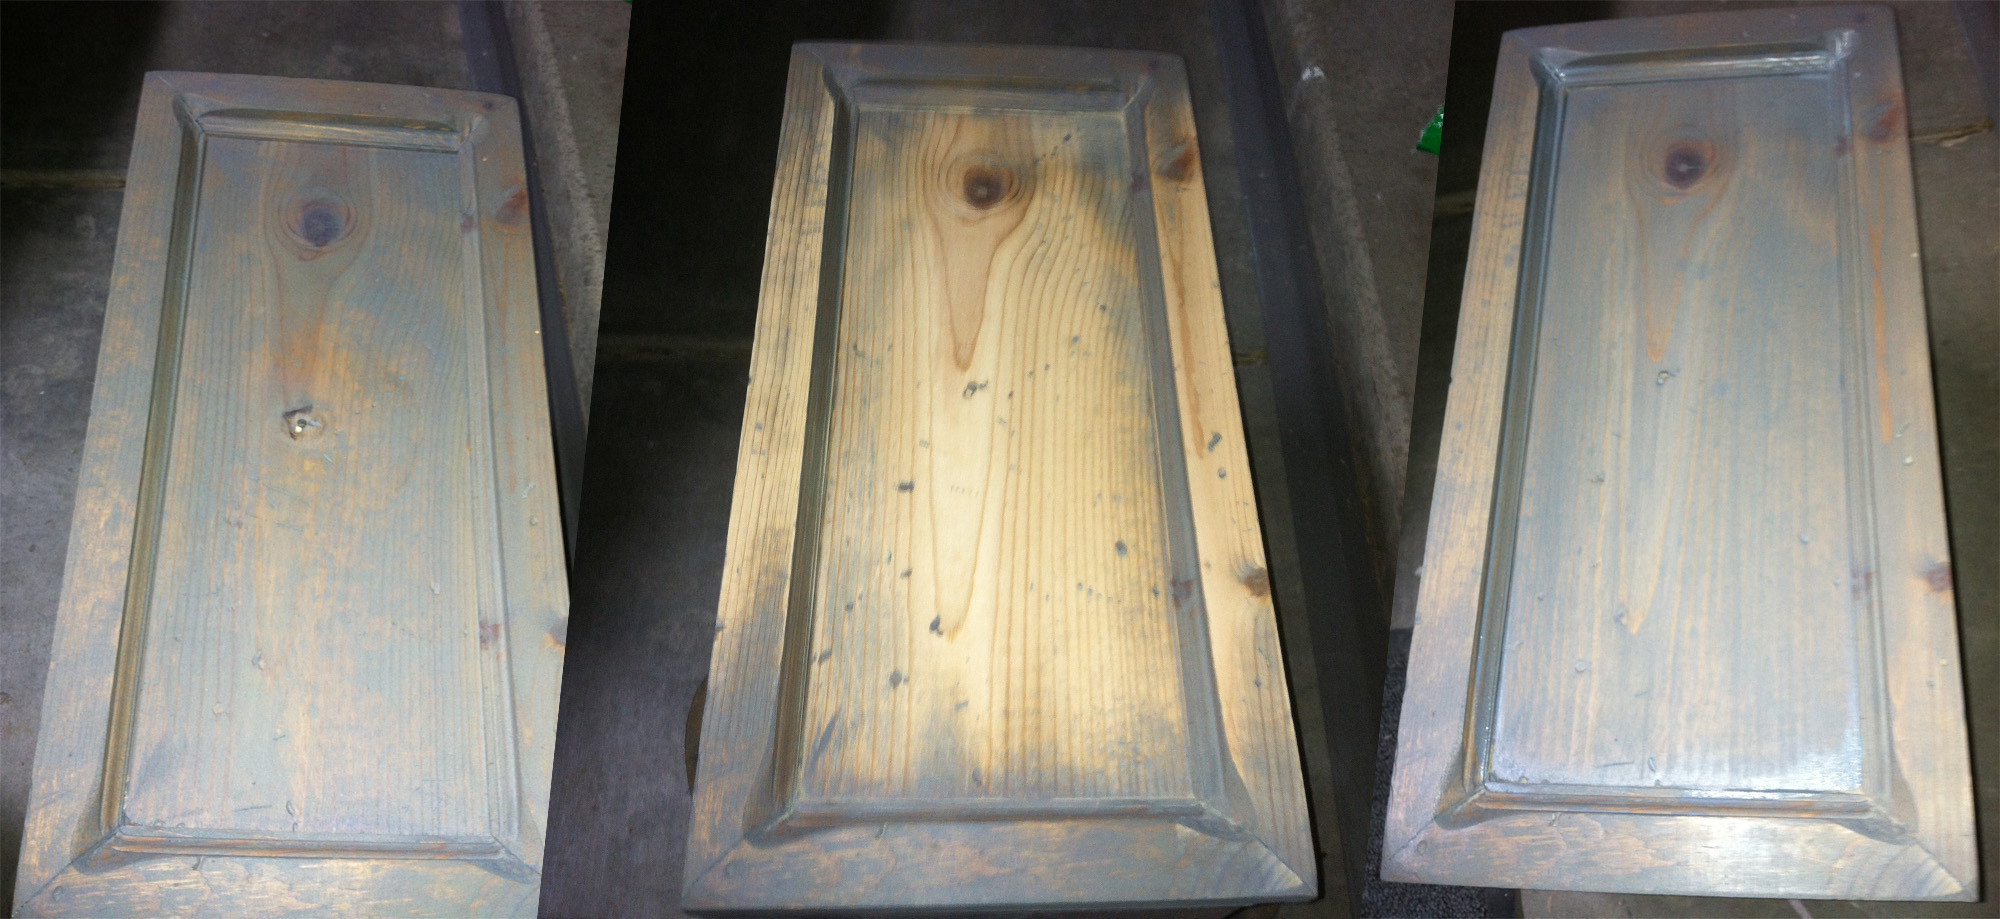
What came as a bit of a surprise was the drawers. The previous fixtures left marks on them that the stain did not cover up. Looking closer, I wasn’t happy with the way the stain was absorbed on the front of the drawers – it seemed very patchy. So I sanded it down and re-stained the fronts. Before / After:
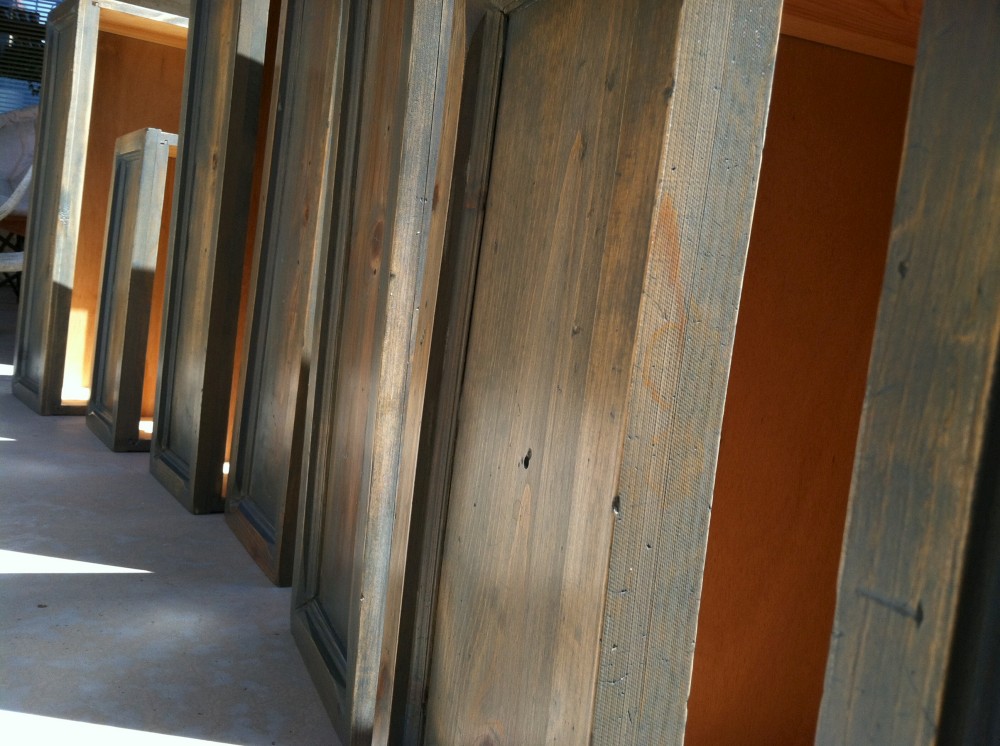
All my pretties in a row! You can see how I stained the front/tops/sides of the drawers, but not the insides, back or bottom.
So overall I did 1 coat of stain, and then 2 coats of water based poly. I let each coat dry for 12+ hours, and sanded lightly between coats. I watched the grain raise, and then sanded it down nicely. It was coming together pretty nicely.
PULLS AND KNOBS
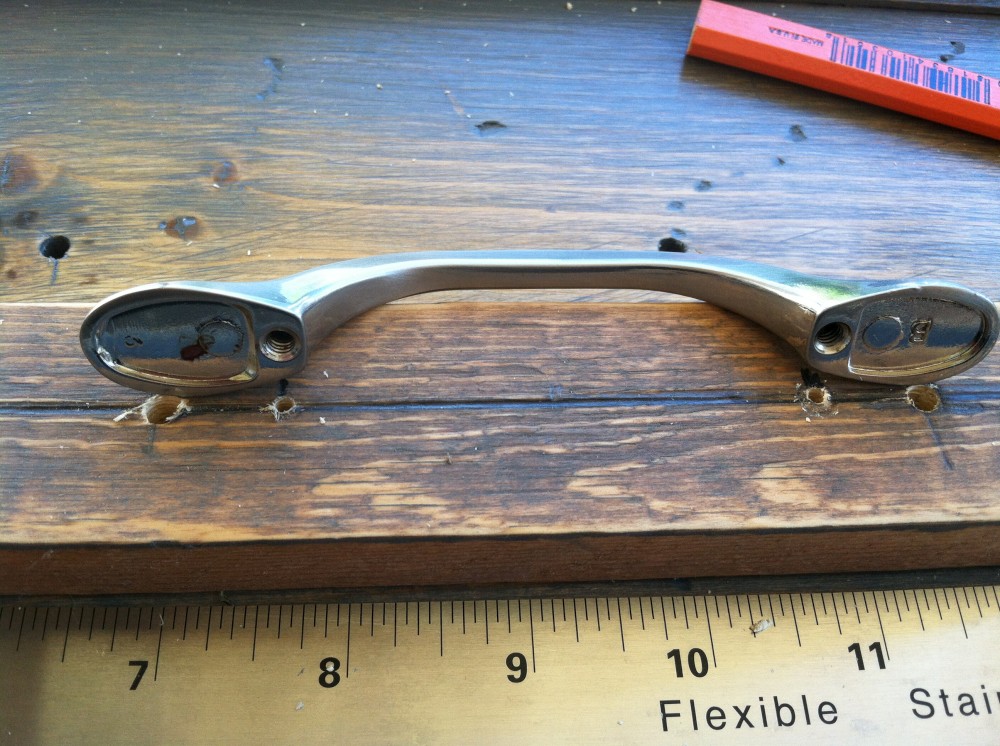
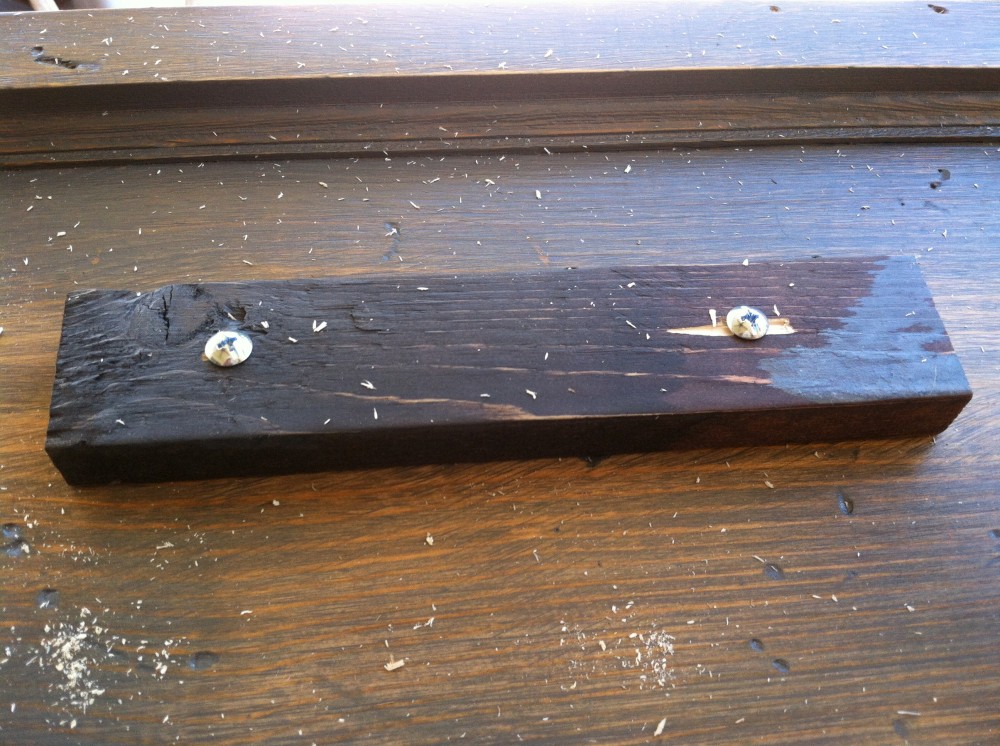
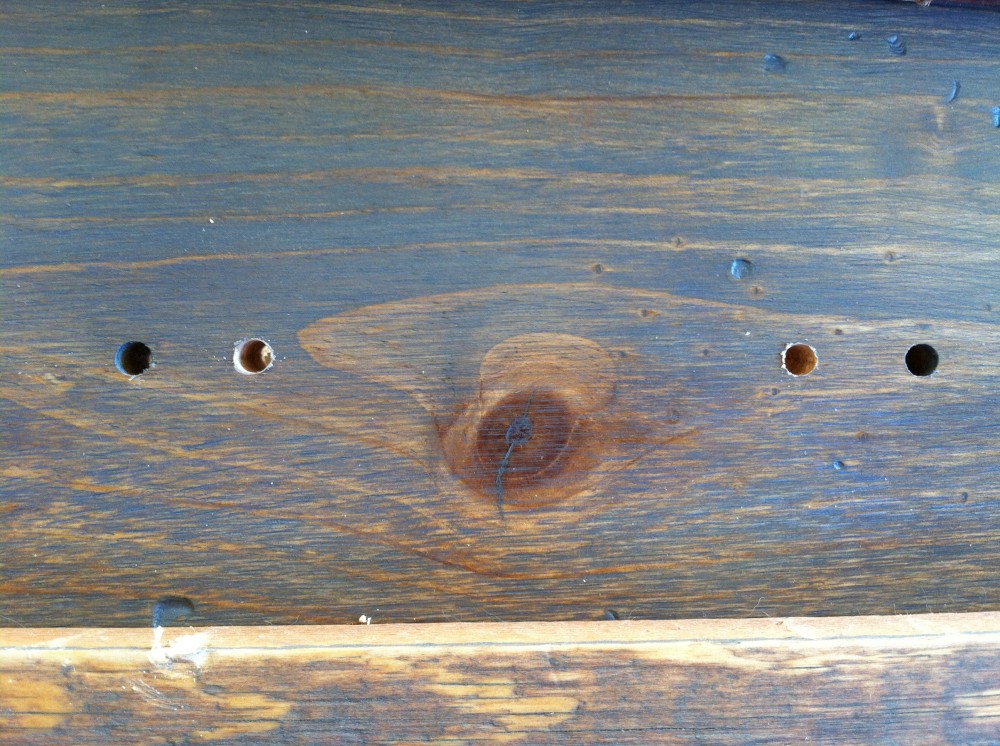
Finding replacement for the southwestern style pulls and knobs was not as easy as I thought. The knobs were easy, but the pulls had drill holes that were very wide – 4.25 inches from center to center. The most common pulls are 3 or 3.5 inches. After a few days of looking for decent 4.25 pulls, and failing, I decided to go for a 3.5 inch pull that was visually wider, and would cover up the old 4.25 holes. Here you can see a template that i drilled where the pull will cover the old, wider, holes.
THE TEMPLATE
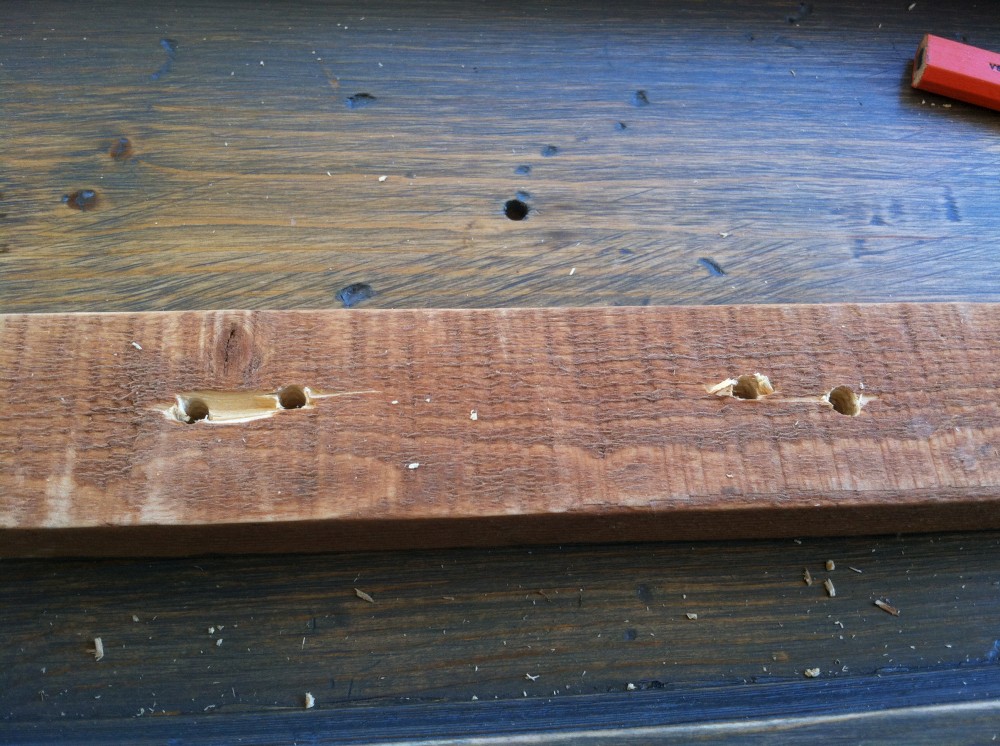
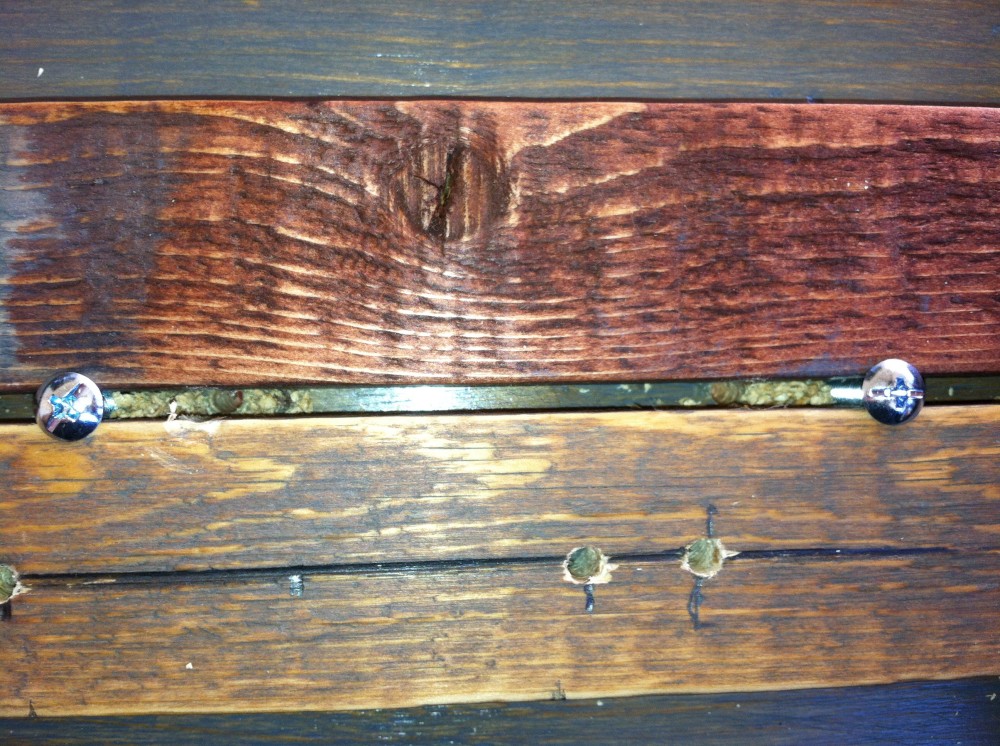
In order to ensure I was drilling the holes evenly, consistently and level, I built a template. First I set a piece of wood over the drawer, and used a pen to mark the existing holes. I then drilled two holes, and to ensure they were the correct size and spacing, put my new screws through BOTH the template and the drawer. This ensured my template would be an exact copy of the drawer.
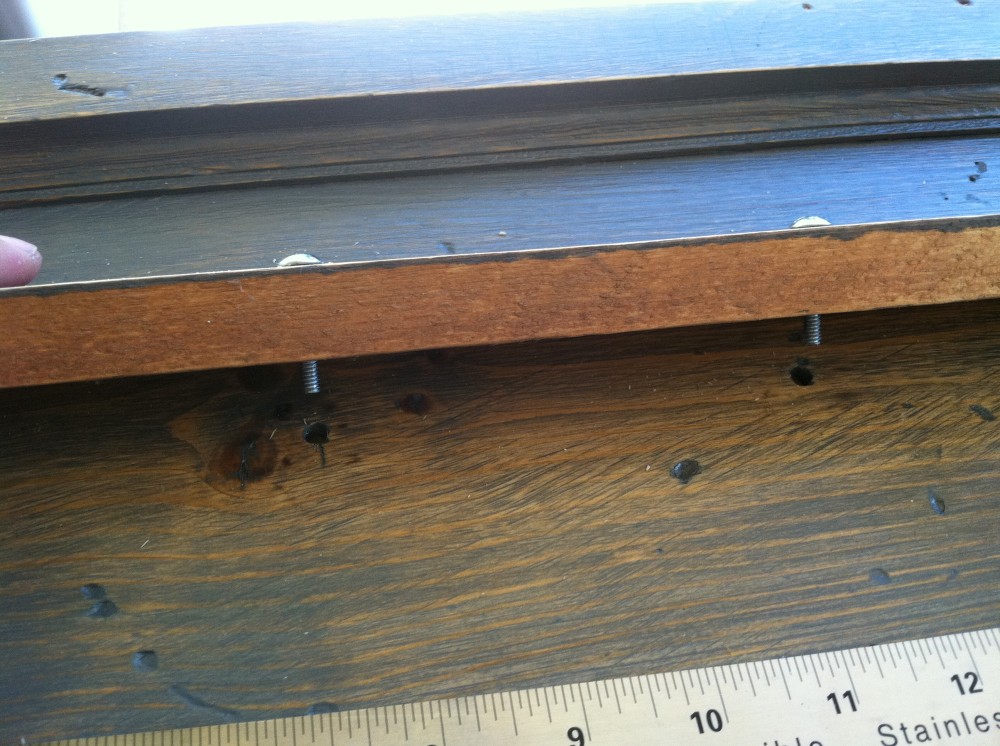
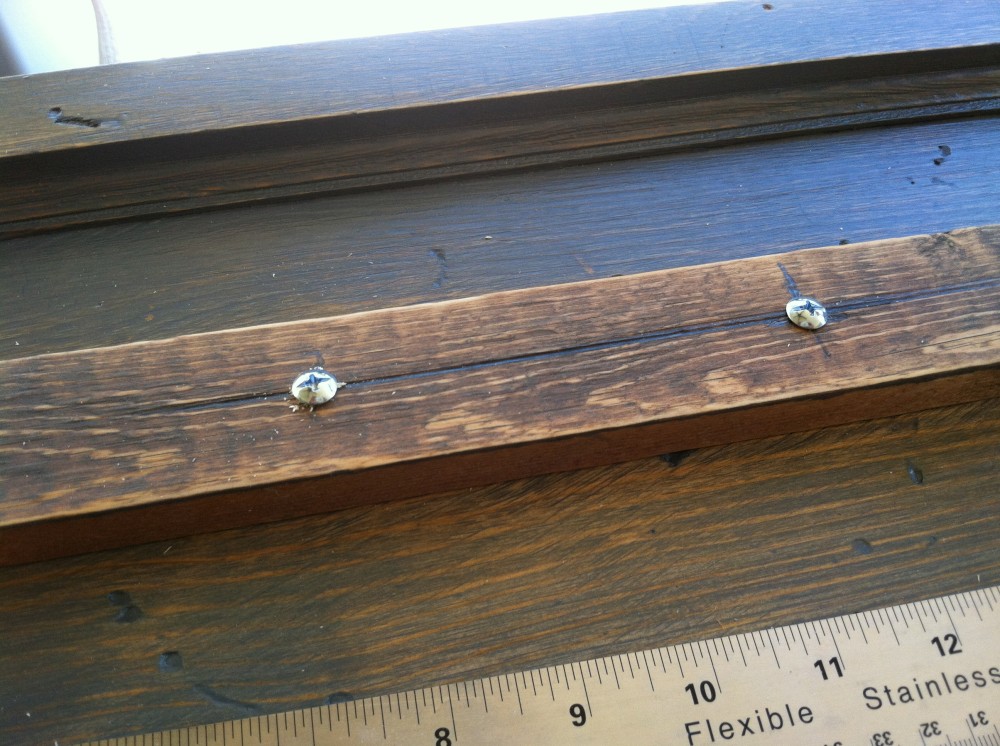
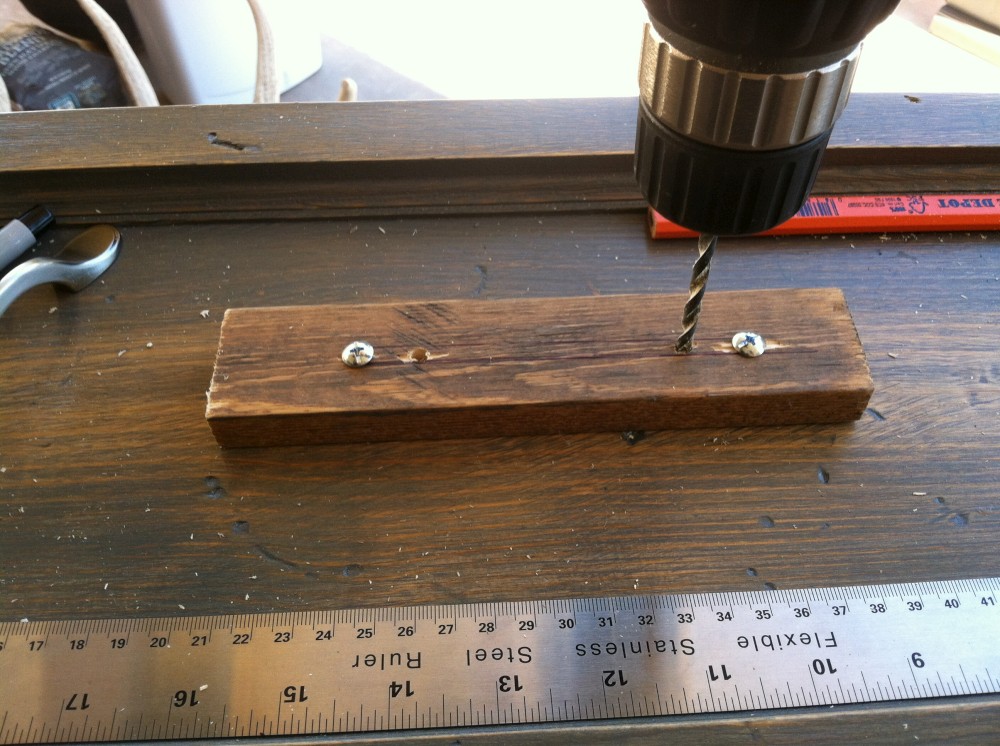
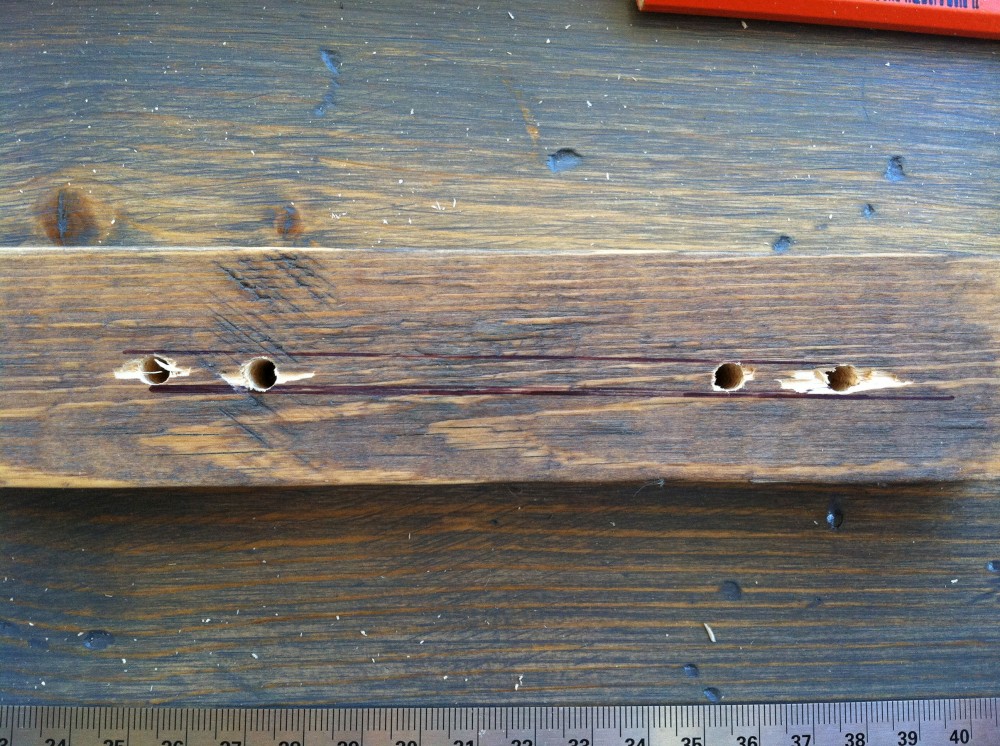
I then measured and centered my new 3.5 inch holes, and drilled! You can see the results in the first template pic… what you can’t see is this mess on the back: The holes were not aligned perfectly..
Since I want to make sure they are level, and because just looking at those misaligned holes makes me angry, I am going to create another template. I Drill a new one.. Test the holes to ensure alignement…
Check!
Measure and set my lines, drill the first hole and..

Goddamn it. Off center. Well, I’m determined at this point, so one more time…
Drill, Test, Measure and this time I’ve drawn lines VERY CAREFULLY..bracketing where I should drill. No room for error.
Not sure how I could screw this up, but I did:
Shit is still not level – the drill pulls slightly up or down and once the hole is a bit drilled, I am strong enough to correct it. Clearly drawn lines aren’t gonna do it. I need something less forgiving.
Aw yeahhh. Check that out.
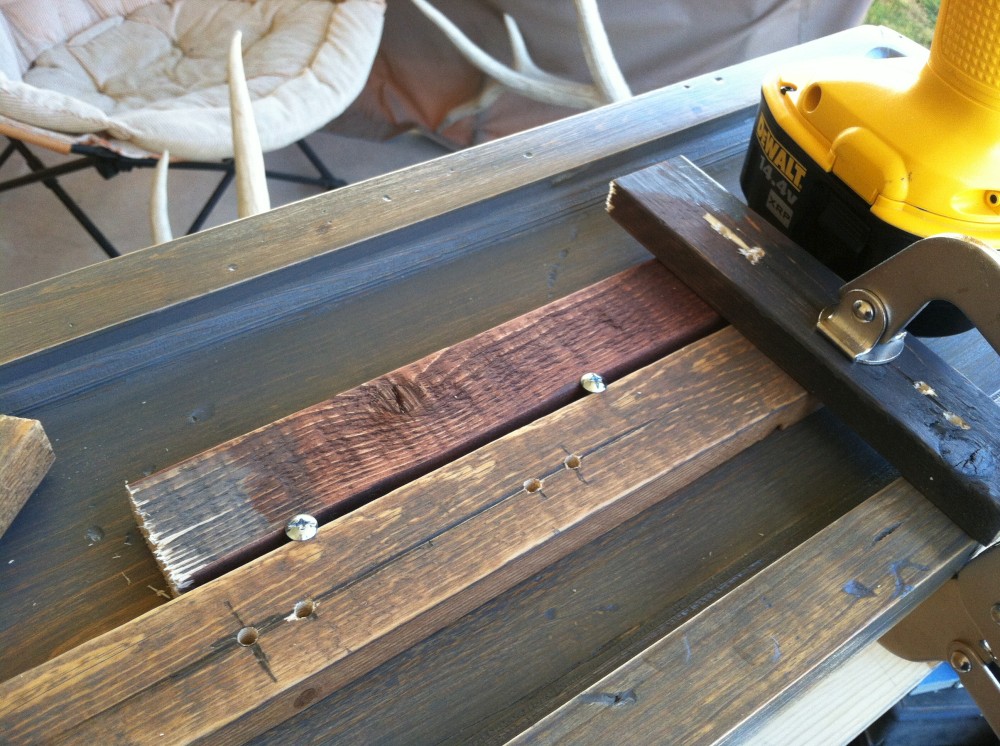
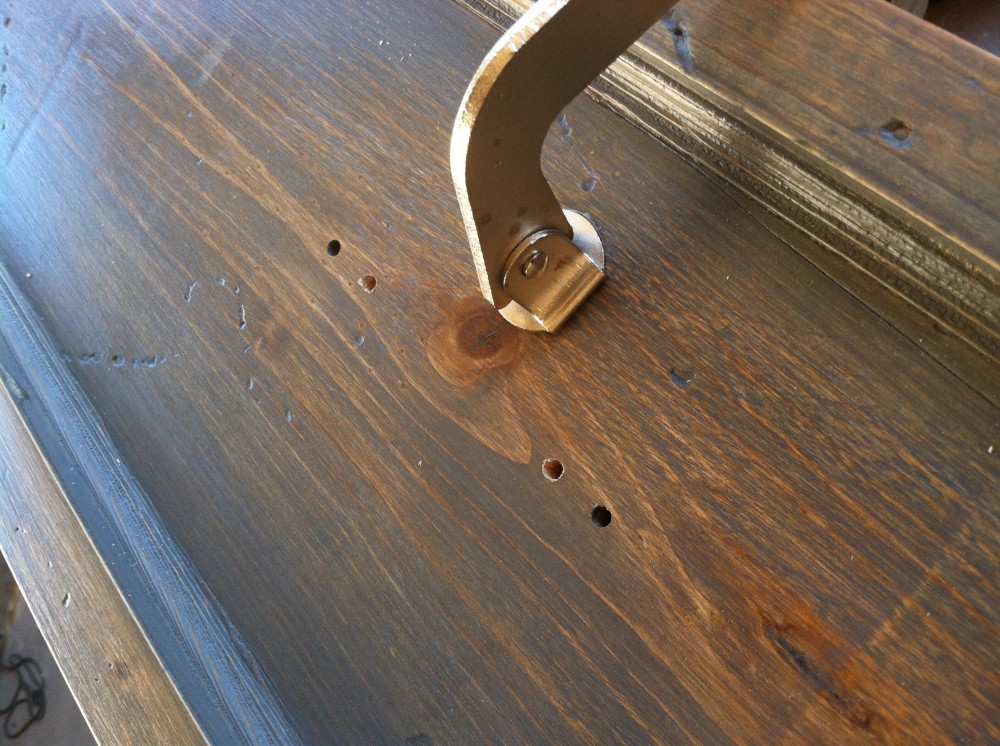
After putting the screws directly into the drawer, I then place two pieces of scrap on each side, bracketing the screws. The gap between the wood is the same as the screws, and the same as my drill bit. I am probably making a giant mistake by working directly on the drawer, but I’m frustrated, and am completely convinced this will work. This is normally a recipe for failure, but I get lucky. I mark the drill holes, and this time the boards force the drill bit inline…
I take off my brackets, and…
Lovely!
Well, almost lovely, until I see that I marred the finish with my clamp. nice one.
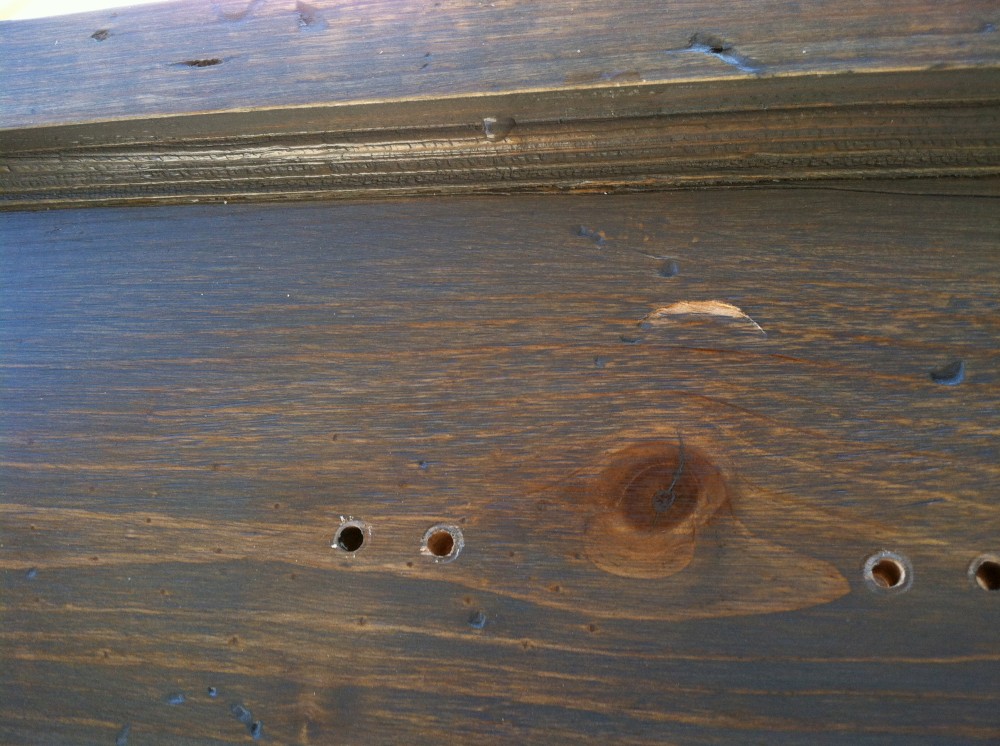
Remembering that I really REALLY don’t want to screw these drawers up, I go back to my template idea. Now that I have all 4 holes drilled, I can make an accurate template for the other drawers.
The rest of the holes are easy to drill, and I put on the knobs and fixtures.
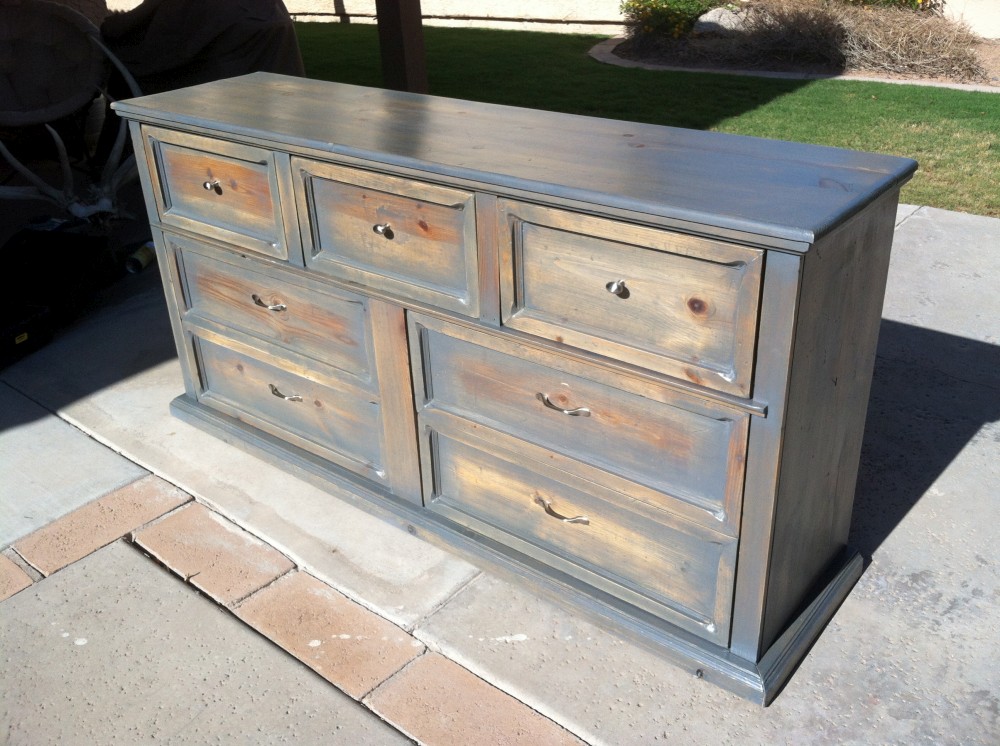
The stain isn’t what I was originally looking for, but I do like how it turned out. It looks a bit patchy with more wood showing through in the front than I wanted.. but once inside the house, it ends up looking amazing. The color difference seems much more natural.
AMATEURS FINISH THE INSIDE
When trying to decide if/how to finish the inside, I came across that statement that “Amateurs finish the insides”. This seems to contradict what I read – that you HAVE to finish the insides to prevent warping. If you seal the outside of a piece of wood, and don’t seal the inside, the inside will absorb moisture faster. I was also concerned that it would look weird when the drawers were pulled out, if the sides of the drawers were not finished.
My solution was to not stain the inside of the dresser, but just to do a thin layer of spray shellac. I also stained and sealed areas that I thought would be easily seen during normal daily use of the dresser.
I don’t know if this was responsible for the final problem I ran into: Drawers didn’t fit! At first I thought this was because I was putting the drawers into the wrong spots. For future projects – MAKE SURE TO NUMBER THE DRAWERS… so you don’t have to go through that stupid game of trying each drawer in each slot to see where it fits best. This was complicated by the fact that hardly any of them fit perfectly anymore. I had to go back into the dresser and sand down a number of areas. This was pretty tedious work – sand/try and fit/sand/try and fit. Probably an hour or so of irritating work at the end of the project.
FINAL SCORE
Finished Project: +50
Cost: -40 Fixtures, stain, poly, brushes. Saved on money because I was gifted the unfinished dresser.
Time: -40 Definitely a few weekends of work
Stain Didn’t turn out how I wanted: -20
Frustration: -10 not too bad really.
Still like how it turned out:+10
Sense of Fulfillment: +40
‘Wife Likes it’ Bonus: +20
Hipster Woodworking Bonus: +.05
Total Score: “Would Stain Again”
Go team!